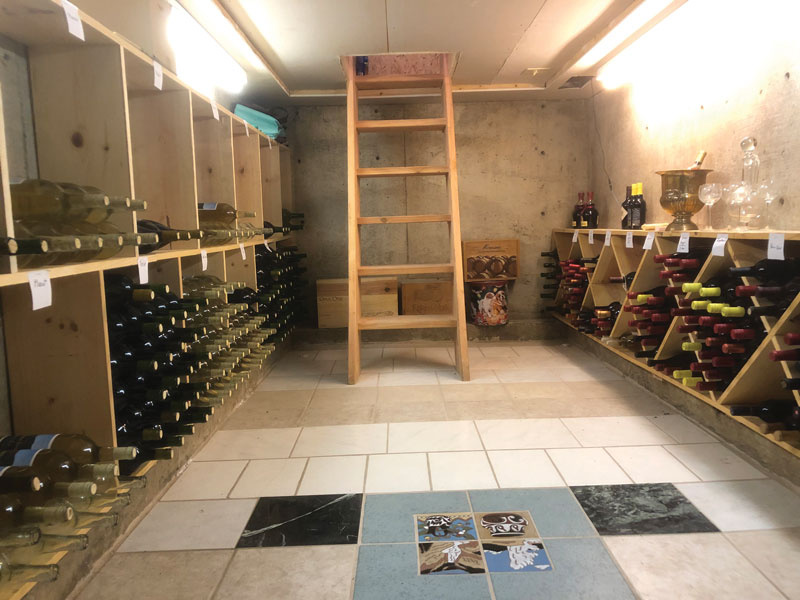
Bottling Your First Batch
Now that you’ve finished making your first batch of wine, there are only two things left to do: Bottle it and enjoy it! Enjoying your new vino will be as easy as 1, 2, 3, but bottling takes a little bit of practice, and it requires some prior knowledge.
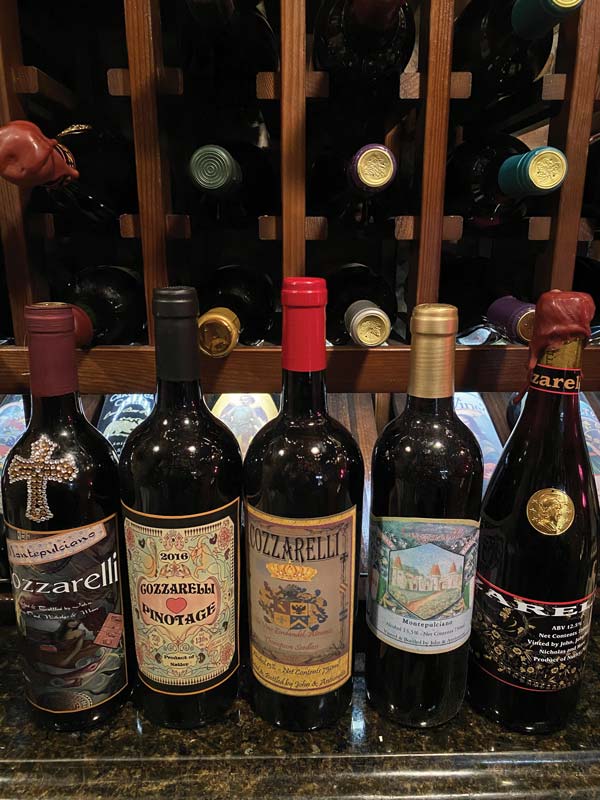
First, you’ll want to think about what shape and color bottles to present your wine in. Most wines come in a certain bottle style and color because
of their origin and who was most successful in making that particular type of wine, and many winemakers choose to imitate the shape and color of their bottles simply to be associated with (and hopefully live up to) the excellence of the wine. That said, using the appropriate glass color is essential in bottling. Wines that will be aged should be bottled in dark glass to protect the wine from ultraviolet rays, which can cause oxidative spoilage during storage. Clear bottles should only be used for wines made for early consumption, typically whites and rosés.
Cleaning and sanitizing
Once you’ve purchased your chosen bottles from a winemaking supplier or recycled bottles from home, it’s time to wash and sanitize them. If you’re looking to jazz up your bottles with your own brand name, you’ll want to soak recycled bottles in hot water overnight to remove their former labels. Hot water and a standard cleaning agent, like Powdered Brewery Wash or Straight-A, should do the trick. Clean your bottles and hang them upside down to dry.
Now you have to sanitize your glass using a product such as Star San or Iodophor and following the directions on the label. Or you can create your own sulfite solution by mixing 8 teaspoons of potassium metabisulfite with one gallon (3.8 L) of water. Pour your chosen solution into the bottles; a small funnel will ease this process. Different products require different durations, but sanitizing should take between 5 to 30 minutes. If you are using a no-rinse product, then just let your bottles dry upside down. Otherwise, rinse your bottles with water before drying them.

Filling your bottles
There are a variety of methods you can choose from, such as stem-and-valve and, if you’re bottling in high quantities, high-production fillers; however, the easiest is transferring your wine using a racking cane, a few feet of vinyl tubing, and an optional bottling valve. Begin by attaching the vinyl tubing to your racking cane, and inserting the racking cane into your carboy so that the tip is near the bottom of the carboy. Now, start siphoning the wine and insert the end of the tube into your squeaky-clean bottles until it is at the bottom. While filling your bottles, hold the bottle lower than the carboy and siphon your wine to fill the bottle (when you pull the tube out of the bottle, about one inch/2 cm of headspace will result).
Corking
Gather clean, fresh corks and a hand corker. Place your cork in your filled bottle and hold down the lever of your corker for a few seconds, letting the pressure from your bottle escape. Once you’ve finished corking, set your bottles upright for a couple of days to relieve any remaining pressure. Then you can store them on their side.
The bottling process can be expedited if you turn it into a two-man job. Recruit a friend (Hint: Promise them a bottle of wine in return for their hard work!). While one of you fills the bottles, the other corks. When your wine is made, bottles filled, and corks inserted, pat yourself on the back and enjoy your divine first batch!