Purple Grin Winery: Dry Finish
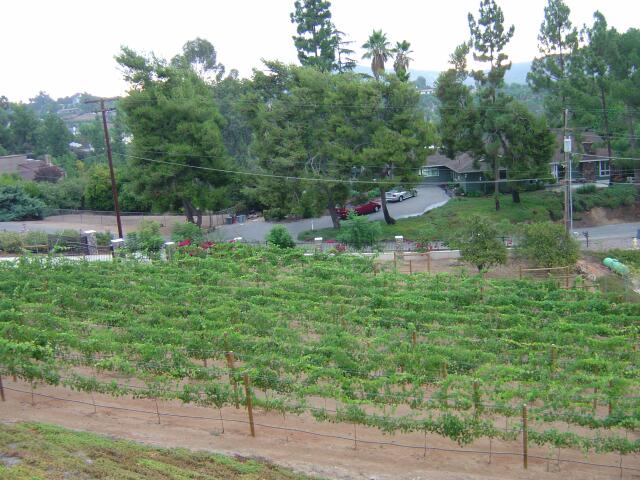
Overlooking the San Pasqual Valley is our winery, established solely for the enjoyment of friends and family. Designed to make the best of our 200-gallon allowance, the 303 Syrah vines entertain drivers-by while providing a green reminder of eternal hope to those viewing from the kitchen.
In the beginning, we purchased a small, older home with a large lot and a fabulous view. We demolished it and built a larger home in its place during nights, weekends and vacation time, using only a handful of contractors and a scoop of friends. We moved in eight months later and spent the next two years completing the interior, pool and landscaping.
There was a dilemma, however, over a half-acre on the slope below the house, which grew six-foot oats every spring. As a veteran homebrewer, I was easily coaxed into growing wine grapes by my friends, and once the house construction slowed down, I started imagining cultivating our own vines.
I focused an entire year researching vineyard establishment; visiting Web sites, libraries and local growers while developing a sense of taste for local successes and possible improvements. My spring of 2006 saw soil analysis, amendments, trellis construction and planting of dormant Syrah on 1103P rootstock.

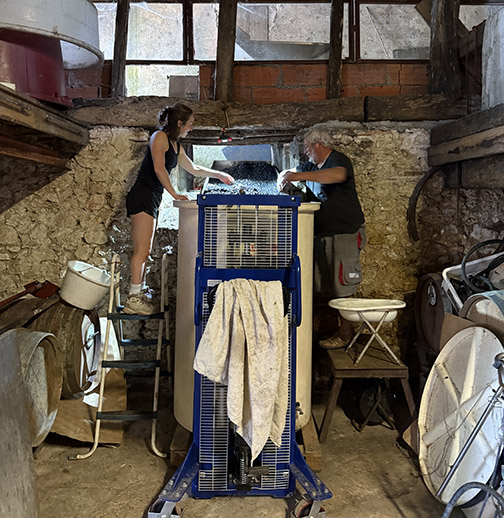
With the Big Man doing His work in the front yard, my research turned to finding a large, cool area for storage and aging.
With all of the glamorous wine caves in the media, I was certain that a cave of modest proportions would be more feasible and useful for my home winery. My technical challenge was finding a safe, do-it-yourself method. I found quite a bit of material on mining and tunneling on the Internet that was quite useful.
I started building my cave with the entrance, which like most, was excavated with tractor mounted grinders called road headers, with reinforced concrete liners sprayed into place as soon as possible to limit unstable material from falling. When the face was cleared, the portal was formed and poured with reinforcing steel connected to soil nails.
When that was done, I decided to limit the first excavation to two feet. Luckily the decomposed granite even at the portal was very stable. Concrete forms were built with a 37-inch length, assuming a 36-inch excavation per cycle, with a 1-inch overlap of the previous section. The vertical walls were formed with conventional 2 x 4’s and 1?2 inch plywood covered with plastic sheet to allow multiple uses without warping. The 4-inch thick tunnel liner was reinforced every nine inches with #4 rebar. The bottom of the wall was outfitted with a 12-inch-wide footing to distribute the vertical load across the rock solid floor, but located below the planned finished concrete floor elevation.
The ceiling was a bit more complicated. Arched forms were fabricated in two halves from 2 x 4’s, plywood and plastic sheet. Each arched form had a 2-inch hole near the top center, to allow the cement grout to be pumped into the forms, using a manual grout pump. Our husband and wife team formed, mixed, pumped and placed each ceiling pour in a six hour day.

Once we got 17-feet deep from the face, the exterior front of the cave was walled off with cement block, heavily reinforced and anchored into the portal wall. Arched and sloping retaining walls were then built to retain not only the surrounding slope, but to offer resisting force back to the portal wall.
The floor and front walk were poured to tie into the surrounding patio, including post footings for the entry cover. Once the cover was built to tie in the house architecture, stone veneer and stucco was completed to complement the solid mahogany door built in the garage.
Finally, the interior was then covered in a smooth stucco finish for a rich, durable finish.