Boysenberry Wine: My “out-of-season” winemaking adventures
I’m lucky to live in Southern California where I can get access to some incredible wine grapes. But wine grape activities take place in the autumn. Then the wines go into their respective barrel or aging vessels and there’s not a whole lot to do until bottling time. There is a void in my hobby winemaking world. So to fill that space, in the winter and spring, I like to make some wonderful fruit wines! But before you go and say “harumph” to fruit wine, remember — grape wine is just a type of a fruit wine!
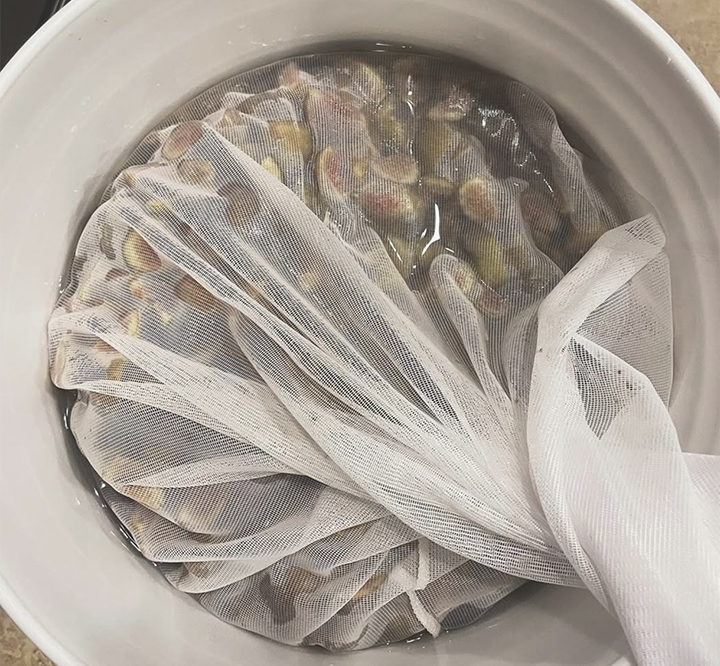
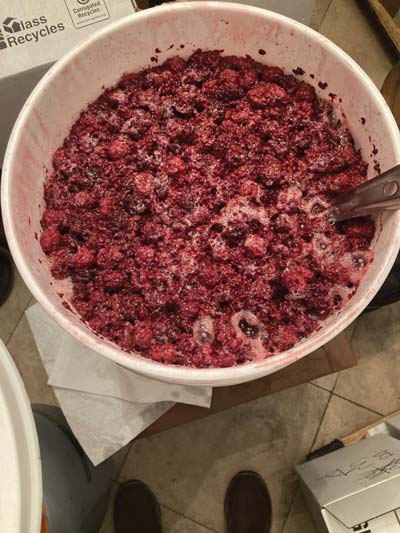
Unlike grapes, which can usually be harvested in one picking, boysenberries are hand-picked one at a time over a two-month period. My brother, Dave, and his wife, Michele, who live in Boise, Idaho, picked the berries between July and August, then froze them after they were picked. When he had enough for a batch of wine (and a few more pounds for ice cream — yum!), he shipped them down to me. I started the 2021 batch on October 5th with 23 lbs. (10.4 kg) of berries for a 6-gallon (23-L) batch.
After sanitizing everything, I added the berries, sugar, and water into a 7-gallon (26.5-L), food-grade bucket. I added about 11 lbs. (5 kg) of table sugar, targeting 25 °Brix for the must. One habit I use with fruit wines is that I buy and use bottled drinking water to bring it up to 6 gallons (23 L); I don’t use tap water. (Hint here: Use an electric drill with a stir attachment to dissolve the sugar.) Finally I added about a gram of potassium metabisulfite (KMBS) and pitched Red Star Premier Classique yeast.
After the fermentation was done I used a strainer to separate the solids, transferred the wine to a carboy, added more KMBS, and topped it off to 6 gallons (23 L). At this point there were still a lot of solids in suspension but as it sat and aged in the carboy most of those solids precipitated to the bottom. After some settling, I racked the clearer wine off the top and tossed the solids.

Unlike grapes, which can usually be harvested in one picking, boysenberries are hand-picked one at a time over a two-month period.
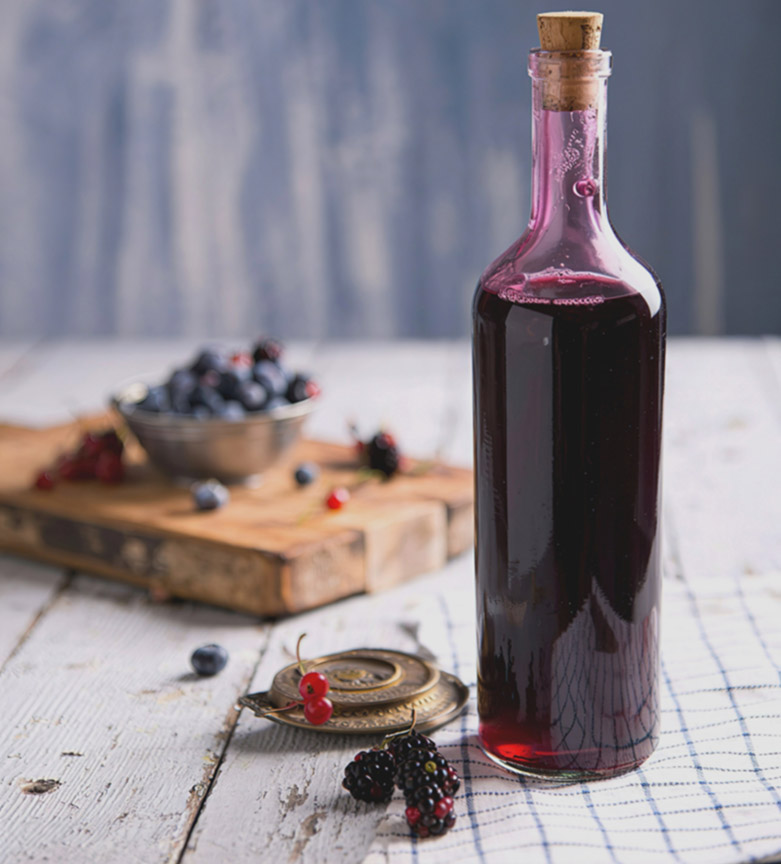
After about two months and a couple more rackings, I filtered my boysenberry wine and it was BEAUTIFUL, with a transparency and maroon color you have to see to believe! But upon tasting I found it was pretty tart. As many country winemakers know, all of the sugar had been turned into alcohol and the fresh boysenberry flavor was muted. So next up for this wine: Backsweetening.
To decide how much sugar to add to backsweeten the wine, I set up a bench test. With the help of friends, who NEVER say no when offered free wine for their opinions, as well as Dave and Michele, who came down from Boise to help take part in this process, we got down to business.
The first glass was with no additional sugar. The second glass had ½ tsp. of sugar. The third glass had 1 tsp., the fourth had 1.5 tsp., and the fifth had 2 tsp. We came up with either #3 and #4 as our collective favorites. Another round was poured honing in the exact amount of sugar to add. Once the favorite was picked, I measured the Brix with a hydrometer of the chosen wine. For this given batch the measured Brix in the glass was +2 °Brix (specific gravity 1.008), which equated to adding 2.5% residual sugar with backsweetening.
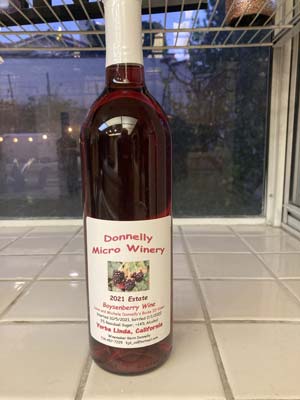
Next I needed to stabilize the wine so it wouldn’t start refermenting. I used sorbate and sulfites to stabilize the wine before adding the sugar. I ended up adding about three cups of sugar to reach my desired flavor . . . not overly sweet, still a little tart. Now that the wine is sweetened to my taste, it’s time to bottle and wrap up this project. I decided on clear, flint bottles to show off the beautiful color of the wine.

I know some winemakers don’t feel the time is worth it. Well I’m not one of them. I have a wonderful beverage to share with family and friends that make great gifts any time of the year.