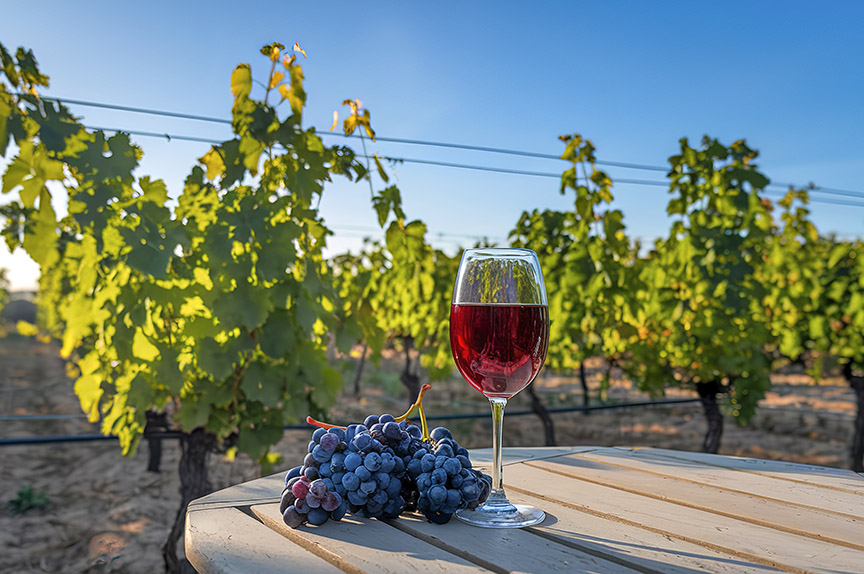
Chambourcin: A vigorous, dark hybrid
Grape hybrids get little respect in the world of winemaking, but what those who don’t respect the hybrids fail to remember is that it was the development of hybrids that literally saved the world of winemaking and shaped it to what it is today.
A hybrid is the progeny of two different species that have been cross-pollinated. At one point in winemaking history, there was also the uncertain world of viticulture due to the root louse, phylloxera (Daktulosphaira vitifoliae) and it was cutting edge hybridization that took center stage in an effort to battle the pest. Chambourcin is not an old hybrid, albeit relatively new to the hybrid scene, being released in 1963, but it does get a little more respect than other hybrids because of its ability to improve color in other wines without taking away from the other grapes’ varietal character and not contributing to negative characters thought of with native American varieties.
Briefly back to the phylloxera story, understanding that the pest was imported to Britain and France by botanists bringing back cuttings from North America, the plant breeders sought to take the desirable character of phylloxera resistance from the North American grapes, and breed them with the desirable traits of wine grapes, Vitis vinifera sp. In the end, there were undesirable flavor characteristics in the North American phylloxera resistant varieties that just didn’t breed out of these hybrids. This ‘foxiness’ seemed to take away from the traditional flavor profiles so many people were used to tasting with vinifera-based wines. So botanists started to develop resistant rootstocks for which the vinifera varieties could be grafted onto and maintain their vinifera characters. But the grape breeders kept on trying, and are still working on varieties that are disease resistant to fungal diseases, phylloxera, root nematodes, color and tannin profiles and cold hardiness. The coup d’etat for any breeder is developing a hybrid with all these traits in a single plant.
In the case of Chambourcin, the exact parentage is not well known. It was originally named Joannes Seyve 26-205. Its developer, Joannes Seyve died and apparently left little documentation of his work with this variety. One source lists the variety as a cross of Vitis vinifera sp. to one of the “better” Seibel hybrids, while the National Grape Registry lists its parentage as Seyve-Villard 12-417 x Seibel 7053. Seibel is a classification of grapes originating from French viticulturist Albert Seibel (1844-1936), who was known for his work in developing many phylloxera resistant hybrids to be used in breeding programs. Seibel produced more than 16,000 hybrids, of which about 500 were developed into commercial varieties. Seyve-Villard is a classification of grapes created by another French botanist Bertille Seyve and his father-in-law Victor Villard.

Unlike typical hybrids, Chambourcin is a monoglucite. Chemically speaking, on a molecular level this refers to the single glucose moiety on the specific anthocyanin, Malvidin. Malvidin is a specific anthocyanin responsible for color in wines. Alternatively, the native American species and most of the French-American hybrids contain a diglucoside moiety. In today’s winemaking world, where hybrids are illegal to import to the European Union, there is a test to determine if hybrids were used in the blend to as little as a one percent component in the blend. Blending some Chambourcin in to a Cabernet or Merlot and exporting to the European Union would be difficult to detect, but is illegal. Using hybrids domestically is a legal process and in some cases does spruce up a blend a little bit.
In the field, the variety is moderately vigorous and easy to grow. It is late to bud and requires a relatively long growing season — approximately 150 days from bloom to harvest. It crops heavy on both primary and secondary buds and cluster thinning is often employed to control over-cropping. Matching a rootstock with specific soil conditions can also control vigor. In a six-year study at the University of Pennsylvania, Chambourcin averaged yields of approximately six tons per acre. While this is actually low for some varieties grown in regions with long growing seasons, like California, over-cropping will delay ripening. With an already long growing season, it is not prudent to over-crop Chambourcin to sacrifice quality. Reducing yields to three to four tons per acre concentrates the fruit.
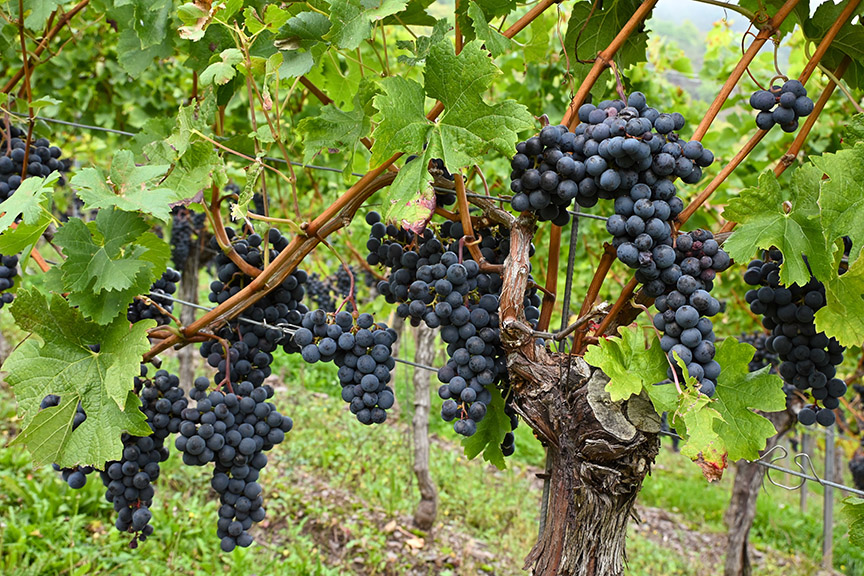
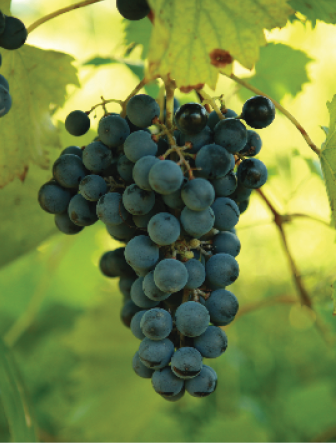
Chambourcin is rated as highly susceptible to black rot; moderately susceptible to Botrytis bunch rot and downy mildew; and slightly susceptible to powdery mildew. A good spray program is needed to control these diseases, however; it is reported to be sensitive to injury from sulfur so it would be best to consult with your local farm advisor on what to use in the vineyard. The berries are black, and ovoid, on large loose clusters. Like many other interspecific hybrids, the grapes are pulpy.
Chambourcin has limited planting in the world. Though it was developed in France, there are few regions of the country that grow it. Chambourcin is only used in the Nantes region of the lower Loire Valley and it is only used in the lowest tier wines, specifically vins de pays or rosé wines. Other than France and the United States, you will only find Chambourcin in Australia.
Introduced to North America soon after its release in 1963, it took some time to catch on but soon became a favorite in the Mid-Atlantic states — New Jersey, Pennsylvania, Ohio, Virginia and the Carolinas. It is relatively tolerant to cold, but not so much to do well in the Finger Lakes region of New York or the mid-west, although there are some plantings in Missouri. As previously mentioned, it does have some susceptibility to fungal diseases, which given the generally higher humidity on the East Coast, the loose nature of the clusters helps thwart this problem.

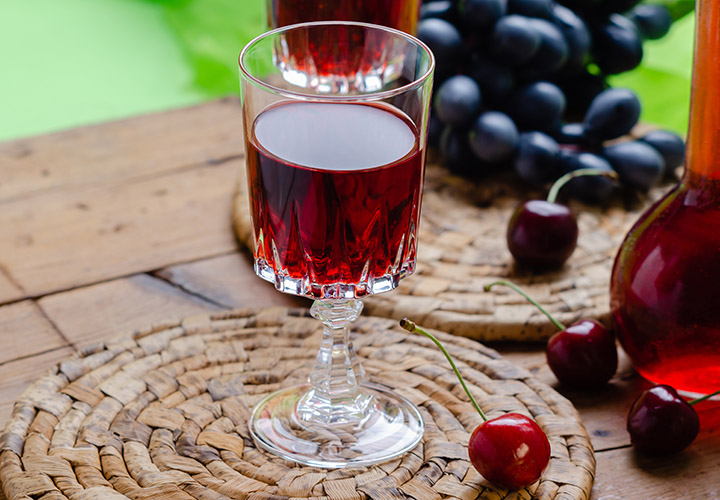
Chambourcin was first used as a blending grape to improve color in Pinot Noir, Cabernet Sauvignon, and Merlot. Improving the color of the former and softening the heavy tannin structure of Cabernet Sauvignon and sometimes Merlot. As winemakers worked with it more, it was found that Chambourcin can produce wines of light to full body with fruity aromas of strawberry, cherry and earthy/spicy complexities. Many listings describe Chambourcin being blended with Baco Noir or Marechal Foch for easy drinking of the young wine. The longest aging wines are those that were produced in relatively dry years, aging 20 years or more. There are listings for dry or semi-dry wines from rosés to full-bodied reds. The wines can be deeply colored. In Australia’s McLaren Vale, Chambourcin is made into a sparkling red; a true testament to its versatility. But who can resist a good bottle of bubbles?
Depending on vinification techniques, the wine can come up with a varied array of tannin structure. Hybrids are interesting grapes to make wine from. In a recent conversation with Stephen Barnard, winemaker for Keswick Vineyards in Keswick, Virginia, he told me that while the Chambourcin wines gave brilliant deep colors, reminiscent of Syrah/Shiraz, it was difficult to translate the tannins to the wine, adding to improved mouthfeel. After this conversation I was looking back through some notes on the recent American Society for Enology and Viticulture conference I attended. At the conference I heard about a project conducted at Cornell University in Ithaca, New York, on hybrids and tannin levels in the grapes and then in the resultant wines. Interestingly, the research showed that under laboratory conditions the skins of the hybrids studied — Baco Noir, Léon Millot, Marechal Foch, DeChaunac, Corot Noir and Noiret — had a two to four fold higher affinity for binding tannins. The bonds between these skins and tannins are evidently stronger than any of our typical means of maceration in order to release them into the wine. In conversation with other winemakers who produce red wines from hybrids, they also expressed frustration in translating tannins to the wines. Perhaps this is a trait that is common to Chambourcin as well.
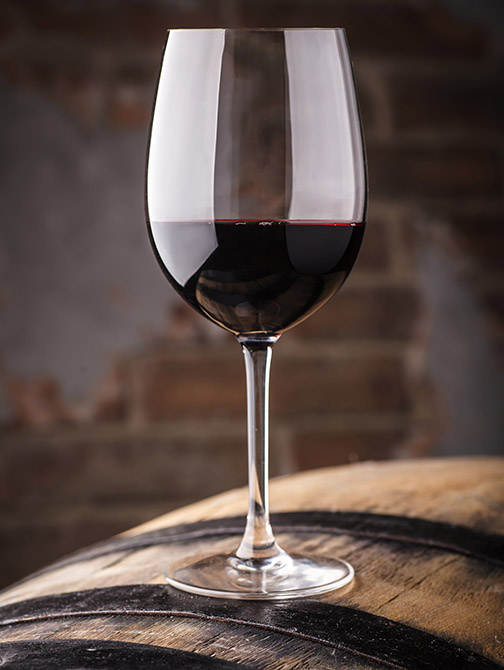
One way to enhance the tannin structure and mouthfeel of the Chambourcin wines is through barrel aging and getting extractives from the barrel — depending on the condition of the barrel this could take from 12 to 18 months in a 60-gallon (225-L) barrel. At least one producer ages the wines up to three years, as in the Riserva style reminiscent of Spain. On a small scale, careful use of oak adjuncts could be used to enhance mouthfeel. These should be used post fermentation, after the wine has been pressed, to rule out any potential problems of tannin-skin binding as described previously. We writers sound like a broken record on this, but remember to perform trials on a small portion of the wine before adding to the entire volume.
It’s hard to say why Chambourcin did not crack the big-time as a world-famous variety. This is a grape that seems to have a great many positive attributes associated with it, but holds the stigma of being a hybrid. Acceptance of hybrids is something of a local need — that is, understanding what does well in a particular region, planting it and crafting the grape into wine. Commercially, acceptance is hard as is evident by the volume of hybrid-based wines versus vinifera-based wines. Being a hybrid is just plain tough!
And then there’s one last thing; the food-side of Chambourcin. Who could resist a wine that goes with barbeque, pork, beef or lamb? Even the rosé styles hold up to these same meats on a warm, muggy summer evening. Serve it chilled of course!
Chambourcin Recipe
Ingredients
• 125 pounds (57 kg) fresh Chambourcin fruit
• Distilled water
• 10% potassium metabisulfite (KMBS) solution. Weigh 10 grams of KMBS, dissolve into about 50 milliliters (mL) of distilled water. When completely dissolved, make up to 100 mL total with distilled water.
• 5 grams Lallemand D80 yeast
• 5 grams Di-ammonium Phosphate (DAP)
• 5 grams Go-Ferm (or equivalent yeast starter)
• 5 grams Fermaid K (or equivalent yeast nutrient)
• Malolactic Fermentation Starter Culture (CHR Hansen or Equivalent)
Other equipment or needs
• 15-gallon (57-L) food-grade plastic bucket for fermentation
• 5-gallon (19-L) carboy
• (1 or 2) 1-gallon (3.8-L) jugs
• Racking hoses
• Destemmer/crusher
• Wine press
• Inert gas (nitrogen, argon or carbon dioxide)
• Ability to maintain a fermentation temperature of 81-86 °F (27-30 °C). TIP: If you do not have other means to keep things cool, freeze several 1-liter bottles of distilled water prior to harvesting your fruit. This will be your refrigeration system for peak fermentation. Or, you may have a need to keep it warm, in this case wrapping the must in an electric blanket or other heat-generating source may be necessary.
• Thermometer capable of measuring between 40-110 °F (4-43 °C) in one degree increments.
• Pipettes with the ability to add in increments of 1 milliliter.
Step by step
1. Clean and sanitize all your winemaking tools, supplies and equipment.
2. Crush and de-stem the grapes. Transfer the must to your fermenter.
3. During the transfer, add 15 milliliters of 10% KMBS solution (This addition is the equivalent of 50 ppm SO2). Mix well.
4. Layer the headspace with inert gas and keep covered. Keep in a cool place overnight.
5. The next day sprinkle the Fermaid K (or equivalent yeast starter) directly to the must and mix well.
6. Prepare yeast. Heat about 50 mL distilled water to 108 °F (42 °C). Mix the Go-Ferm into the water to make a suspension. Take the temperature. Pitch the yeast when the suspension is 104 °F (40 °C). Sprinkle the yeast on the surface and gently mix so that no clumps exist. Let sit for 15 minutes undisturbed. Measure the temperature of the yeast suspension and the must. You do not want to add the yeast to your cool juice if the difference in temperatures of the yeast and the must exceed 15 °F (8 °C). To avoid temperature shock, you should acclimate your yeast by taking about 10 mL of the must juice and adding it to the yeast suspension. Wait 15 minutes and measure the temperature again. Do this until you are within the specified temperature range. Do not let the yeast sit in the original water suspension for longer than 20 minutes.
7. Add the yeast to the fermenter when it is ready and mix.
8. You should see signs of fermentation within one to two days. This will appear as some foaming on the must surface and it will appear that the berries are rising out of the medium. This is referred to as the “cap rise.”
You’ll need the ability to push the grapes back into the juice to promote color and tannin extraction. This is called “punching down” and should be done three times per day. Use a clean utensil or your hand to mix.
9. Monitor the Brix and temperature twice daily during peak fermentation. If the temperature shows any indication of exceeding 86 °F (30 °C) then place your frozen water bottles into the fermentation and mix the must. Wait 15 minutes, mix and check the temperature again. Repeat until the temperature falls between 81-86 °F (27-30 °C). Do not cool to less than 81 °F (27 °C). Alternatively, you may need to keep the must warm if you are in a colder climate.
10. At about 19 °Brix, sprinkle in the DAP and punch down.
11. When the Brix reaches 0° (about 5-7 days), transfer the must to your press, and press the cake dry. Keep the free run wine separate from the press portion for now. Label your vessels to keep the press portion separate!
12. Transfer the wine to your carboys or one-gallon (3.8-L) jugs. Your press fraction may only be a gallon or two (3.8 to 7.6 L). Make sure you do not have any headspace. Place an airlock on the vessel(s).
13. Inoculate with your malolactic (ML) bacteria. Check the manufacturer’s instructions on how to prepare and inoculate. Cover the tops with a breather to allow CO2 to escape.
14. Monitor the ML fermentation using a thin layer chromatography assay.
15. When the ML is complete, add 2 mL of fresh KMBS (10%) solution per gallon of wine. This is the equivalent to ~40 ppm addition.
16. Place the wine in a cool place to settle.
17. After two weeks, test for SO2 and adjust it as necessary to attain 0.8 ppm molecular SO2. (There is a simple SO2 calculator at www.winemakermag.com/guide/sulfite). Check the SO2 in another two weeks and adjust. Once the free SO2 is adjusted, maintain at this level. Now you’ll just need to check every two months or so, and before racking.
18. Rack the wine clean twice over a 6-8 month timeframe to clarify.
19. Bottle once the wine is cleared. (This will be about 8 months after the completion of fermentation.)
20. Make the project fun by having a blending party to integrate the press fraction back into the free run. You may not need it all, use your judgment and make what you like. Fining with egg whites may be necessary to tame the tannins.
Notes:
The recipe calls for specific additions of sulfur dioxide at specified intervals. Once these scripted additions are made, you must monitor and maintain to 0.8 ppm molecular, adjusting as necessary using potassium metabisulfite solution or other methods. Testing can be done at a laboratory or using commercially available kits. Remember that sulfur dioxide is an inhalation hazard. You should work with it in a well-ventilated area.
yield: 5 gal/19 L