Master the Backyard Harvest
It would not be an exaggeration to say that harvest is the most important day in the winemaking/winegrowing calendar. There are hundreds of products that are meant to improve a wine’s flavor, structure, color, or aroma — but none are needed if we harvest on the right day, in the right moment, to make the right wine.

Nothing is more important than executing a perfect (or nearly perfect) harvest in the vineyard. I inserted “nearly perfect” into that sentence for good reason. Nature, weather, family, equipment, and the other dozens of factors in a good winegrape harvest are fickle, arbitrary, and sometimes, downright cursed. Grapes want to make wine, and wine wants to make vinegar. Nature rarely seems to care about us or our attempts to make a good vintage, so it requires our own study and agency (hard work) to bring in the literal fruits of our labor to feed to the yeast and make a drinkable bottle.
Harvest can quickly become overwhelming or test our resolve to let the fruit ripen fully. Much of these problems come from a lack of preparation or education — how we set ourselves up for success by study, preparation, and execution. This article intends to give you the tools to step up to whatever nature can throw at you and come out the other side of harvest with a few bubbling carboys, or even a barrel or two for the truly committed.
We will look at a lot of best practices, though know we are only scratching the surface in this article to make you aware of what you may need to research deeper in books and online. This should be a great primer — in other words, you’ll know all the potential issues and solutions by the end of the article. There is no substitute for experience and hard work, so let’s get into the vineyard!

With successful backyard harvest and drinkable wine the goal, here are our subjects for this article:
• Prepping the vineyard for harvest
• Testing fruit and choosing a harvest date
• Getting and educating a crew
• Executing harvest for quality

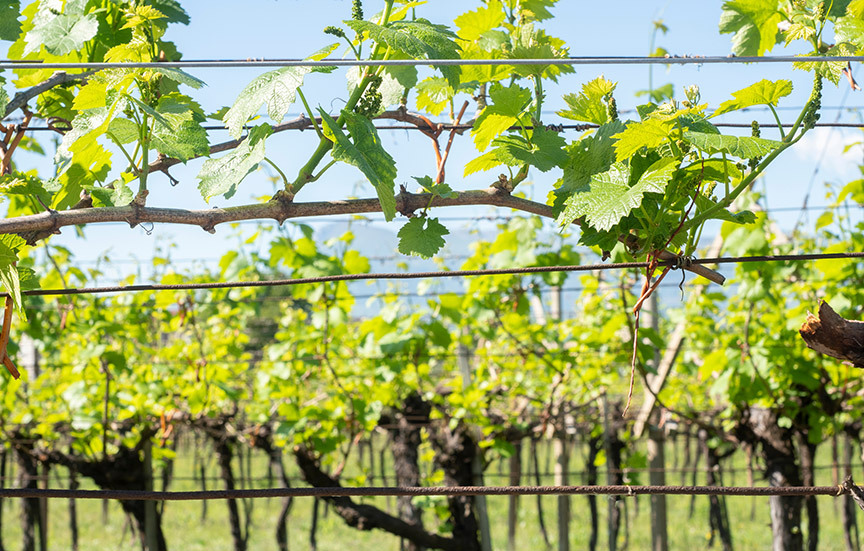
Prepping the Vineyard for Harvest
Anywhere from a couple of days to a week or two prior to harvest, walk every row and look for things that may cause harvest to slow down. Such things include gopher/squirrel/badger holes that might injure workers moving with heavy buckets. Fill dangerous holes/dens in the soil with a shovel and compact them flat. Be doubly careful if you plan to harvest at night or early morning.
Just prior to harvest, make sure the nets and other equipment are pulled and the rows are clean from obstructions, tools, vehicles, and anything else that may get in the way.
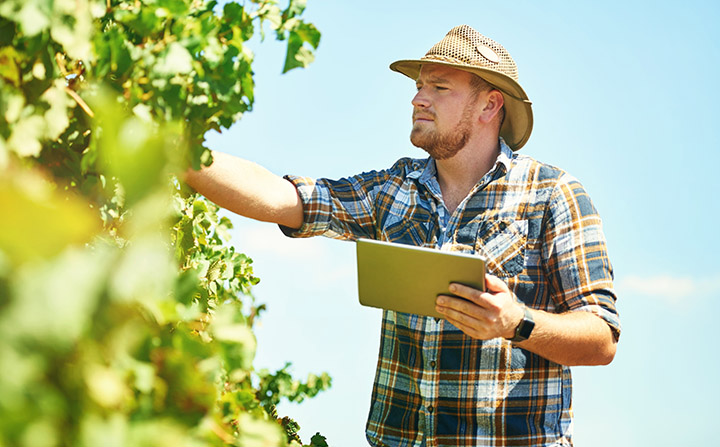
Testing Fruit and Choosing a Harvest Date
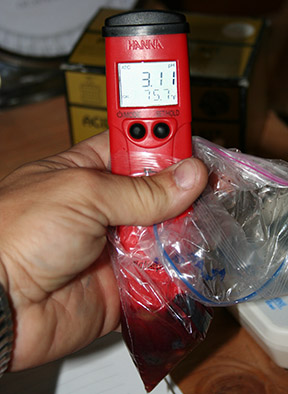
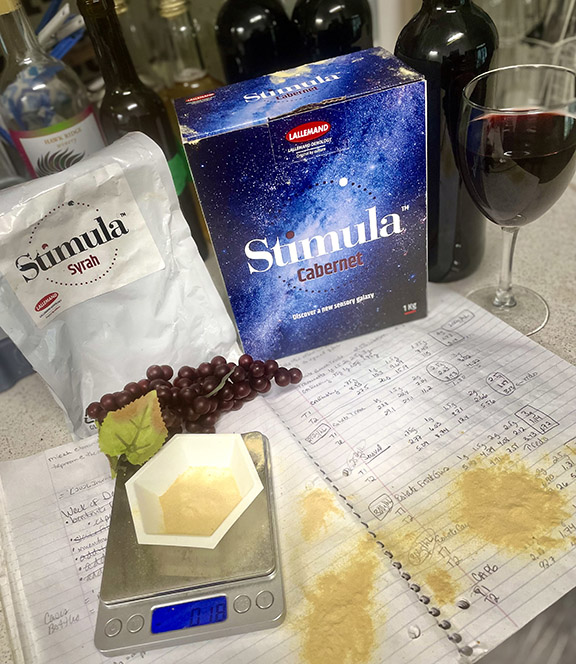
Testing fruit is an art unto itself. I’m going to give you my magic formula: 3,5, or 7. Choose one of those numbers. Never test the fruit on the outer rows of the vineyard, as those areas get the most damage of every kind. For a small vineyard, choose the number 3. Go 3 rows in, 3 vines in, and then clip the third cluster counting from the way you are walking/collecting. Then turn to the row in back of you, go 3 more vines and cut the third cluster. In a tiny vineyard, you can collect berries instead, but I would use the same protocol and choose a berry from the top, middle, and base of that cluster instead of the whole thing. I prefer cluster samples. The key here is random sampling. Humans will always choose the ripest fruit if given the option, so you need to stop your brain from doing that. I find samples pulled by eye, instead of at random, run 1–2 °Brix higher than what the fruit finally crushes out at in the winery.
That’s the difference between a ripe wine and a green wine you might not want to drink.
Next, measure the pH and acidity. Measuring pH is usually pretty easy and economical, and for 95% of all home growers and winemakers, is enough to make a harvest decision (along with Brix). I like pH of 3.2–3.4 for whites and 3.3–3.6 for reds. If you have the skills to measure total or titratable acidity (TA), it can help identify vintage trends and fine-tune your relationship with pH — but TA is far less important to me as a winemaker than pH and Brix. Having a pH meter in your kitchen/lab is almost necessary for those who take their winegrowing seriously, and make sure to use buffers/calibration to insure accuracy.
Remember to let red grape samples sit crushed on their skins (I use a Ziplock bag) for 12 hours before measuring Brix and pH. White fruit can be crushed to juice and tested immediately. Never make a harvest decision on a single berry juiced into a refractometer. However, refractometers are very handy when using a combined field sample (taken randomly, as described earlier) and should give you the data you need as a home winemaker to determine a harvest window. A graduated cylinder and a hydrometer (with a thermometer that shows adjustments to Brix) are more accurate but require more juice than you might want to sacrifice. I like whites to be 22–24 °Brix and reds 23–26 °Brix at harvest — lower for nervy wines, higher for softer, fruitier styles.
Weather often plays a big role when determining a harvest date. Weather challenges all farmers. The question that is most difficult is whether the weather will cause irreparable harm to the vintage if you don’t get the fruit out before the climate event. I consider a bit of rain a non-issue, say under an inch (2.5 cm) or so, as it will hardly get to the roots. A deluge/heavy rain event will likely dilute the grapes and make a lighter wine. Frost will kill the leaves and make harvest very challenging (keeping dead leaf bits out), heavy hail can damage clusters. Experience will guide you, and you can always chat with other local growers and see what they plan to do. Some of the best harvest decisions I’ve made were to wait out weather — but also know I grow wine in California, and we rarely have weather that can harm a vintage significantly.
Heat spikes are what we deal with in fall in California. If a heat spike is coming and the fruit is ready, I would pick. If you still need a bump of sugar/flavor, I would irrigate about 5 gallons (19 L) per plant and let the first day of the heat spike pass, test that night and see how fast the Brix is rising. Even if the heat gets to the fruit, you can always add water and acid to the must to balance it. I used to believe that adding water/acid was a failure of my farming, until 2010 when I made a Pinot Noir from 28 °Brix fruit, and got a score in the mid-90s from Wine Spectator. It is always better to make adjustments when necessary than make do with subpar grapes.
When it comes to harvest timing, choose the perfect day to pick your wine by chemistry and weather, not by when your friends can come and help/play/drink/have dinner. Fewer pickers on a perfect morning is greater than a huge crew picking substandard, unripe, or overripe fruit.
Executing Harvest and Educating Your Crew for Quality
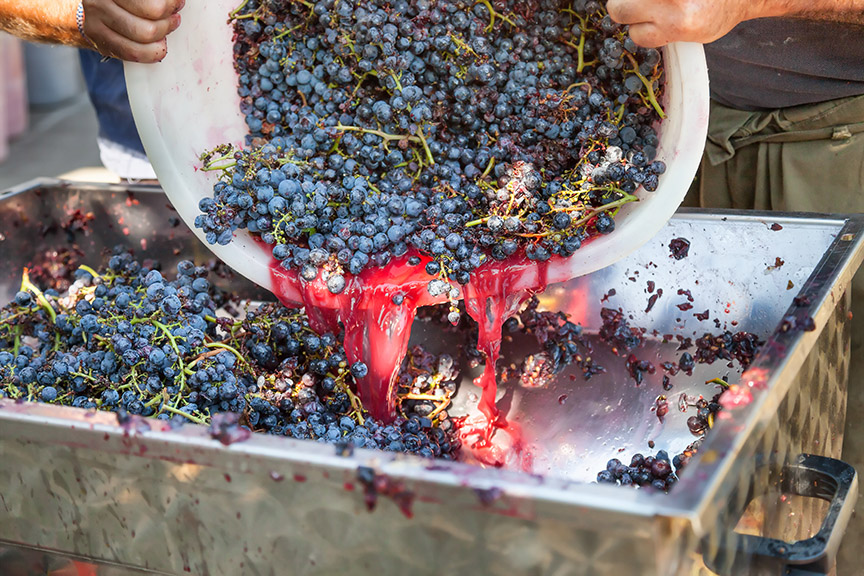
Just prior to harvest, have all of the equipment and tools you’ll need for harvest clean, in working order, and accessible. This includes the containers you’ll transport grapes in. Stacking picking lugs are used by a lot of high-end growers/wineries, but can be expensive to purchase and difficult to store and maintain. I like 5-gallon (19-L) plastic buckets, personally, which should be rinsed and dried before stacking. Depending on how many buckets you have and how much fruit is going to be harvested, you may want to crush as you go if your winery is close enough to the vineyard so the buckets can be returned empty to the crew by runners. Picking bins (1,000 lbs./450 kg usually) are great, but will require a forklift to move around, and a hydraulic bin-dumper and commercial-sized equipment to use.
I always recommend harvesting at night or before the sun comes up in the morning. Once you harvest at night, you’ll never go back to the sun and sweat. Get yourself some headlamps at Home Depot, and maybe some floodlights if you have a place to set them up to illuminate the bins/bucket stations and vineyards. The fruit will come in cooler and with less feral ferment — and the wine is almost guaranteed to improve.
Bring the fruit in cold or chill it down. I like to crush both reds and whites under 60 °F (16 °C). Food-grade dry ice is a great way to cool down red must. Chilling white juice in a fridge or a cold room works. I don’t recommend adding dry ice to white juice — I once saw a winemaker try to chill down a tank of Viognier by throwing dry ice in, and it erupted like a volcano out of the top like a seventh-grade science fair project at the rate of about $1,000/second. Ouch!
Keep in mind that many hands make light work: Most amateur pickers are good for only an hour or two. When lining up volunteers, double the crew you think you need and it will be picked out before the crew gets lazy. Then make sure you have enough harvest snips (not bypass pruners) for everyone who will be cutting clusters.
Educate volunteer pickers about how to do the job right. Some points to make include:
Don’t cut what you can’t see. Make sure the crew knows this Golden Rule of harvest. Clipping blind is how I have clipped my own hand, a few times quite seriously. Which reminds me, keep a first aid kit in
the field!
Punish the vine, pamper the cluster. This means that a vine can take a lot of twisting and pulling, but the cluster should be picked gently and arrive sound and uncrushed at the winery. Excellent looking grapes is what we’re looking for at the crusher/destemmer.
No clippers or MOG (Material Other than Grapes) in buckets. I have learned that whatever goes in a picking lug or bucket ends up in the crusher. NEVER allow a picker to hang their clippers on a bucket during a break or while moving to a new vine — one pair of clippers in your destemmer or press will kill the fun for a whole year! MOG also includes things such as leaves, green tape, burritos, frogs, lizards, or a Coke can. I have seen all of these in a fruit bin, so make sure the pickers know the rule: Only good clusters in the buckets. My rule is if I wouldn’t eat it, I don’t want to make wine from it (the burrito example doesn’t work great for this saying, but you get the point).
Have the crews leapfrog and check for missed clusters. I like to send one designated picker back through a finished row to check for missed clusters — and sometimes entire plants — that were skipped. This is very important for night picks, where more fruit is missed.
Make sure to eliminate second crop/green/pink. Show the crew examples of fruit you do want (ripe, whole, no insect/bird damage, looks good to eat), and fruit you do not want in the buckets/lugs/crusher (green, pink, damaged, second crop/tiny clusters high on the shoots/canes).
Sorting is key. If you are careful in your picking and sorting in the field, and you slowly pour the grapes into the crusher/press with someone watching to snatch any MOG — that should be enough. Sorting tables are OK, but you lose juice and may oxidize the must before it can get into a fermenter. Educating your pickers to sort well in the vineyard is key if avoiding sorting tables.
One more consideration at the time of harvest is whether you’ll be using sulfur dioxide at this stage. If the fruit is pristine as you process it, no sulfite/SO2 may be required at the crusher. I would use 20 ppm, personally, but other winemakers choose to use none. The more damaged the fruit (mildew/rot/bird or insect damage), the more SO2 can be added at the crusher, but I like to keep it to 50–60 ppm total for the worst examples of damaged fruit, which will minimize vinegary odors and destroy the unwanted germs/microbes swimming in the damaged grapes and juice. In red wine, use 150 gallons of juice per ton of grapes when calculating the addition (on a smaller scale this is equal to 7.5 gallons/100 lbs. or 28 L per 45 kg). For whites, just measure the volume of juice for the addition. Be cautious with your math. You can always add more, but it’s hard to neutralize after it has been added.
Let’s Go!
Harvest only comes once a year, and the moment that is commences, the potential quality for the whole vintage is locked in and defined. Remember all the hard work it took to grow those grapes, and follow through with the passion and energy needed to pick the fruit at the right moment, with the right crew, and with the right equipment.