Petite Sirah: The little grape with big color

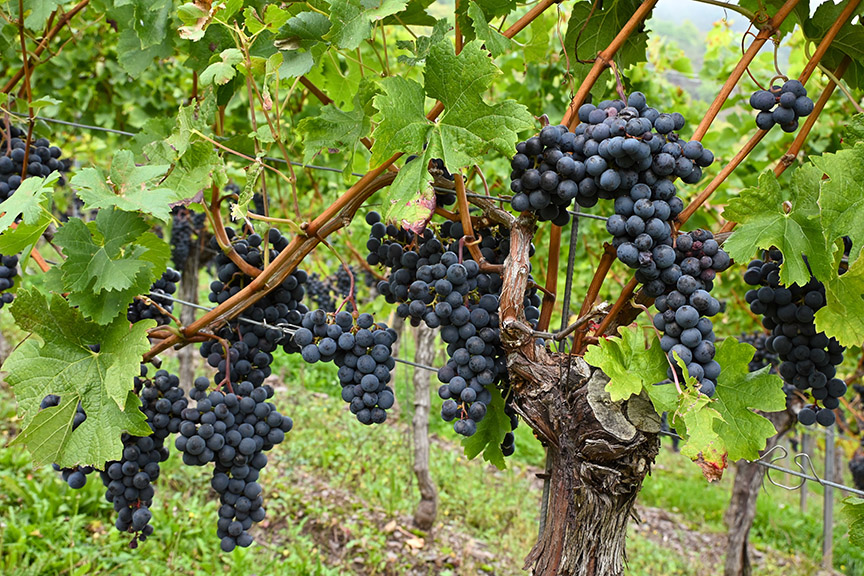
Walking the loading docks of a large grape distributor early in the morning, my eyes travel over an endless sea of crates of grapes, looking like precious gems in the dim light of dawn. Rich hues of gold, light mauve, and deep crimson grapes are stacked everywhere, awaiting purchase by an enthusiastic home winemaker or winery. But one pile of large, onyx, spheres catch my eye, dwarfing the other varieties around it, the Grand Durif, or Petite Sirah.
The name Petite Sirah is wildly misleading as the grapes are a smaller berry, often the size of a thumbnail, but grow in clusters sometimes as long as a forearm. Due to the high grape skin-to-juice ratio, these behemoths generate a wine that is incredibly pigmented, rich in black fruit character, and with elegant and lasting tannins that make a great impression upon the drinker’s palate. Nothing petite about it, the Petite Sirah grape has become a staple in my winemaking portfolio and personal collection.
The origin of Petite Sirah was largely unknown until the late 1990s when researchers at UC-Davis successfully verified the pollen source of Syrah, pollinating the variety Peloursin almost 100 years prior. Peloursin is a French variety that is native to the Rhône-Alps area. It is not widely used in modern winemaking with only small holdings still in France and Australia. In the 1860s, French botanist François Durif found a new variety of grape growing in his home vineyard, amongst the Syrah and Peloursin vines. Most likely caused by wind-driven cross pollination, the new variety had the rich deep color of Syrah accompanied by its black pepper and black tea notes, with a lively acidity contributed by the Peloursin. In 1868, ampelographer Victor Pulliat named the new variety Durif, and it has gone on to be planted in many New World growing regions.
In the Vineyard
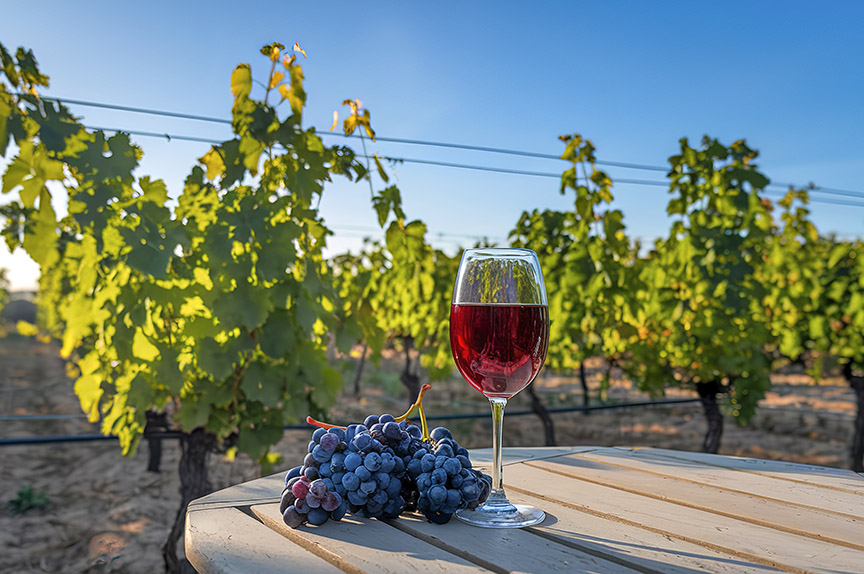
While Petite Sirah may be prevalent in my personal wine cellar, it is not a widely popular variety. There is estimated to be less than 10,000 acres of Petite Sirah planted worldwide, with the largest plantings located in California. There is also immense success with plantings of Petite Sirah in Australia, South Africa, and Israel due to their arid and hot climates. The variety is sometimes vinified and bottled as a single varietal, but is also often used as a blender grape in small amounts to fortify a vintage of red that is lacking in pigmentation, structure, or black fruit flavor.

Petite Sirah is as big in the vineyard as it is in the glass. Vines are very vigorous and can adapt well to clay soils that retain moisture, as well as the traditional gravelly loam soil that benefits grapevines. The leaves are quite large, helping to protect berries from sunburn as they ripen in their preferred hot climates. In sites with high vigor, some shoot thinning and leaf pulling may be necessary to achieve full phenolic ripeness within the berries. The variety tends to try and overcrop, which may be exciting to the small-scale viticulturist, but having an overcrop may weaken the acidity and phenolics of the resulting fruit. In hot climates, care must be given around harvest to pull the fruit before it loses its balanced acidity and starts to generate cooked fruit flavors rather than the typical fresh fruit notes of blueberry, plum, and cassis for which it is known.
The vines have above average disease resistance. They have shown high levels of resistance to downy and powdery mildews, partly due to their preferred warm growing climates. They have some potential for issues with bunch rot as the clusters are reasonably tight and can retain water if exposed to prolonged rains. Vines can be trained on a vertical shoot position (VSP) style trellis, but I have often seen Petite Sirah head pruned in warm growing regions such as Lodi, California, and Israel. This will produce fewer bunches of grapes, but often better quality, with the plant’s energy being concentrated into ripening the lesser amount. Head pruning is more of an ancient technique of grape growing, creating a goblet-like shape of the grapevine, with the spurs growing from the tops of the trunks and relying on the trunk for vertical strength rather than a trellis. This style of grapevine training also requires less irrigation in arid areas, which is beneficial to the California and Australian growing regions where Petite Sirah is popular.
In the Winery
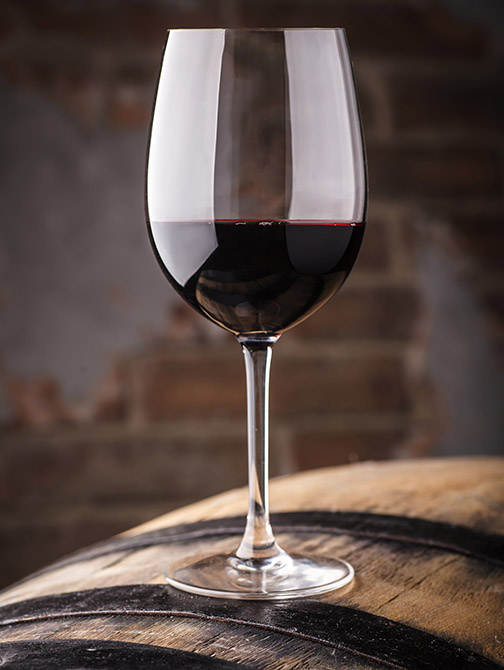
Petite Sirah can be a shining standalone varietal or an important blending grape. Due to the smaller berry size, this variety creates a tannin-forward wine that benefits from aging. When used as a blending component in wines it contributes significant color and structure. The benefits of the longer chain grape tannins may take a few years to elongate and smooth out to a preferable mouthfeel, but it has proven to be well worth the wait to arrive at the beautiful palate structure this grape can provide. The natural acidity of the grape can fade after prolonged aging — 7 to 10 years is a preferred duration of storage before the acidity begins its natural decline.
I find it helpful to move the rollers of the crusher in a bit tighter when working with this grape to be sure that each individual grape is cracked open. I do not want aggressive tearing on the skins, but a gentle pop of the grape. The clusters are typically quite long so I also turn down the auger speed within the crusher to allow the clusters to pass through more slowly, cleaving all the grapes from the cluster.
After crush, there are quite a few stylistic choices a winemaker faces regarding the yeast strain choice. If the vintner prefers a more fruit-forward wine that is ready to drink earlier, I suggest yeast strains RP15, Fermivin MT48, or ICV GRE. If the vintner desires a more ageable, full-bodied, high-alcohol wine with enjoyable savory character, then yeast strains CLOS, Syrah, and NT202 may be better choices. These yeast strains will promote the fruit as well as herbal and black tea characters of the grape, but do create a wine that benefits from more long-term aging to see its full potential.

Tannins should also be added in the fermentation process. Small amounts of tannins are used up in the fermentation process, potentially depleting some of the natural tannins contributed by the grape skins. These grape skin-based tannins are longer chain tannins that will feel smoother on the palate during and after the aging process. By adding oak dust or a tannin powder to the fermentation, these tannins will be “sacrificial” and help to preserve the more desirable grape skin tannins.
Aging a Petite Sirah for a minimum of two years is critical to the full development of its characteristic flavor and mouthfeel. The linking and elongations of the tannins is very noticeable over the first two years of its aging life, going from a coarse and rough feeling on the palate to emerging with full body and a silky and coating mouthfeel. Aging with oak is traditional for the varietal, either in barrel or with oak chips or staves. I have sampled Petite Sirah aged on both French and American oaks and find that the higher concentration of vanillin in American oak can provide a nice suggestion of sweetness to complement the savory and black fruit character, especially in a wine that is going to be consumed early. French oak helps to amplify some of the earthy and spicy characters of the varietal, bringing out notes of leather, tea, and tobacco.
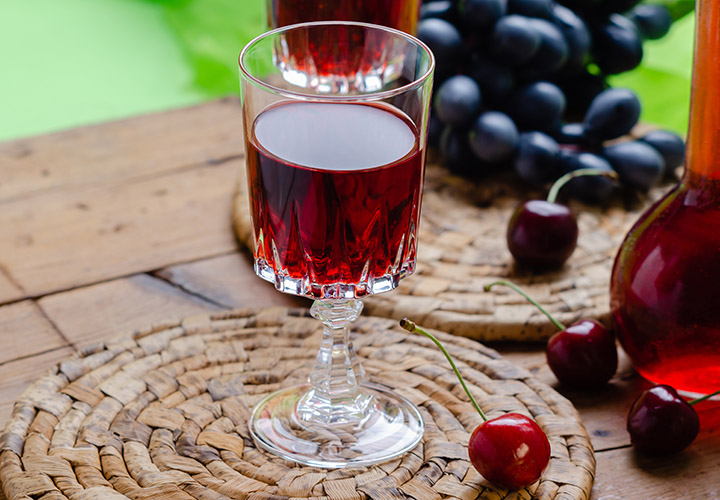
Petite Sirah has been making appearances in other areas of California wine portfolios beyond varietal red wines and as blending components. Wineries in Mendocino, Suisun, and Napa Valley have been utilizing it for rosé and sparkling wine productions. The grape variety holds its acidity well as it ripens, giving vintners the opportunity to make a higher-alcohol rosé with a full body and an exciting berry and herb flavor profile. Rosé of Petite Sirah often highlights notes of strawberry, Bing cherry, cinnamon, black pepper, lavender, and rose petal. The acidity of Petite Sirah also has lent itself to exciting and unorthodox sparkling wines. There are unique small batches of Petite Sirah made in a pét-nat style that continuously sell out and have waiting lists in Napa and Lake Counties. The pét-nat style of sparkling wine may be a bit more difficult given the tendency for Petite Sirah to have a bit of reductive character directly after fermentation. Proper nutrition and aeration during the ferment can help to avoid this development. Without any time to do a copper addition or make any amendments to the wine in a pét-nat style, the winemaker may run a higher than average risk of off-flavors in the bottle. But the descriptions of the sparkling pét-nat productions boast of ripe cherry, lavender, and bubble gum, making it sound like a worthwhile experiment for the adventurous home winemaker interested in leveling up their craft and taking on a challenge.
Petite Sirah/Durif Recipe Yield 5 gallons (19 L)
Ingredients
125 lbs. (57 kg) Petite Sirah grapes
Sanitizing solution of potassium metabisulfite (KMBS)
KMBS powder and citric acid powder
5 g yeast (Fermivin MT48, ICV GRE, CLOS, or RP15)
Liquid pectic enzyme
7.5 g Go-Ferm Sterol Flash
7.5 g Fermaid O
5 g Fermaid K
5 g Opti-Red (optional, but helps)
5 g Booster Rouge (optional, but helps)
5 g oak dust, French medium+ toast
1 packet MLF bacteria (Wyeast liquid cultures)
Distilled water
French medium oak chips, cubes, or spiral
Step by step
1. Make a fresh batch of KMBS sanitizing solution using 1 Tbsp. of KMBS powder and 1 Tbsp. of citric acid mixed into 1 gallon (3.8 L) of clean water. Fill a spray bottle with this solution and spray down your processing equipment. Ensure there is no pooling of sanitizer in bins or press basins.
2. If using fresh grapes, crush and destem and transfer immediately into a sanitized 15-gallon (57-L) fermentation bucket.
3. Add 50 ppm of KMBS to kill off natural yeast. Utilize the sulfite calculator at www.winemakermag.com/sulfitecalculator to assist in your calculations. Throw a cover on the must bucket and allow to sit overnight in a cool area. This will kill off negative microbes and allow the must to come to a temperature of 60 °F (16 °C).
4. Twelve hours after the addition of KMBS, add 5 drops of pectic enzyme per gallon (3.8 L) of must and stir well. Add the oak dust and stir well.
5. Take measurements of your juice, including volume, Brix, pH and TA (titratable acidity). Adjust the juice to have a starting Brix of at least 24, a pH of ~3.5, and TA of 6–7 g/L. Utilize potassium bicarbonate to reduce acidity. www.wineadds.com has helpful calculators for adjusting acidity in must.
6. To prepare the yeast, warm up 50 mL of distilled water to 60 °F (16 °C) and add to a mixing bowl. Then add the Go Ferm Sterol Flash. Stir well. Then add five grams of yeast and stir well. Allow to sit for 15 minutes. Then mix in thoroughly to the juice with a sanitized stir paddle.
7. Place a lid on the fermentation pail loosely and wait 24 hours to observe yeast activity. Take Brix measurements twice daily via a hydrometer to ensure the start of fermentation. Take temperature measurements daily and keep between 70–85 °F (21–29 °C) to help secure color but also avoid off aromas. To do this, you may need to put the fermentation bin in a cool area of your basement, outdoor porch, or refrigerator, or in a larger bin (garbage pail) filled with ice water.
8. Punch down the cap and aerate the must three times a day at a minimum to help avoid reductive characters. Adding the yeast nutrients at their appropriate times will also help to avoid reductive characters.
9. After a day or two of fermentation, check the Brix and if it has dropped by one or two degrees, it will be time to add some nutrients. Add 100 mL of distilled water to a mixing bowl and add 7.5 g Fermaid O and the Opti-Red and Booster Rouge if you choose to use them. Mix well to create a slurry and then stir into the fermenting juice with a sanitized stir paddle.
10. Continue to monitor Brix and temperature daily (twice daily would be preferred). When the Brix has declined to between 15–11 °Brix, add the Fermaid K in the same way you added the Fermaid O.
11. When the temperature is between 75–80 °F (24–27 °C) and the alcoholic fermentation is well underway, wipe the Wyeast MLF packet of bacteria with a cloth wetted with sanitizing solution. Pat to dry, and then tear off the top and pour it over the must. Stir to punch down the skins and incorporate the bacterial cultures.
12. Continue to ferment as close to 80 °F (27 °C) as possible until the wine has fermented to dryness (-1 to -2 °Brix). This should take 7–21 days.
13. Press out the wine in a sanitized press and pour all of the wine into a 5- or 6-gallon (19- or 23-L) carboy to complete its MLF. Make sure to affix a bung and airlock to prevent oxidation and allow the MLF to off gas.
14. After 5–7 days, rack off the lees into a clean, sanitized carboy. Affix bung and airlock and allow to sit for a month. If you have an air gap after racking, either top off with a complementary wine such as commercially made Petite Sirah or Syrah, or add sanitized glass marbles to displace the headspace.
15. When the MLF is complete, rack the wine and add 50 ppm of KMBS.
16. One month after the initial racking and addition of KMBS, rack it again into a sanitized carboy and add another 50 ppm of KMBS. Consider degassing at this point, briskly stirring with a wine whip during a racking session. Always be careful when using this tool in a glass carboy. Consider racking it into a food-grade bucket and degassing in that. Never put a glass carboy under suction or negative pressure.
17. While the wine is aging, consider the addition of oak chips, cubes, or staves to add a bit of oak to enhance the wine
18. Allow the wine to sit and age, maintaining a free SO2 level appropriate for the pH. WineMaker’s sulfite calculator will help you determine the proper dosage given the parameters of pH and volume. You can filter the wine after 8 months of aging if you choose. At this point, it should have been racked about 4 times and have completed its oak aging.
19. Consider cold stabilizing or acquiring a cold stabilizing product such as Zenith Color. This product may only be used if the wine is filtered down to 0.5 micron as turbidity will interfere with their effectiveness.
20. Once cold stability has been achieved, taste the wine and consider if it is ready to bottle. Fining agents such as Super Kleer or mouthfeel enhancers such as gum arabic may help to improve mouthfeel and clarity.
21. Bottle wine once you are content with the flavor and stability of the wine. Always add a small amount of sulfite before bottling — 10 ppm beyond the sulfite calculator’s recommended value — to account for oxygen uptake during the bottling process.