Touriga Nacional
 I was a late bloomer when it came to seeing the world. It wasn’t until 10 years ago that I had the opportunity to start traveling internationally. Despite growing up in an airline family, and the reduced fare traveling privileges that come with it, this airline only flew domestically when I was eligible. But with my entry into the wine industry, some travel doors later in life really opened my mind to the concept of “other” grape varieties. Little did I know at the time, it was a good primer for a future regular columnist at WineMaker magazine!
A trip to Portugal in 2007 really had a personal impact. There were a lot of firsts: The first time traveling to Europe, with the first of its kind travel delays. The first time I walked through the Old World streets of Lisbon and Porto. The first time I had seen the Douro River Valley and all the beautifully terraced vineyards. But most notably, this was my first exposure to the wine world of Portugal, which dates back centuries. Portugal has been most famously known for its Port wines, but as my traveling buddies and I gathered each evening to share in the local cuisine and culture, we discovered the world of Portuguese dry red wines made by the locals and for the locals, and only recently discovered as an adjunct to the other great wine regions of the world. What I remember most about these wines was the primary grape variety listed on the back label — Touriga Nacional.
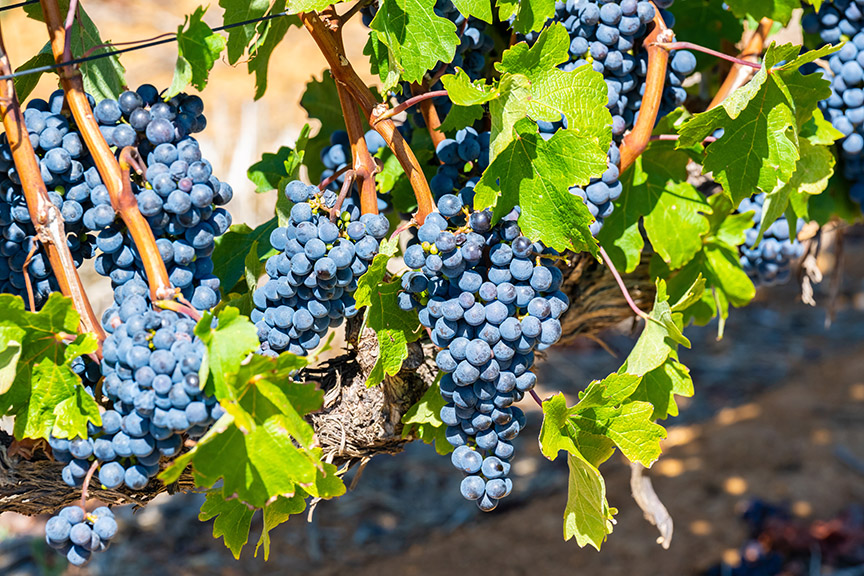
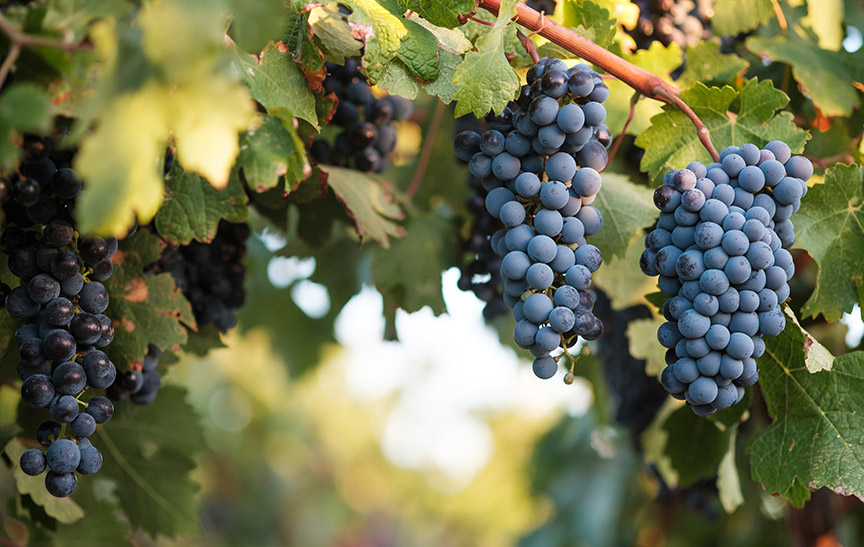
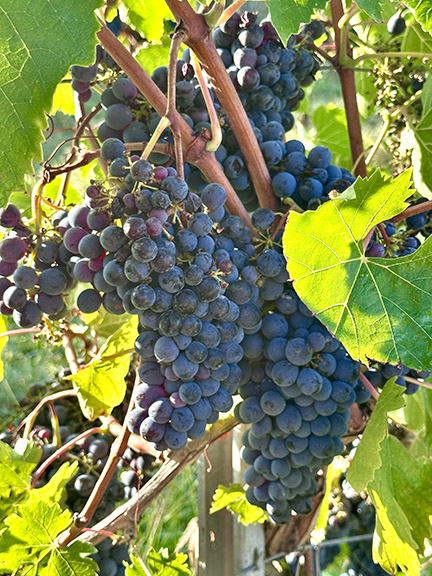
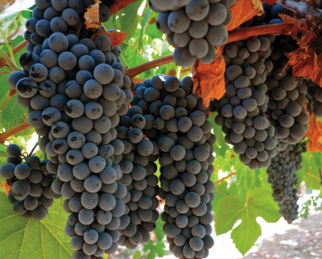
Touriga is a red grape that makes up the backbone of many wine styles. Originally grown in the north, it has made its way to all of the major grape growing regions of the country. Historically, the vineyards of Portugal were field blends, and there was little concern about the individual varieties grown. But Touriga became well respected for its thick skins that are rich in color and tannin, which adds considerable body to the wines it comprises. Those tannins complement the red and black fruit characters of raspberry and blackcurrant and provide you with a nice base wine. Other descriptors of bergamot, rosemary, roses, and violets are also evident in some wines produced from the grape.
Touriga is best known as the most significant base grape in Port wines, for which Touriga is ideal, as Port requires a grape with the best color and structure characteristics. In the Old World of Portugal, to make a Port wine the grapes are harvested and placed into large shallow vats, called lagars. (pronounced La-hars). The lagars are made of granite or neutral concrete and the crushed fruit is macerated over a period of three to four days as the fermentation starts up. The maceration consists of a mixing process, which historically consists of people mixing it with their feet as they march to the beat of a drummer. A passage I came across recently describes the “pressers,” those in the lagars, who would sometime take up to 20 hours to extract 200 gallons (758 L) of must, were carrying out a process reminiscent of a birth. They “were already a little dizzy with the vapors rising from the vat, were encouraged with songs and music, and the womanfolk danced all night long around the stone vats by the light of a lantern.”

Today, more modern mechanical methods of mixing are used. Common to both Old and New World style, is that the juice is separated from the skins and seeds after three to four days. Here, Touriga serves its purpose well, resulting in quick tannin and color extraction. After pressing, the fermentation continues and at the right moment, brandy spirits are added to halt the fermentation. The wine then moves on to the aging process that may take years before it is blended, bottled and released, all of which depend on the style of Port being made.
Many of the dry red wines of Portugal also rely on Touriga Nacional. Regional blends with Tinta Cão, Tinta Roriz (known as Tempranillo outside of Portugal), Bastardo, and Alicante Bouschet are common, but Touriga remains the dominant grape. More recently, producers are moving away from the local Denominazione di Origine Controllata or Denominación de Origen Protegida rules regarding wine grapes in blends and have adopted a broader category, Vinho Regional, from which they can make the best blend.
In terms of area, in Portugal there were 6,830 acres (2,764 ha) of Touriga in 1989 and the area has steadily increased to 16,566 acres (6,704 ha) by 2007. Jancis Robinson reports 17,960 acres (7,268 Ha) in 2010. The increases reported in Portugal have not been evident elsewhere though. In California, where the variety would likely do very well, the vineyard area for Touriga has hovered around 250 acres (100 ha) for almost the last ten years. It does well in South Africa, with about the same area reported in 2007 as California. Australia, another promising climate, reports half that area.
To that note, and as I have written through the years, some of the best-known wines are blends of the varieties that grow best in the region and the popularity of using Touriga as a base variety is evident. With any grape variety, the winemaker has to understand what the grape will give and not give. Touriga is one of those “giving” grapes. Because of its intensity, some believe a blend with Touriga Franca and Tinta Cão is the best place for Touriga. It will give you color, it will give you tannin, it will give you more than you bargained for if you are not careful in the winemaking process. My personal experience with Touriga using a standard 8–10 day maceration period resulted in wines that were far too tannic and required egg white fining to smooth out their structure. I urge the readers to understand this giving process, so that you are not forced into a “taketh away” situation.
With respect to tannins, longer macerations will not necessarily give you more color. Recent research corroborates past works in that most color from the grape comes out by about the seventh day of maceration. What does happen though is other tannins are released adding to more perceived astringency and bitterness. Therefore, based on my previous experiences, if you don’t want a wine that is heavy on the tannins, then it’s OK to press early. It can be difficult to assess the tannins when the juice is still sweet, so look at the color. If the color is where you want it, than press, but as you increase the pressure of the press, keep those fractions separate for possible blending back later. Critics of this technique will argue against pressing early like this, but there are no set rules in winemaking, and every wine is an extension of expressiveness of the winemaker understanding what the grape will give.

In addition to Touriga being a great grape for the winemaker, it’s also fun to experience the complexity of the variety by pairing it with different foods; the list is quite extensive. Since Port wines are some the most well-known expressions of Touriga outside of Portugal, you will often see it with chocolates, coffee, cream, and nut-based desserts. When the Port comes out, the desserts go down easy. For dry red Touriga, cheeses complement the list. One of my favorite meals with Touriga was a lamb, cheese, and yogurt-based sauce. But the regional dishes of Portugal, from seafood to beef, all hold up well when complemented by Touriga.
Looking back on that visit to Portugal, everything was just a first for me that I missed something at the time that I really appreciate now, and what makes this column so fun to research. It is not only about the variety, but it is also very much about the variety and its history. The long history of Touriga in Portugal is testimony of the climates it can thrive in and perhaps the international market is ready to see it as a tasty alternative to the mainstream varieties. Try it; I have had a lot of fun exploring the diversity of this grape and I believe many outside of Portugal who have not already worked with it will as well.
Touriga Nacional Port-style Recipe (8 gallons/30 L)
This is a simple way to make a Port-style wine from juiced grapes. Juice concentrates generally are pH and acidity adjusted so that no further adjustments are necessary. Kits are also available for this variety. If you go that route, follow the manufacturer’s instructions for proper product preparation. This recipe could also be used with Tempranillo (Tinta Roriz) if desired. Ingredients 125 pounds (57 kg) Touriga Nacional fruit (An Internet search shows this product having marginal availability as juice, however there is some availability of fruit.) Distilled water 10% potassium metabisulfite (KMBS) solution. Weigh 10 grams of KMBS, dissolve into about 50 millilters (mL) of distilled water. When completely dissolved, make up to 100 mL total with distilled water. 5 grams Lalvin RC-212 yeast Clear Brandy (40% ABV) 5 grams Go-Ferm Other equipment or needs 15-gallon (57-L) food-grade plastic bucket for fermentation 10-gallon (38-L) food-grade bucket (2) 5-gallon (19-L) carboys (1–2) 1-gallon (4-L) jugs Racking hoses Destemmer/Crusher Wine press Inert gas (nitrogen, argon) or carbon dioxide Thermometer capable of measuring between 40–110 °F (4–43 °C) in one degree increments Ability to maintain a fermentation temperature of 81–86 °F (27–30 °C) TIP: If you do not have a refrigerator to control fermentation temperature, then prior to harvest fill several one-liter water bottles with distilled water and freeze. These can be placed in your must and be used as your refrigeration system for peak fermentation. Alternatively, you may wrap the fermenter in an electric blanket or other heat generating source if you need to warm it. Step by step 1. Clean and sanitize all your winemaking tools, supplies and equipment. 2. Crush and de-stem the grapes. Transfer the must to your fermenter. During the transfer, add 10 milliliters of 10% KMBS solution (This addition is the equivalent of 30 ppm SO2). Mix well. 3. Take a sample to test for Brix, acidity, and pH. Keep the results handy. We’ll take this up later. 4. Layer the headspace with inert gas and keep covered. Keep in a cool place for 2–3 days. The concept here is to extract some color before fermentation starts. This is also referred to as a cold soak, or cool soak. Keep the temperature less than 59 °F (15 °C). If signs of fermentation are evident then jump to the next step sooner. 5. Sprinkle the Fermaid K in a little distilled water (~20 mL). Add to must or juice mix well. 6. Prepare yeast. Heat about 50 mL distilled water to 108 °F (42 °C). Measure the temperature. Pitch the yeast when the suspension is 104 °F (40 °C). Sprinkle the yeast on the surface and gently mix so that no clumps exist. Let sit for 15 minutes undisturbed. Measure the temperature of the yeast suspension and of the juice. You do not want to add the yeast to your cool juice if the temperature of the yeast and the must temperature difference exceeds 15 °F (8 °C). To avoid temperature shock, acclimate your yeast by taking about 10 mL of the juice and adding it to the yeast suspension. Wait 15 minutes and measure the temperature again. Do this until you are within the specified temperature range. Do not let the yeast sit in the original water suspension for longer than 20 minutes. When the yeast is ready, add it to the fermenter and mix. 7. You should see signs of fermentation within one to two days. This will appear as some foaming on the must surface and it will appear that the berries are rising out of the medium (referred to as the “cap rise”). 8. You need to have on hand the ability to push the grapes back into the juice to promote color and tannin extraction. This is called “punching down” and should be done several times per day for about two days after adding the yeast. Use a clean utensil or your hand to mix. 9. When the Brix reaches 18 (about two days after the yeast addition), transfer the must to your press and drain the juice. Press lightly. 10. Transfer the now fermenting red juice to your 10-gallon (38-L) bucket and cover. A good temperature to be at here is 70–75 °F (21–24 °C). This ensures the fermentation won’t go so fast that you might miss the spirits addition, but still ensures a healthy fermentation. 11. Monitor the Brix and temperature often. The interval to test is dependent on how fast the fermentation goes. The key here is to add the brandy at the precise moment to “put the yeast to sleep.” 12. At 9 °Brix, add the brandy and mix. The amount of brandy to add depends on the alcohol strength you are targeting, but about 20% ABV is the norm. I have found this website (https://www.winebusiness.com/tools/?go=winemaking.calc&cid=4) to be a good tool to help with these calculations. 13. Transfer the wine to your carboys or 1-gallon (4-L) jugs. 14. Place the wine in a cool place to settle 15. Consider adding some French and American oak chips to your wine. Again, the amount of desired oak character will determine the amount to add. 16. Rack the wine clean twice over 6–8 months to clarify. 17. Consider filtering your wine before bottling (otherwise expect there may be some sediment in the bottle). Maintain sanitary conditions while bottling. Once bottled, you’ll need to periodically check your work by opening a bottle to enjoy with friends.