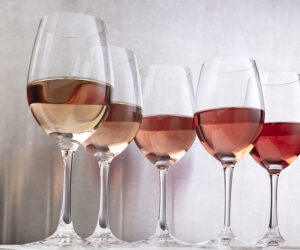
When do you test and assess your wines? Do you run tests and conduct sensory assessments on your wines before primary fermentation? Do you test and assess the wine after the secondary fermentation? Before bottling? Or, in the vineyard? To obtain a well-balanced and quality wine the answer should be; Yes, Yes, Yes, and for the vineyard, Yes, if you can.
Tasting Begins in the Vineyard
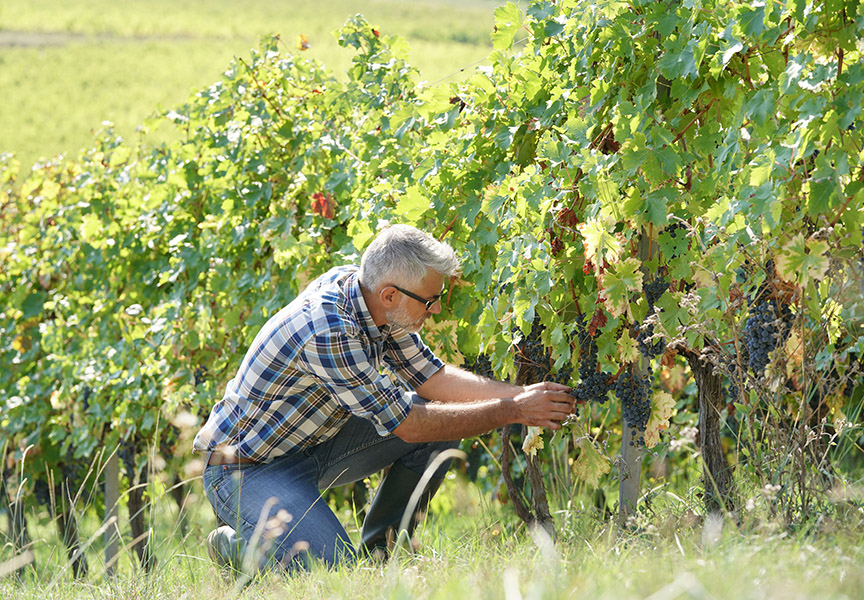
Wine quality begins in the vineyard. We have all heard the saying, “Good wine begins with good grapes.” If you make wine from your own hobby vineyard or have access to where the grapes you will be using are harvested, then wine quality assessment can begin with periodic walk-throughs of the vineyard as early as veraison begins, sugar levels rise, and physiological ripening occurs.
Two to three weeks after veraison, when sugar levels are getting around 15 °Brix, take periodic walks through the vineyard to start assessing the grapes you will eventually harvest. This is also the time to begin tasting the grapes. Tasting grapes is a good way to start educating your palate with the assessment of acid levels, tannins, as well as flavors that the variety produces.
At this point of assessment, take into account that acid levels will be higher in underripe grapes than in more ripened ones closer to harvest date. The grapes may taste tart or like SweeTarts candies, as the tannins will be lower too and have yet to completely develop compared to grapes that are fully mature. Tannins develop the most towards the end of maturity in the skins and seeds. And as sugar levels rise, acid levels will drop too. The goal of these vineyard assessments is to not only determine the appropriate ripeness for harvest, but to also prepare you better for what you will be receiving at the crushpad and the start of wine production.
This all points to the benefits of not determining a harvest date solely on physical maturity and a Brix reading. There is the physical maturity of a grape; the color of the berries, the color of the seeds, and the Brix. And then there is the phenolic maturity of the grape. Phenolic ripeness refers to the changes in the tannins that occur in grape skins, seeds, and stems. Phenolic ripeness translates to the grapes’ aromas, acid levels, tannins, and depth of flavor and color of the berry. When taking both physical and phenolic ripeness into consideration you have the opportunity to improve wine quality at the very beginning.
Take it from Ann Kraemer, highly regarded Owner and Viticulturist of Shake Ridge Ranch Vineyard in Amador County, California, who explains it like this: “Yes, we pay attention to Brix as far as potential alcohol, but acidity, skin astringency, all-around flavors, phenolic ripeness, etc., plays a bigger role in harvest decisions.”
At post-veraison/pre-harvest intervals you have (hopefully) been periodically walking the vineyard and assessing individual berries for both physical and physiological ripeness. Chewing a few skins will help evaluate tannin levels, which will have astringency at this point. There are other factors to check too. If seeds from berry samples are green, then physical maturity has not been reached yet. Juice from berries selected from multiple bunches, from all over the vineyard, can express varietal characteristics and assist with assessing sugar development and acidity. Please note that you can potentially make post-fermentation adjustments for physical ripeness too, but you have only this one opportunity to get phenolic development optimized before harvest. Your testing and sensory assessments will determine if the grapes are ready for harvest or additional hang time might be more rewarding.
Post-Harvest / Pre-Fermentation Assessments
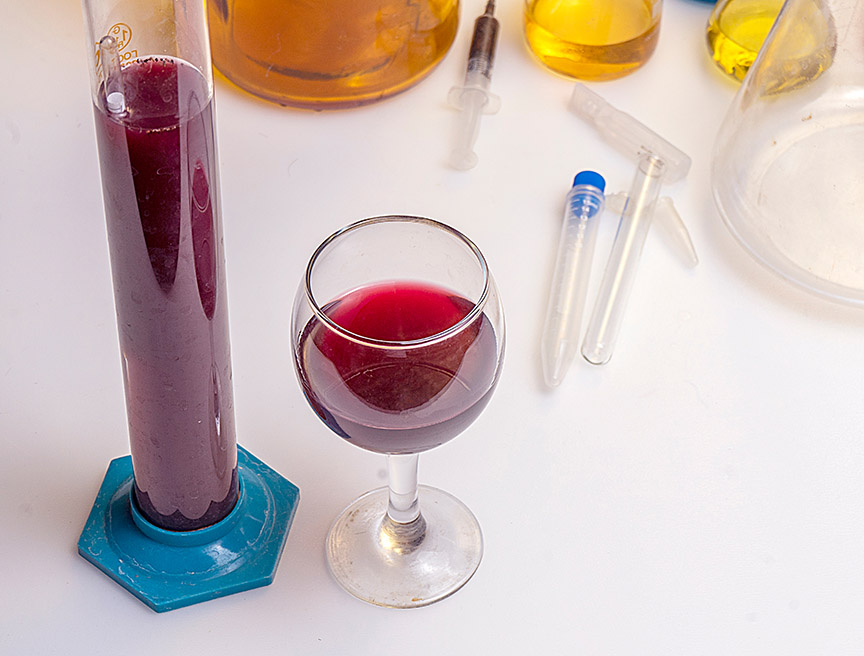
At this point, your grapes have gone through the crush and/or destemming process. Before primary fermentation begins you should test for total acidity (TA) and, optionally, pH. It’s always nice to know the juice’s pH, but any action you take to correct for acidity is based upon TA measurement. Making adjustments now will have a better sensory impact to the finished wine than doing so later in the process, especially if substantial adjustments greater than 1 g/L are needed. Fermentation and aging will allow adjustments to integrate into the juice and wine. Tasting to assess acidity at this point is difficult due to the sugar levels as the wine is going to taste sweeter or more fruity, but you can still get a general impression and the more experience you have with it the better you will become at this assessment. Imagine how time will soften that acid sensory component down the road, but don’t be too concerned about this. You will test and assess the wines again after fermentation is completed.
Acidity and tannin adjustments prior to fermentation help provide the optimum levels early in the production of wine. At this stage, acid can be safely higher, and tannins more astringent as both will soften through fermentation, aging prior to bottling, and continue to soften with bottle aging. As a home winemaker, you can’t realistically test for tannin levels at this point, but this is where your sensory assessment plays an important role. Essentially, tannins add bitterness and astringency. These two qualities are evident when you’re drinking a young red wine, making it feel harsh on your tongue and drying out your mouth. Tannin levels may be assessed based upon an astringent or a gritty sensation on the back of the palate and gums. For varieties with inherently low tannin levels you might want to add tannins to not only help with the effects of fermentation, but to also provide tannins to improve the structure of your finished wine.
An application of “sacrificial tannins” is best added at this time. We like to use a sacrificial tannin like Scott’Tan FT Rouge for our red wines, and for whites Scott’Tan FT Blanc Soft so the natural tannins in the juice/grapes will not get consumed during fermentation. By adding these sacrificial tannins, they can oxidize throughout the winemaking process, leaving behind the natural skin tannins that will impart more fruit notes and characters. Alison Crowe dug deeper into this technique in a recent answer in her “Wine Wizard” column that can be found at: www.winemakermag.com/wine-wizard/sacrificial-tannins-explained
Keep in mind what might be the normal levels expected for the grape variety’s characteristics. As an example, Barbera is known for its acid levels, thus these will be naturally higher acids in sensory, creating more salivation at pre-fermentation. By keeping this in mind, you will limit the wine’s homogenization and potential loss of its lovely character by overcompensating on what is a natural level of acid. Pre-fermentation, must is higher in acid and will also have a thinner body compared to after fermentation and time in a bottle, where the body of a wine has improved.
If you plan to produce a wine with high alcohol (anything above 15%), then keep in mind that there will be negative sensory impacts if acidity and tannins are not in balance with the sensory alcohol levels. The sensory approach to assessing alcohol (after completion of fermentation) is how much “heat” does one feel going up the back of their throat. A friend of ours coined the term: “heat going up the chimney.” That is the heat at the back of the throat being felt in the nose. If you have ever had wasabi or horseradish, you may be able to relate to what is being described.
Final Assessments, Post-Fermentation
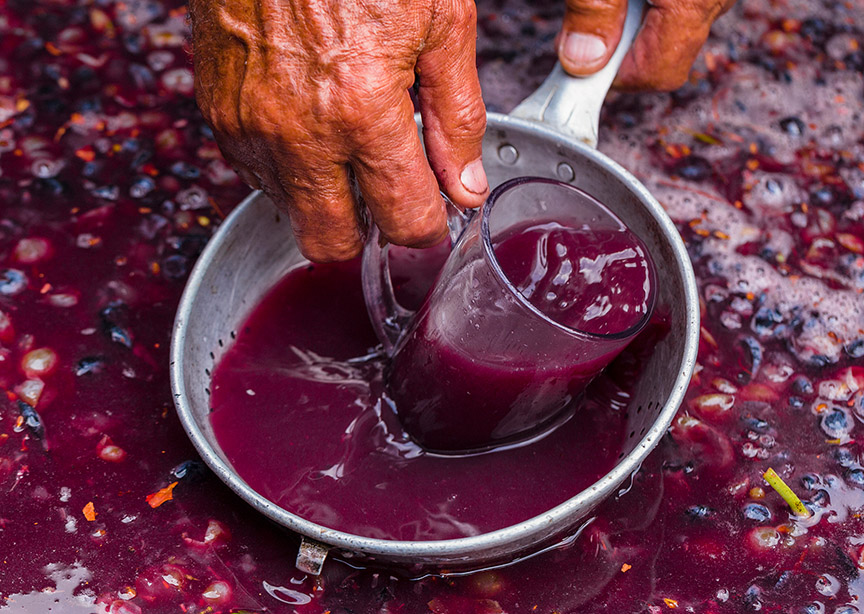
At this point it has been justified how important it is to test and do sensory assessment of the wine juice even before beginning fermentation. Potential additions can assist with the balance of the juice early on. Of course it is prudent to test and assess the wine again after fermentation is completed. By assessing again at the end of fermentation, small and effective adjustments can still be applied to guide your wine to where you want it to be by the time it reaches the finish line.
The ideal time to test and do sensory assessments is shortly after fermentation is completed. You must keep in mind that any adjustments at this point should be minor, and even perhaps done incrementally to avoid overcorrection, which can turn a potentially good or great wine into a bad wine. It is also important to note that residual yeast and CO2 in solution will affect both sensory and TA testing. And, you want as much time as possible for any adjustments to evolve within the wine through the aging period before bottling.
Avoid making any adjustments without first conducting a bench trial to determine the most appropriate correction to achieve a balanced and desirable wine. This is a sensory evaluation where you will compare a sample of your unaltered wine with one or more samples with varying amounts of “corrective” adjustments. These adjustments are typically for acidity or tannin levels. If you do three to four different amounts of additions and compare to your unaltered baseline, it will usually be pretty evident which one gives the best sensory impact and balanced wine.
Just realize that, just like your wine has evolved during the aging period prior to bottling, it will continue to evolve in the bottle. Acid levels will not change, but tannins will soften, which thereby can affect the perception of alcohol and acidity. That is again why you don’t want to just make wine by the numbers and instead take the concepts of winemaking as an artform to allow the wine to express itself without excessive intervention.
In Conclusion:
If a combination of objective and sensory evaluations are done throughout the winemaking process, even starting in the vineyard, then there can be less significant adjustments and interventions along the way that can negatively affect the finished product. If a sensory assessment of a wine is withheld to the final point of a finished wine, just prior to bottling, then there are less adjustments that can be successfully implemented.

