Finding the Best Fruit
For commercial wineries, winemaking begins long before the grapes are crushed. The quality of the wine reflects the quality of the fruit, and wineries spend lots of time, effort, and money making sure they get just the right grapes.
Vineyard managers worry about how much water, how much shade, and how warm or cold the grapes get; the type and quality of the soil; the size of clusters; and dozens of other issues.
But what if you don’t have access to that kind of highly managed fruit? If you’re like most home winemakers, you’ve probably eyed the grapes in the supermarket at one time or another, not to mention the wild blackberry patch in your back yard, and wondered if you could make wine from that fruit.
The answer is that there are plenty of options for sourcing fruit, and you don’t need the help of a vineyard expert to make great wine.

The Right Stuff
The first step is sourcing the fruit. With all grapes and other fruit (brambles, stone fruits, orchard fruits), look toward the grower as your number-one source. A grocery store’s requirements for fruit selection are different from yours. The store’s priorities are shelf life and appearance; yours are ripe flavor and a balance of acid, tannin, and sugar. You pay a lot for those perfect apples, regardless of the lack of taste. Fruit packers, processors, and wholesale grocers can be good sources. You pay a little more, but they do a lot of the picking and sorting for you.
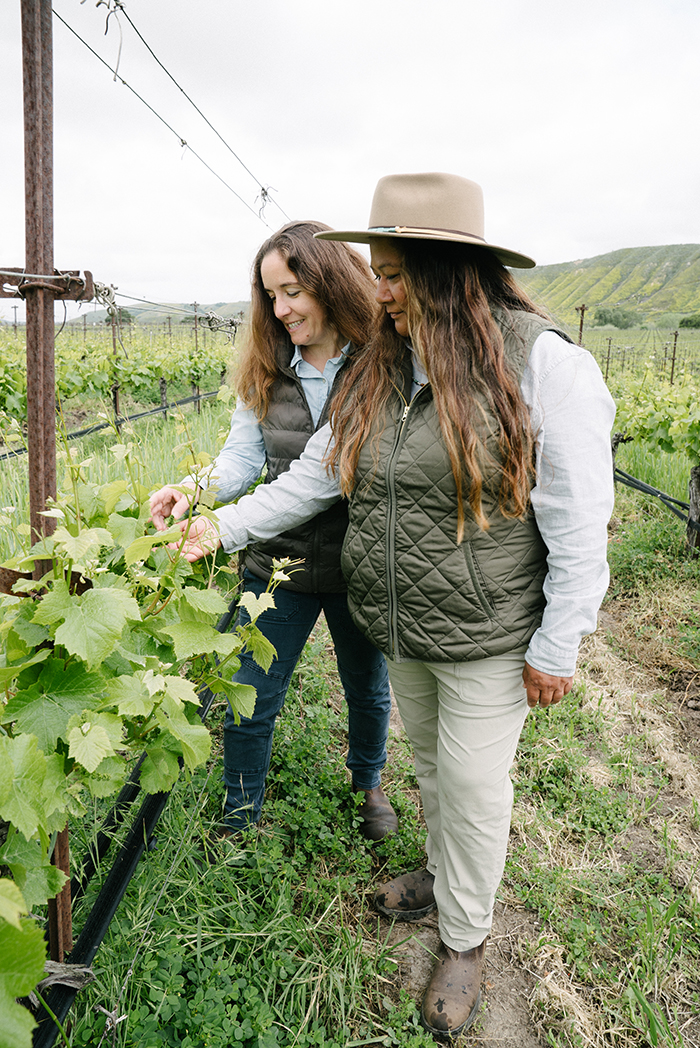
Any time you have the opportunity to pick your own fruit, do it. You will be in complete control of the beginning of the winemaking process. Many vineyards will let you pick your own fruit, especially the “second crop” or what the pickers — machine or manual — miss.
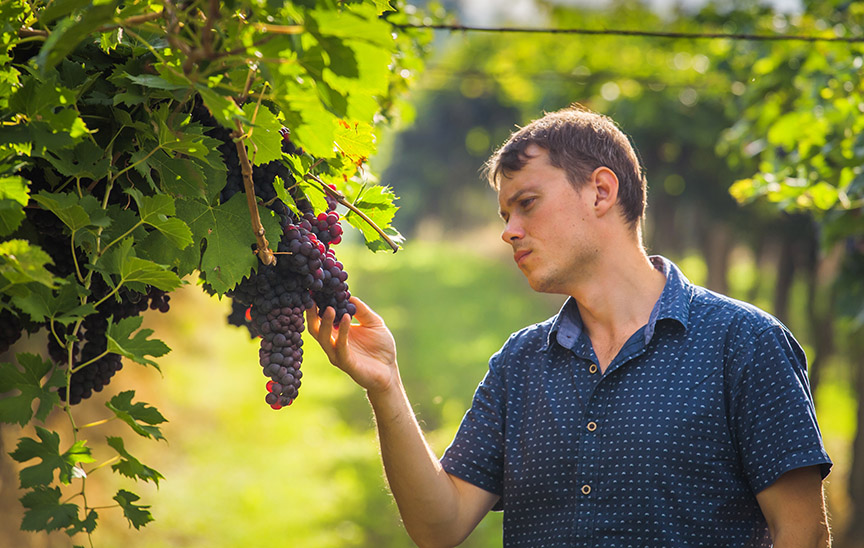
Picking Grapes
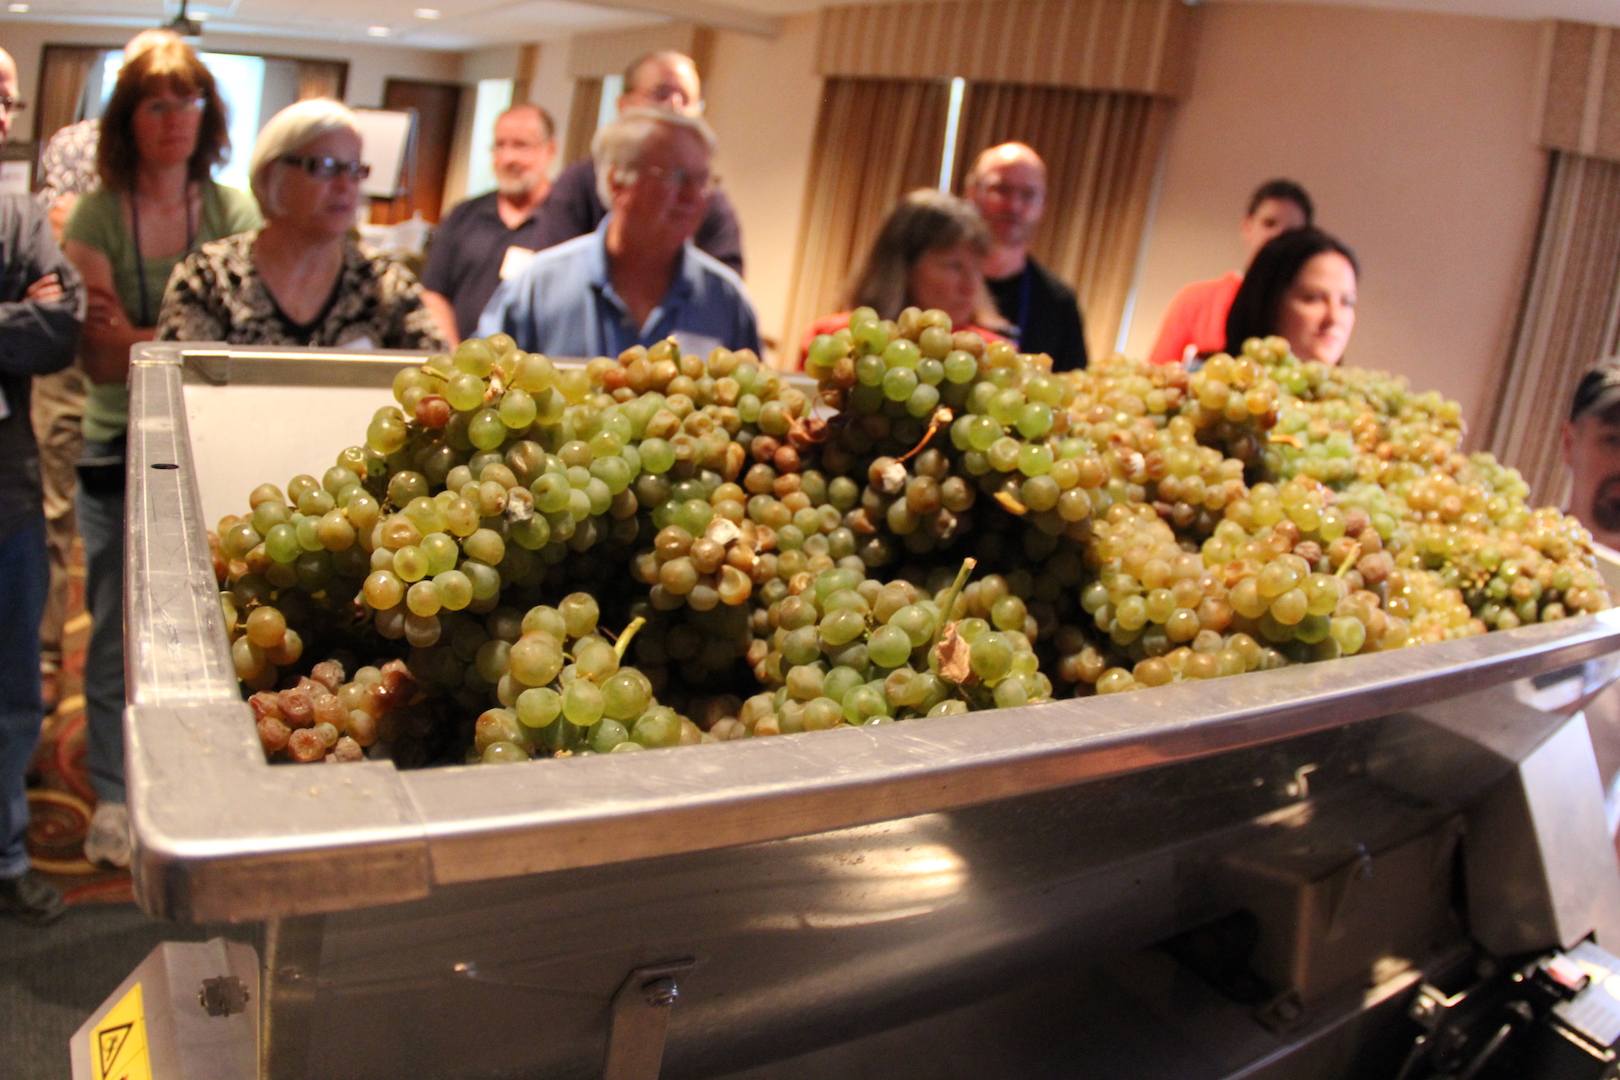
Assess the balance of the grape harvest available to you. Check the health of the fruit. Are 40 percent of the clusters in the shade and 60 percent in the sun? Those are decent parameters, but the more sun the better. It’s good to see fully ripe or rosy fruit and to always go by the Brix measurement and taste to determine ripeness. This provides a good flavor profile to the wine.
Is there any disease present? In other words, do the grapes look like gray fuzzy rats hanging from the vine or a picture on a wine country brochure? A little rot can be dealt with using good enological practices, but the more mold you have, the more it affects the taste of the wine.
Then select a few representative berries (40 percent from the shade, 60 percent from the sunny clusters, for example), put them in a plastic bag, and squish them.
Then assess the sugar in the grapes. Are they ready to harvest? Do they have enough acid or too much? Do they fit your harvest parameters? Do you have harvest parameters? Start asking yourself these questions.
Use a hydrometer or refractometer to determine Brix (sugar concentration) and determine pH using litmus strips or a pH meter. A guideline is 24° Brix will get you about 11 percent sugar, and pH should be between 3 and 3.75.
If you do not have a way to measure sugar and acid, at least taste the grapes. Do they taste ripe? A good rule of thumb when you’re in the vineyard making decisions is to operate under 51 percent taste evaluation and 49 percent laboratory analysis. If they don’t taste right, let ’em hang! Over a period of time, if you taste the fruit and then monitor the flavor in the wine, you will achieve flavor continuity throughout the winemaking process and become a good judge of what to pick and what to leave.
A “second crop” is a smaller, secondary cluster that a grape vine or other fruit produces. Zinfandel is famous for this. Manual pickers are generally instructed not to pick these clusters because the fruit is tart and under-ripe compared with the primary crop. They tend to ripen anywhere from two to six weeks after the main crop.
Approach the owner of the vineyard, take him a freshly baked pie and a bottle of your last wine, and ask him if you can pick his seconds. Most of the time you will be able to have them, possibly for a nominal fee (more pie and wine!).
Orchards and Patches
When selecting fruit from orchards or picking patches, the same basic rules apply. However, aesthetic appearance in bigger fruits becomes less important and, managed correctly, helps your final cost. For instance many apples are chosen for their perfect appearance (the fresh market), but you don’t need them. Ask the orchard for cider apples. These are less expensive than the perfect apples. These are apples that may have a little extra russeting — rough, brown patches — or are just misshapen.
Assuming no other problems, these are perfect apples for you to use. Make sure that any blemishes are only cosmetic. Brown flesh or localized rot areas will cause problems in the resulting wine. Avoid these or cull them before processing.
Bramble berries, raspberries, and blackberries can be picked at you-pick-’em places or can be purchased frozen from processors. But the best wines seem to come from the wild berries you find in meadows, fence rows, and sunny patches in the woods. A good time to find them is in the spring, when their light blossoms seem to stand out against the green backdrop of spring. This is when you can locate a special patch and monitor the fruit as it matures.
You will have very strong competition for these berries. Birds, raccoons, deer, and even coyotes will challenge you for access to the fruit. When these berries begin to ripen, don’t delay in picking them or you’ll be left out! Don’t be afraid to buy the seconds of fruit other than grapes. Seconds are misshapen but otherwise healthy fruits unsuitable for the fresh market or the IQF (individually quick frozen) market.
Block-frozen berries also make good wine. When you thaw frozen blocks of fruit, do it very quickly. Warm water or space heaters will help. If the block of fruit thaws slowly, the middle may be frozen, rendering the fruit still unworkable. The thawed portion, especially the surface, is now subject to mold, mildew, or other maladies. The faster you handle this fruit, as with all other fruit, the better the results.
A good tip for cherries is to purchase them from someone with a pitter. Do not ferment cherries, peaches, apricots, or plums with their pits. This can lend extremely bitter flavors to the wine, and if the pit is broken, exposing the interior, the wine will be extra bitter.
If you have lots of time, have no family, and love mindless, repetitive chores, you can purchase your own hand pitter. You can order semi-automatic pitters, but compared with the cost of that outlay vs. the nominal cost increase per pound of the pitted cherries, it might not make much sense.
A Few Tips for Making Wine
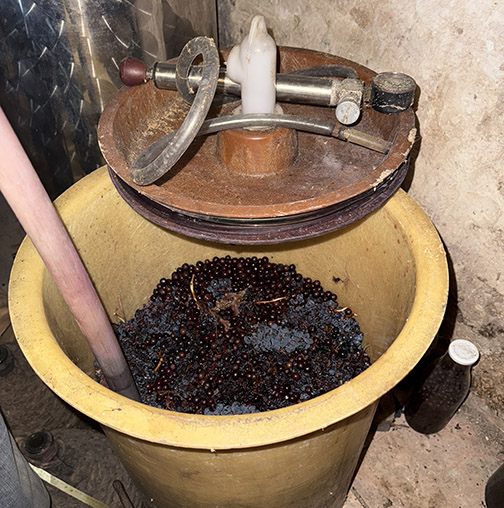
So now that you’ve harvested your fruit, you’re ready to turn it into wine. Grapes need to be crushed, and if you are making white wine, they need to be pressed. Apples need to be ground and pressed. Peaches, cherries, plums, and other stone fruits need to be pitted and at least chopped up if they are large. Berries need to be a bit mashed or otherwise broken up.
Analyze the must (crushed fruit). If you don’t do this now, you need to learn. Familiarize yourself with a hydrometer for sugar readings, litmus strips or a pH meter for pH levels, and a titration with sodium hydroxide or other base to determine total acidity, known as AC.
The difference between winemakers who take sugar, acid, and pH readings to base their adjustments and those who follow a pat recipe is that those who analyze will generally have more consistent wines.
Those who simply follow recipes have a lot of variability in their wines due to the fact that there is year-to-year variability in the base fruit. Some years those Concord grapes have more sugar in them than other years, so if you put the same amount of sugar in the must every year, you’ll have different Brix levels.
“Ah,” you say. “If I need to know what I did last year, I should have taken notes!” You bet. Take notes each year and save them so you’ll know what worked and what didn’t. In other words turn a recipe for blueberry wine into a method of making blueberry wine. An example would be to jot down: “Always adjust Brix levels to 21.5, titratable acidity to 0.85 percent, pH to 3 to 3.2.”
Get away from “Add two gallons water, four pounds sugar, six ounces citric acid.” Make all of your adjustments to the must before fermentation. The results will invariably be better. The process is much easier if you make yeast adapt to their environment. This especially includes adjusting acidity using acid to raise it or carbonates to lower it. Later, more gentle adjustments are easily made to the wine.
Quick Fermentation
If you tend to use SO2 in your must, add a small amount, usually in the range of 20 to 30 ppm (parts per million, 20 to 30 milligrams per liter), at the crush. This will inhibit lactic-acid bacteria and spoilage yeast. Do not add yeast for eight hours to allow SO2 to work on the wild yeast and to dissipate in strength.
The hydration of the yeast is crucial and probably the biggest problem area for novice winemakers. If you intend to conduct a malo-lactic fermentation, keep your SO2 additions on the low side, if you add it at all.
When you buy yeast, always ask if it has the “killer factor.” If it does not, you should consider switching to one that does. This is a behavior characteristic in yeast that either out-competes or inhibits the growth of other yeast, especially the wild ones. Just remember to always inoculate with a commercial yeast strain.
For active dry yeast add 0.08 ounces per five gallons. Hydrate with a quart of clean (not distilled) water that is 104° F water for every four ounces of yeast. This temperature is critical and should be measured, not guessed at. The yeast should be sprinkled on top of the water, given a slight stir, and allowed to hydrate for 15 minutes, 30 maximum, before being added to the must.
Watch it at all times because it can become Mt. Vesuvius if forgotten. Do not mix it in your fermenter, but allow it to sit in a clump and multiply. Your next regular punchdown is time enough to mix it in. If the instructions for your yeast are different than this, follow them; each manufacturer’s instructions are slightly different.
Just make sure to get your yeast in fast. The faster you begin your fermentation, the less time savage organisms have to take over the must.
Extracting Flavor
Also, investigate the use of pectinase or other types of enzymes. Many fresh fruits will have such high levels of pectins that the home winemaker can’t get all the flavor from the fruit or has a hard time clarifying the wine.
Properly employed, this treatment will break down the pectins, the long-chain sugars that make jams and jellies “gel,” and help extract the juice and flavor from your fruit.
This should get you started using fresh fruit for your wines. By varying any of the harvest criteria, you will vary the wine. You now have endless potential to subtly change your style, focus on the flavors you want, and knock the socks off your friends and coworkers.