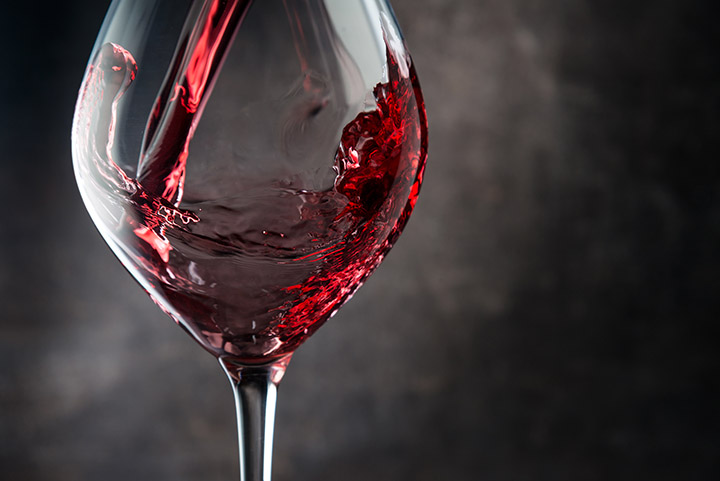
Bottling Your Wine
As renowned French wine scientist Emile Peynaud wrote, “Bottling is a very stressful operation for a wine and the enological problems it causes are numerous: Considerable oxygen uptake, keeping out microorganisms and particles in suspension by filtering, constant struggle to prevent any contamination of yeasts by the apparatus itself, cleanliness of the glass, efficiency of the closure, etc.” Bottling your wine requires careful planning, preparation, and execution.
Before the Bottle
When getting ready to bottle, you first need to be sure the wine itself is ready. The most critical part of that is to be absolutely certain your fermentation is complete. That means taking all of the usual steps to help along both the primary fermentation and, if desired, a malolactic (ML) secondary fermentation. Further, it means testing to verify that the processes are complete and the wine is stable. When fermentation of a dry wine is complete, the Brix reading will be negative by about 1.5 to 2.5 °Brix. The number will be lower with higher alcohol since ethanol is less dense than water. It will be higher in a wine high in “extract,” non-volatile dissolved solids. Since those trends confound direct assessment of the residual sugar (RS) content, a hydrometer alone cannot verify that the wine is stable against refermentation due to RS. Experts advise different levels of RS that may be considered safe against a spontaneous restart. The figure I use, which has never given me a nasty surprise in the bottle, is a value of less than 0.4 g/100 mL (about 0.4%) RS (Daniel Pambianchi goes even a little further, and recommends 0.2 g/100 mL/0.2%). To measure such a level, there are different testing methods. For home use a Clinitest procedure is available that uses tablets manufactured for sugar measurement in urine for diabet-ics. It can be adapted for wine with a detection limit of less than 0.1%. Alternatively, you can have an RS test carried out by a commercial wine laboratory or perhaps a neighborhood winery’s lab or a university lab.
If you have inoculated for ML, you need to verify the complete conversion of malic acid into lactic acid. In this case, the threshold I usually apply is residual malic acid below 30 mg/L (30 ppm). A good way to monitor ML is to run a paper chromatography test; kits cost about $40. The detection limit is variable based on the skill and care taken by the analyst (you!), but can be considered to be about 100 ppm. When you achieve that level at home, the best bet is then to have it verified in a laboratory. If that is not practical for you, it is probably safe to rely on the apparent absence of malic acid from your paper chromatography testing, although a slight risk of a restart of malolactic fermentation in the bottle remains.
During bulk aging, many wines undergo oak additions. If you age in a barrel, the wine may benefit from the slight exchange of oxygen as well as picking up oak aromas and flavors. Similar flavors can be imparted with oak chips, cubes, sticks, or spirals. After fermentation, many wines will benefit from cold stabilization. Holding the wine for several days at or near 32 °F (0 °C) will precipitate any unstable tartrates. That step prevents spontaneous precipitation of tartrate crystals in bottles later if the wine is chilled — or just gets cold in the cellar.

With testing completed and stability confirmed, you can move along Peynaud’s path and consider filtration. Various filtration systems using cartridges or pads are available and the media are rated with various pore sizes. Coarse filters, with pore sizes in the range of 5 to 8 microns (μ), are used to provide simple visual clarity to otherwise cloudy or turbid wines. For brilliant clarity in wines a fine or medium filter in the pore-size range of about 1 to 3μ is often used. If yeast and bacteria are targeted for removal, a near-sterile filtration can be achieved with pore sizes smaller than 0.5μ. (Strictly speaking, a membrane filter with pore size <0.45μ, and a sterile bottling line, are required for sterility, but a depth-type medium — cartridges or pads — with a rating of 0.5μ or less will probably suffice for home use in preventing microbial spoilage.)
With or without filtering, you may wish to fine your wine. Excess tannins may be removed with a protein fining such as egg whites or isinglass, browning color can be taken out with PVPP, and clarity can be improved by using Sparkolloid or bentonite. If you intend to fine and then bottle, make sure you allow enough time for the fining agent you apply to completely settle out.
There are some optional finishing steps that should be planned only after bench trials verify a desired outcome. If you sweeten your wine, also apply potassium sorbate stabilizer to prevent fermentation in the bottle (but only if you have not performed MLF). If you have concern about tartrate precipitation, adding gum arabic with a protective colloid (eg. metatartaric acid) just before bottling may help. You may also wish to run trials blending more than one of your wines. Tartaric acid additions or chemical deacidification can still be carried out. Be aware, though, that blending or treatments may make the wine unstable again. Some days or even weeks should be built in to your schedule to monitor and address any instability that occurs.
One more essential step to stabilize your wine before bottling is testing and adjusting the free sulfur dioxide (FSO2) level. Use the sulfite calculator online to determine the needed sulfite level for your wine’s pH. Then either run a test yourself or have one done by a professional wine laboratory. Make the necessary addition to the wine.
Gather Your Supplies
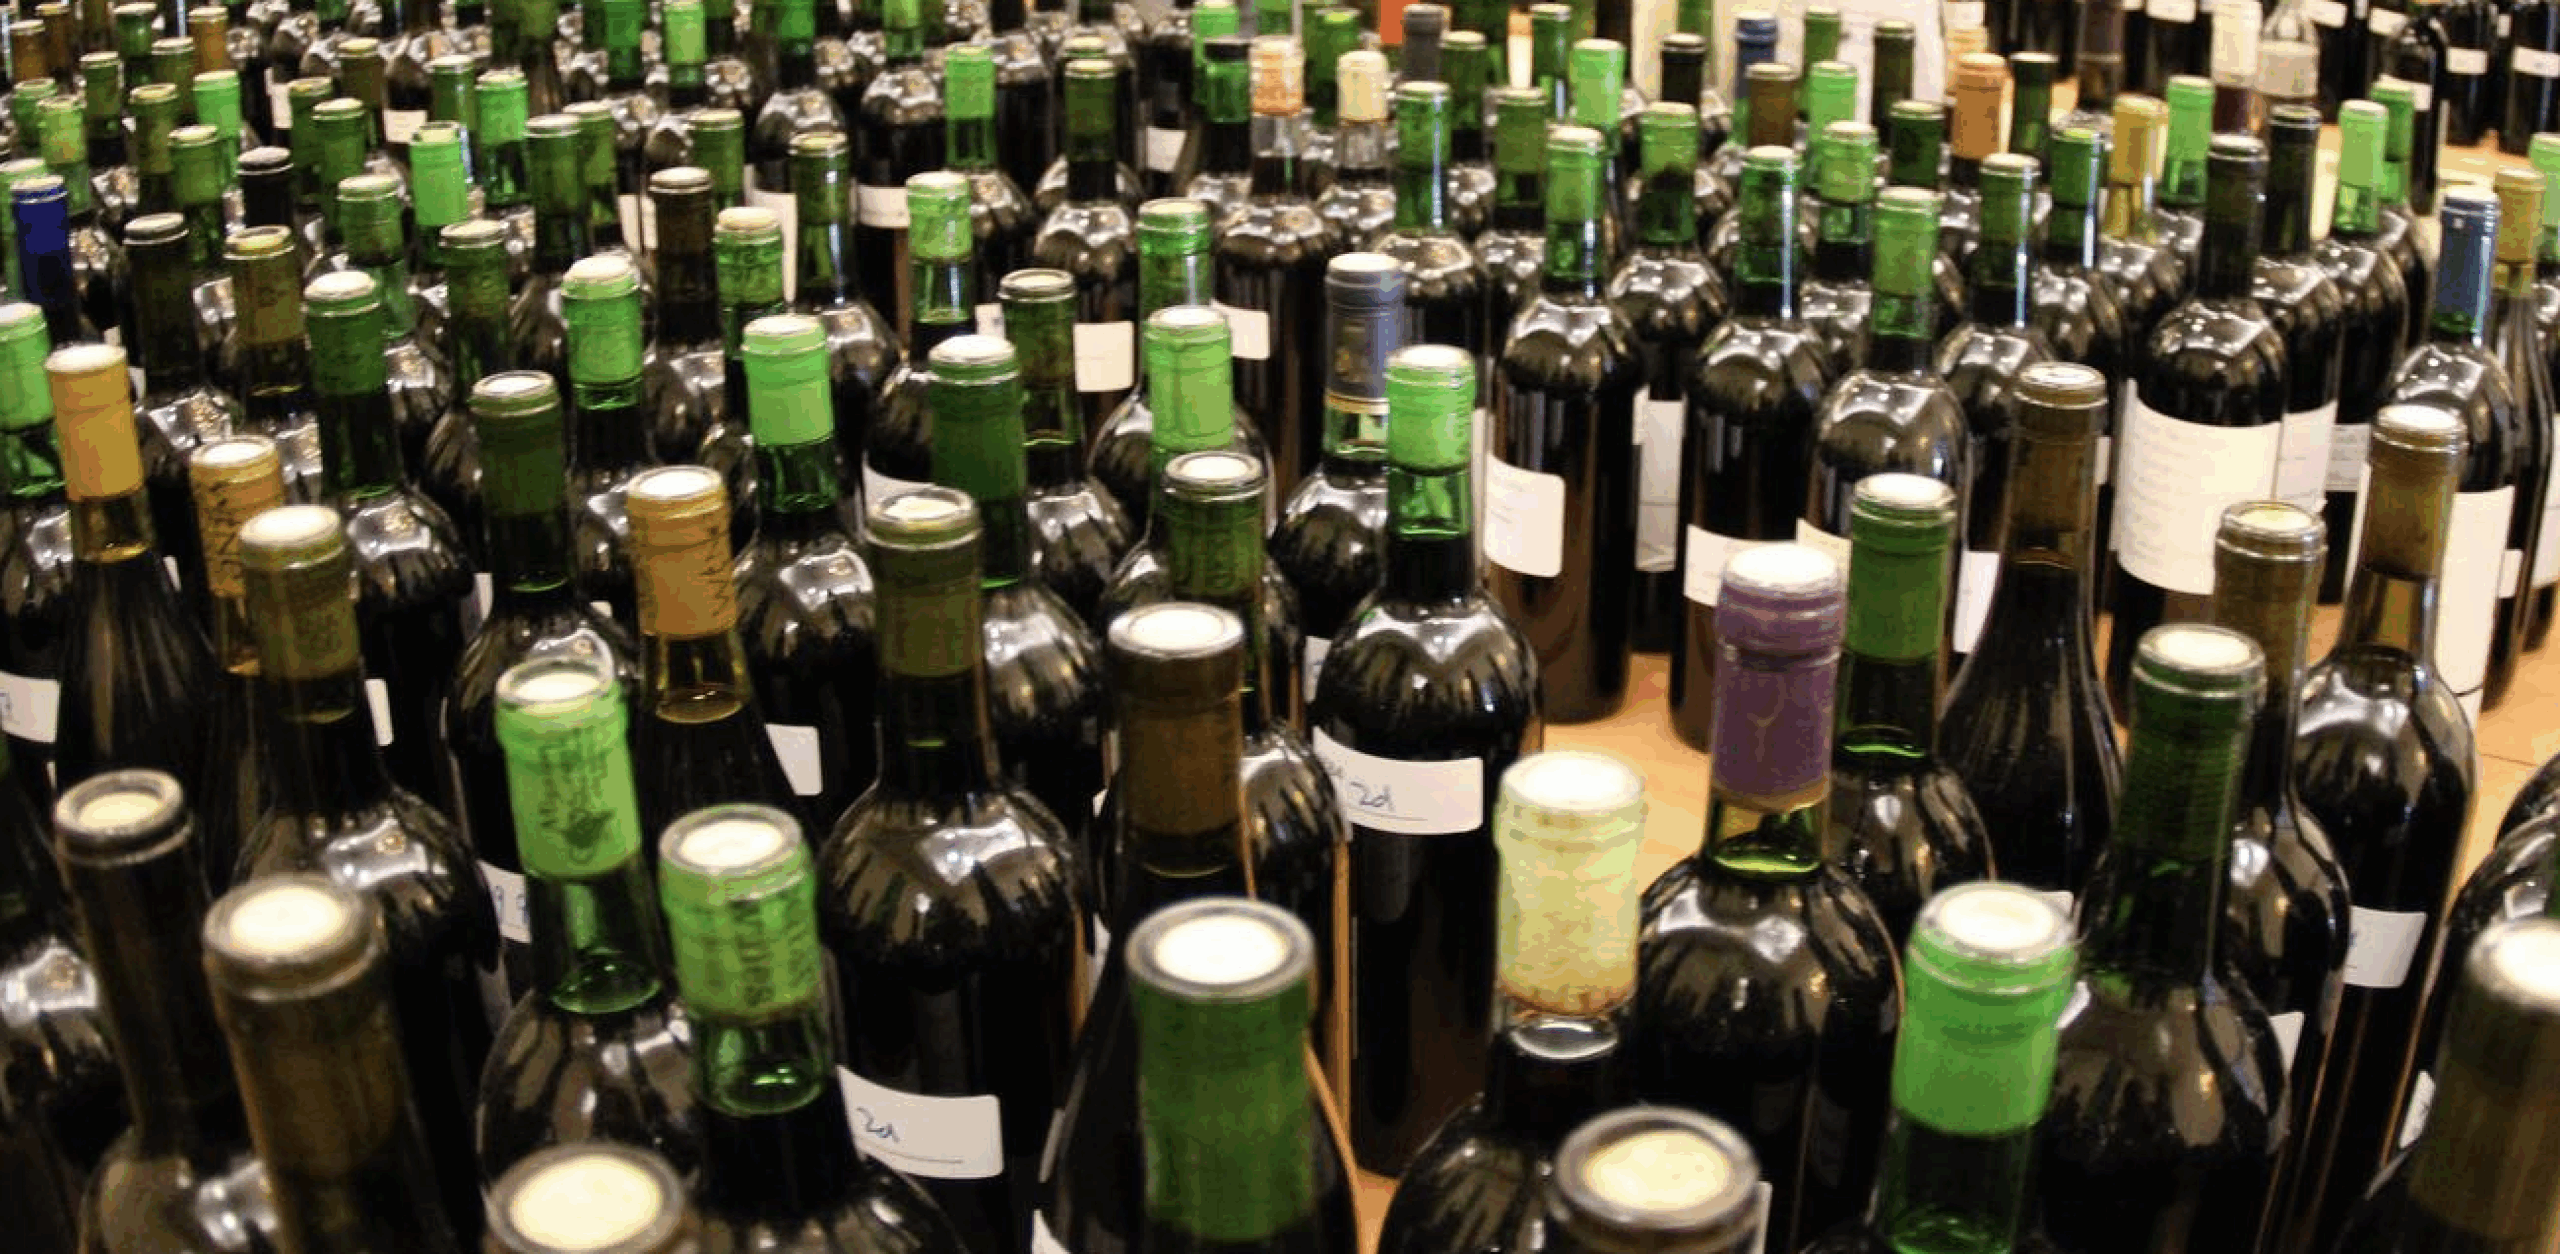
The next step in bottling is to get your supplies and equipment ready. Bottles, of course, are paramount (see sidebar at the end of this story for a discussion of shapes and colors). Whether you employ new or previously used wine bottles, you need to have on-hand a sufficient number for the wine you are bottling. The common metric-sized wine bottle, 750 mL (25.36 oz.), is very close to what we once called a “fifth:” One-fifth-of-a-gallon or 25.6 oz. (757 mL). That makes it easy whether you measure your wine in liters or gallons. In liters, you need 1/.75 or 1.33 bottles for every liter of wine you make. In gallons, you need five bottles for every gallon. Many people buy or stack bottles in cases of 12, so divide the total number of bottles by 12 to get the number of cases. If you wish to bottle some of your wine in smaller or larger bottles, the commonly available sizes are the half-bottle at 375 mL and the magnum at 1.5 L. It takes exactly two 12-packs of half-bottles to equal one case of standard bottles. Magnums are packed six to a case, so the volume in a case is exactly the same as in a case of twelve 750s.

After you have them on hand, you need to prepare your bottles. If reusing labeled bottles, soak in hot water to loosen labels and then scrape them off with a knife or purpose-designed product like the LabelNator. Wash bottles with a good glassware detergent designed for washing bottles using a bottle brush. After you rinse and drain, sanitize before bottling. Although some home winemakers use a sulfite solution for sanitizing, more predictable results may be achieved using an FDA (U.S. Food and Drug Administration) approved no-rinse sanitizer for bars and restaurants, such as Star San phosphoric acid sanitizer.
If you use new bottles, opinions differ on preparation. In most cases, brand new bottles in the case do not need to be rigorously washed before use. In commercial French wineries, it is required that bottles are rinsed before filling. Elsewhere, bottles are sometimes blown out with a jet of air to remove dust, but not rinsed. For home use, a conservative approach would be to sanitize new bottles with the same products recommended for used bottles.
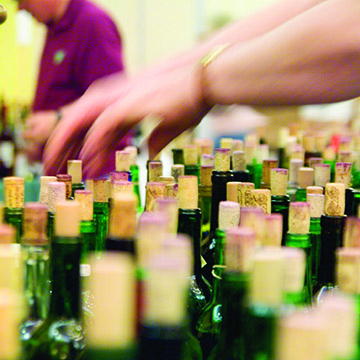
You also need corks. Although there are some alternative products, most home wine bottles continue to be stoppered with a piece of bark from the cork oak tree, Quercus suber. Grown mostly in Portugal, but also in Spain, Italy, France, and North Africa, the roughly two-inch (five-centimeter) thick bark can be harvested once every nine or ten years without harm to the tree. Slabs of bark are left out in the oak forest to weather and then are transported to the cork factory. They are sliced into strips representing the length of the desired cork and the corks are punched out using hydraulic machinery. Various washing, bleaching, and sorting processes follow. Before final distribution to wineries (or home winemaking shops) the corks are held in humidity-controlled rooms to achieve a moisture level of 8% by weight. They may then be branded and coated with a light lubricant such as silicone oil or paraffin. Bags of 1,000 corks are flushed with sulfur dioxide gas to retard spoilage and are sealed airtight.
From the scraps of cork bark left after corks are punched out, various other products can be manufactured. These include several versions of “corks” made of ground-up scraps mixed with a polymer or glue. If the entire body of the cork is molded of this material, it is called an agglomerated cork. If a thin disk of natural cork is glued to each end, the name may be something like “twin disk” or “1 + 1.” Naturally, these products are less expensive than the whole, punched, natural corks. For table wine that I will consume in less than five years, I routinely bottle with twin-disk corks. For wine intended for long cellaring, like a Port-style wine, I will instead use the solid natural corks.
The most popular cork size for home use is called a “Number 9” and is 24 mm (0.945 in.) in diameter. Various lengths are available, most commonly the 1¾ in. (45 mm) size. Shorter corks at 1½ in. (38 mm) may be adequate for short-term cellaring. Commercial wineries sometimes use a longer cork at 2 in. (54 mm) for their super-premium wines, but these corks are seldom distributed to home winemakers. If you buy bags of 100 (or even 1,000) and do not use all of them, carefully reseal the bag with a heat sealer or packing tape and store the corks under cool, dry conditions. They should remain usable for a few months, but if you can break one in half with your bare hands, it is too dry to insert in a bottle.
If the corks you receive have been properly packaged and handled, you can use them right out of the bag. If corks have been stored for a while or you have doubts about their condition, follow the advice given by Daniel Pambianchi in his book Techniques in Home Winemaking. Pambianchi recommends soaking such corks in a 1% sulfite solution for 10 to 15 minutes, shaking off excess moisture, and inserting the cork in the bottle. Do not soak longer than this period and do not boil corks.
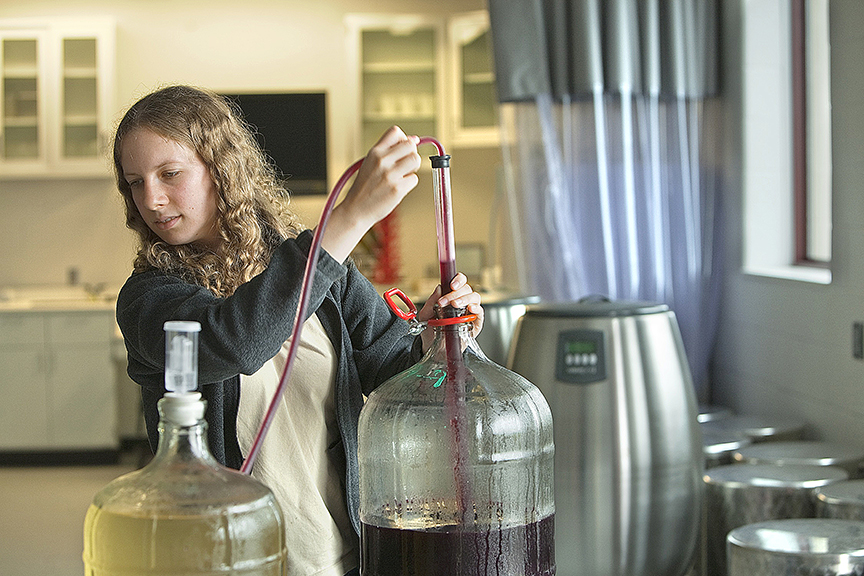
With bottles and corks on hand, make sure you have the necessary equipment. If there is any remaining sediment in a carboy, tank, or barrel, it is very difficult to bottle from that container without disturbing the lees and getting residue in the bottles. It is better to rack one last time to a “bottling tank,” just as commercial wineries do. A stainless steel tank is a good choice. For most of us, though, a clean and sanitized plastic primary fermenter or large bucket will suffice. Using an open-top bottling tank facilitates blending wines, adding sulfites, or treating with gum arabic because you can stir it with a sanitized stainless steel spoon. It does, however, expose the wine to air — representing some of the “stress” of bottling mentioned by Peynaud. Because of the air exposure, it is imperative to make one more sulfite addition in the bottling tank. Usually an addition of 10 to 15 ppm will counter the oxygen exposure that occurs.
Moving the Wine
When you’re ready, rack, pump, or filter the wine into the bottling tank. Add your previously calculated sulfite dose plus any final treatment products and stir gently. Using your selected filler, fill the clean bottles to a level that allows about ¾ in. (2 cm) between the bottom of the cork and the top of the wine. You need some space (ullage) to allow for possible thermal expansion of the wine without pushing out the cork or forcing a leak. On the other hand, you want to avoid a large airspace to minimize potential oxidation of the wine.
For filling bottles, the simplest device is a clear, rigid plastic tube with a push-type valve on the end. Start a siphon from the tank, attach the bottle filler to the end of the hose, and push the fill tip against the bottom of the bottle. With most of these simple fillers, allowing the bottle to fill almost to overflowing will leave appropriate cork space and ullage when the filler is withdrawn. As you lift up the filler, the valve at the tip closes and wine flow stops until you move on to the next bottle.
More elaborate gravity fillers are available with a built-in tank and three or more spouts. Made out of stainless steel or out of painted steel with a plastic tank, these are very simple machines.
The wine flows by gravity into the back of a holding tank. In that tank, a float mechanism (like a toilet tank float) closes the incoming line when the tank is full.
Along the front of the tank are the bottle filler spouts. Closed at the inlet end with a rubber tip against the sidewall of the tank, these stainless steel tubes rise up and over the front wall of the tank and point down toward the floor. Once the tank is full of wine, the user starts a siphon in each of the filler tubes by pushing the rubber tip away from the wall and suctioning on the lower (outside) end. When the tube is released, a spring pushes the rubber tip to the closed position and the fill tube remains full of wine. When an empty bottle is raised onto a filler tube, the wine flows into the bottle until the level reaches the same height
as that in the tank. A bottle rack on the front can be adjusted to position the bottles as desired, and the float in the tank can be adjusted to set the tank-fill level. Between those adjustments, bottles can be set to nearly overflow when the wine stops. Upon removing the bottle, the volume displaced by the filler tube provides space for the cork and ullage. These multi-spout fillers are very efficient, with Pambianchi describing a three-spout model as capable of filling 250 bottles/hour.
The gravity fillers are generally not pumped full of wine but filled only by gravity. The force of a pump might push the float valve open and flood the cellar! If the wine to be bottled is at floor level, you need to pump it up to a bottling tank where it can flow by gravity to the filler. There are commercial multi-spout fillers available that use pumps, but they are much more expensive than home-use gravity models that range from about $150 to $600.
To bottle on the same level as you store the bulk wine, a single-bottle vacuum filler may be your best choice. Units like the Enolmatic accept a single bottle and, by applying a vacuum, pull the wine into the bottle. The unit shuts off at a preset level, allowing removal of the full bottle and positioning of another empty one. The vacuum pull is powerful enough that a filter can be placed inline on the way to the bottle. Costing between $400 and $500, such units are capable of about 200 bottles per hour.
Closures
After filling, insert a clean cork so that it is flush with the top of the bottle. Pushing the cork in causes compression of the air space, so the bottle is left with positive pressure relative to the atmosphere outside. Because of that, stand bottles upright for a day or two allowing the pressure to equalize before turning the cases on their sides or upside down. During that period the cork will continue to expand and conform itself tightly to the glass wall of the bottle neck. A floor corker is far superior to a hand-held single or double-lever model. While those small corkers may work for a very small bottling, they are tedious and difficult to operate. A small floor corker made in Portugal is about $75 (see photo on facing page) and a larger model from Italy is about $150. All accommodate 750-mL bottles and some can handle 1.5-L and 375-mL bottles.
What about screw caps? While increasingly popular for commercial wines, these closures are still not practical for home use. The kind that go “pop-pop-pop” as you twist it off is some variation of what the industry may call ROTE or “roll on tamper evident.” As implied by the popping, it is really a single-use closure and cannot be relied upon for reuse. As for the first use, the closure goes on like a sleeve — it has no threads at that point — and crushed or “rolled” into place against the threads cast in the bottle glass. Although a small manual machine for that purpose exists, I have not seen one yet in a home winemaking shop.
Glass seals, such as the Vino-Seal have also attracted attention. Using an inert gasket, they can be inserted by hand and form a reliable seal. Zork is a synthetic stopper that includes a capsule as part of the installation. While both of these are reliable, they are not guaranteed to fit just any wine bottle. For either system, you must typically buy the stoppers and the bottles from the same wholesale distributor to be certain of a good fit. That is not a problem for commercial producers, but may prove inconvenient at home. Completely synthetic corks made from various polymers are also available and avoid any risk of “cork taint.” Take care if you try them, though. Many brands can be difficult to insert with manual corkers.
Finally, there is bag-in-a-box. Just as when keeping commercial boxed wine on the counter or in the fridge, these systems have the advantage of dispensing a single glass of wine without introducing oxygen. There is a 1.8-gallon (6.8-L) size that rests in a plastic housing that resembles an office trash bin. There are also 5-gallon (20 L) bags that fit in a purpose-built cardboard carton. The plastic housing or cardboard box is reusable, but the bags are not. So far, both seem more of a novelty than a product that will replace wine bottles.
Bottle Shapes and Colors (sidebar)
Except for sizes (which are legally mandated), wine bottle styles are rather unsystematic. There are several common sizes and popular colors, but even those vary from winery to winery. Some wines are even bottled in custom shapes or colors. Here is an attempt to sort out the “standard” styles. (I am limiting this discussion to still wine; sparkling wine or Champagne requires much heavier bottles intended for pressurized use.
The most popular standard shapes are claret (also called Bordeaux), Burgundy, and — a distant third — hock . As the names imply, the first two originate from winegrowing regions in France. Historically, wine was distributed mostly in bulk or was produced and consumed at home. With the advent of manufactured glassware in the 19th century, bottle standardization began to emerge. In the Bordeaux region, winemakers favored the straight-sided cylindrical bottle that bears that name (or, by extension, claret — the name English wine drinkers gave to some Bordeaux wines). Producers in Burgundy instead settled on a slope-shouldered bottle for their wines. In German-speaking regions, a taller and slimmer version of a slope-shouldered bottle became common. It is known as a hock or Alsace bottle.
Common bottle colors have a variety names in the glass trade. The dark, brownish green that we see so often in bottle shops these days is a color called antique green. The bright, clear green that was popular in years past, which is still seen commonly for Champagne bottles, is called Champagne green. When you see a paler yellowish-green bottle, that color has the industry name dead leaf green. Clear, untinted bottles are called flint as a color designation, although flint is also a descriptor for a type of glass. These four cover most wine bottles, although you may sometimes see brown (also known as amber), blue, or Georgia green. Georgia green is a very light bluish green color — the color of a Coca Cola bottle.
For shape, Bordeaux varieties like Cabernet Sauvignon, Merlot, Malbec, and Cabernet Franc are generally bottled in claret glass. The same shape is used for whites like Sauvignon Blanc and Sémillon. Producers of modern Chiantis and the so-called Super Tuscans have also adopted the claret bottle, as have US domestic Zinfandel makers. The Burgundy bottle, as reflected in its origin, is used for Pinot Noir and Chardonnay, the most prominent grape varieties in the Burgundy region. That bottle style is also used for Syrah and Rhône-style wines. The hock shape goes, reasonably enough, with German varieties like Riesling and Gewürztraminer.
For color, many red wines were packaged in Champagne green when I was young, but premium Bordeaux-type wines were in antique green. The trend was apparently embraced by marketers since now many more wines are bottled in antique green. Dead leaf green, made exclusively in the Burgundy shape, is used almost solely for Chardonnay. Chardonnay sometimes is bottled in antique green Burgundy bottles instead. Flint bottles are used for many whites and rosés, with the claret shape much more common than Burgundy. Of the minor colors, Georgia green in the claret shape appears as a Pinot Gris/Pinot Grigio package fairly often and sometimes for Sauvignon Blanc. Blue and brown are most often in the hock shape for German-style wines (if they are seen at all).
Home winemakers may use any bottle shape in any color for their wines. Darker colors provide more protection against “light struck” spoilage if the bottles of wine are exposed to fluorescent lights or sunlight. Beyond that, however, there is no effect on the wine from color or shape. Most of the choices come down to tradition.