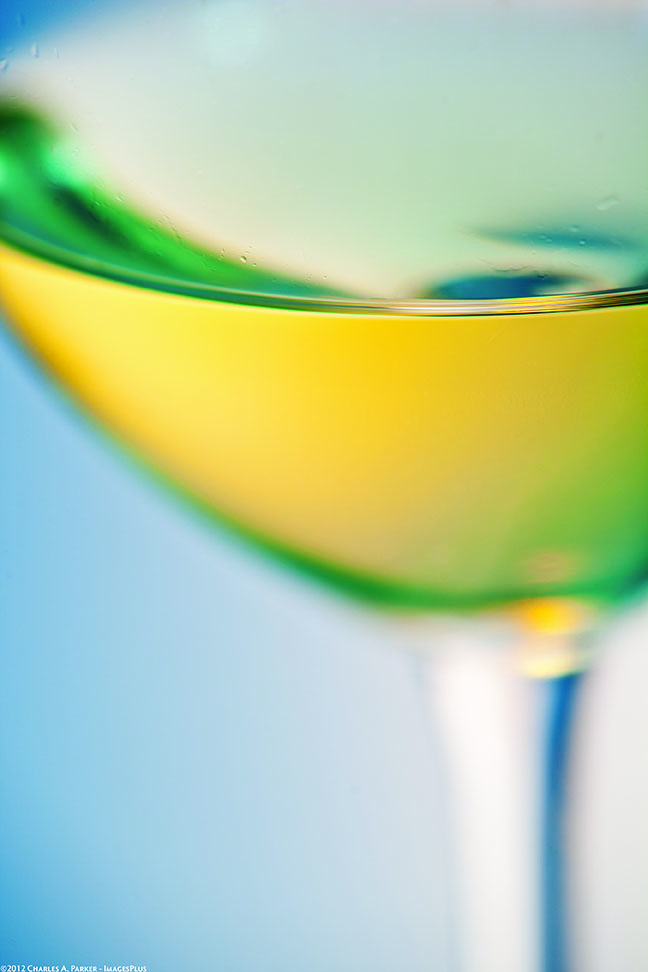
Now that our homemade wines have been sleeping in the cellar all winter, it’s time for some more activity. While the reds will probably go on aging in bulk for a few more months, spring is the time of year when I like to bottle whites and rosés from the most recent vintage. The wines are fresh, aromatic, and cold stabilized. Of course, you have been adding sulfites and testing the levels, so you could go directly to bottle. But that is not your only option. There is still this one last chance to improve your wines before committing them to the bottle. Among many springtime options, some interesting ones include blending, filtering, sweetening, carbonating, and adding gum arabic to these styles of wines. While some of these steps can be taken as late as the day you bottle the wine, others may benefit from a few days or weeks of additional storage.
Blending Option
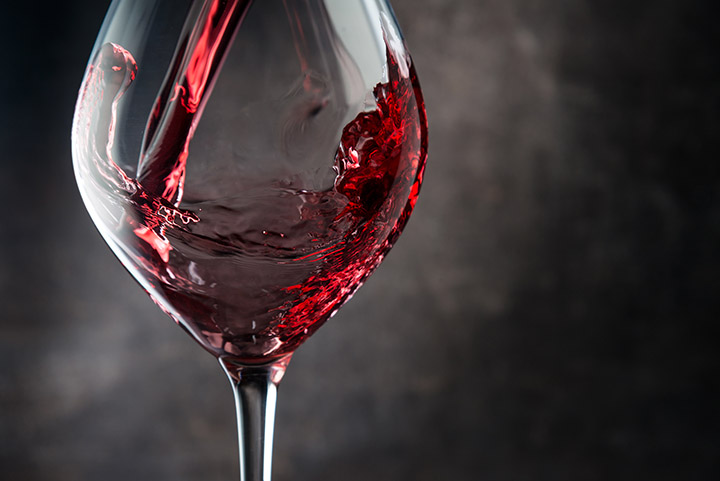
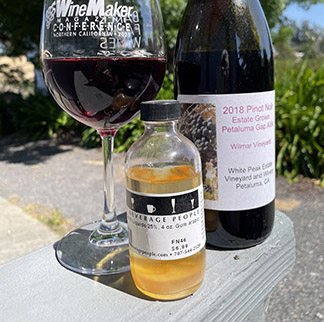
Winemaking writers often talk about blending as a solution for a problem wine, but blending offers lots of other creative opportunities. One extreme springtime choice you can make is that rosé you neglected to plan last harvest. That’s right, you can blend some red wine from your cellar with a white wine that is ready to bottle and synthesize a warm-weather pink refresher right there. You need trials for this, so thief out samples of your white wine and whatever red you think might work with it. My best results for this kind of “instant” rosé have been five to twenty-five percent red wine, with the balance white. Get your graduated cylinder and make 100-mL tasting samples with perhaps 5% red (5 mL of red, diluted to 100 mL with white), 10%, and 20%. Observe, taste the results, and take notes. If the winner is obvious, you have your answer. If something is close, say your 10% version, you can go back and taste again with perhaps 8%, 10%, and 12% to refine your decision. Blend a carboy or two and you will have some pink wine you didn’t plan on. Don’t forget to go back and rack or top up any remaining bulk wine.
If you make more than one white wine, you can broaden your cellar choices by blending a couple of those. Since I grow Chardonnay in my hobby vineyard, I always have some of that on-hand at bottling. I also purchase other grapes, including other whites. I have tried a number of white blends, enjoying a couple of vintages of 50/50 estate Chardonnay with Clarksburg Chenin Blanc. With the base wines and the blend, I have three white wines in the cellar instead of two. Do the same trials as for a rosé. With two whites I usually start with ratios of 25/75, 50/50, and 75/25.
While some of these steps can be taken as late as the day you bottle the wine, others may benefit from a few days or weeks of additional storage.
Finally, do not overlook the possibility of blending a white with a rosé that you did make last harvest. Rosés made from fully ripe red grapes, as by the saignée process, may be lower in acid and less fresh tasting than you want in a pink wine (see Chik Brenneman’s article from the December ‘10-January ‘11 issue for more details on making rosé: https://winemakermag.com/article/1024-ways-to-rose). While you can adjust acid directly, you may get excellent results blending in a portion of a bright, crisp white wine. All of these blends fall into the category of finishing steps with a few more weeks. Sometimes the blending of wines will cause components to precipitate out, which is unattractive if it happens in the bottle. Based on your trials, blend the wines, sulfite, and put in a topped-up carboy for three or four weeks in the cellar to see if anything drops out. If anything does, taste again, rack, and bottle.
Filtering the Wine
Some home winemakers filter every wine, some never filter. I occupy a middle ground where I filter any wine that I believe will show distinct improvement. Filtering is best done late in the development of a wine. If you filter early, then age, you may find that you need to filter again as other components precipitate out. If you plan to filter, there are many choices to be made (Daniel Pambianchi’s book Techniques in Home Winemaking has an excellent section on filtration in Chapter 5). You need to decide whether you will move the wine through the filter medium with vacuum (negative pressure filtration) or a pump (positive pressure filtration). As Pambianchi notes, you should avoid gravity filtration because of excessive air exposure and premature oxidation.
Once you have decided what kind of filter to use, select a filter medium appropriate to your purpose. For rough removal of sediment particles, a filter pad or cartridge labeled “coarse” or with about a five to seven micron nominal pore size will do the job. If you want to polish your wine to a more brilliant appearance, you might try a “medium” filter of about two microns pore size. For even tighter filtration, of the type called “sterile” filtration in commercial use, you need a pore size of 0.45 microns or less. For actual sterile filtration, you need “absolute” 0.45 microns, not just “nominal” or about 0.45. While some “nominal” filters of about 0.5 microns are sold to home winemakers for sterile filtration, it is actually very difficult to get sterile wine into a sterile bottle at home. When I managed a commercial wine-testing laboratory, I learned that even big wineries find sterile filtration challenging. One customer who bottled a red wine with residual sugar pulled a random bottle every hour from the bottling line and submitted it to our lab for “bottled wine sterility” testing. Any bottle that failed meant that hour’s production was opened, put back in a tank, and filtered again before being sold. For home filtering, go for brilliance and polish, but do not count on filtration as protection from microbial spoilage — use sulfites and sorbates.
Sweetening
Many light, refreshing wines seem fruitier and more appealing with a slight residual sweetness. I often sweeten rosé wines to offset just a bit of the tannic effect from red grapes. Once again, do trials to test for a wine’s sweet spot. Ranges that I like are typically around one to three percent residual sugar. To set up trials, heat 50 g of table sugar (sucrose) in just enough distilled water to dissolve. Cool and dilute to 100 mL in a graduated cylinder or volumetric flask. Now each mL of this sugar solution contains exactly 0.5 g of sugar. If you use 1 mL of the solution in 100 mL of wine, you have added 0.5% sugar, and so forth. Taste, choose, and sweeten your wine. Rack the wine off of any sediment, add the calculated amount of sugar syrup, and add potassium sorbate and sulfite to stabilize. Pambianchi discusses sorbate in Chapter 6 of his book and includes the important warning that you should avoid using sorbate on a wine that has undergone malolactic fermentation since any refermentation by lactic bacteria with sorbate present will produce a geranium odor flaw.
Carbonation?
Yes, you can make any wine into a sparkling wine. The two basic approaches are to naturally carbonate in the bottle or force carbonate with a cylinder of carbon dioxide. For the natural approach, a measured amount of sugar is added to the wine just before it is bottled in pressure-tolerant Champagne-style bottles. Additional yeast is usually added as well. The bottles are crown-capped or closed with a plastic or cork Champagne stopper (you can insert plastic stoppers with a rubber mallet, but a special corker is needed for natural Champagne corks). Use crown caps if you want to do the full traditional method of removing yeast that develops as the wine carbonates. The alternative is to leave the residual yeast in the bottle, chill upright when ready to serve, and pour gently. Both approaches are described by Philip Jackisch in his book Modern Winemaking.
If you happen to also homebrew and you have a draft beer setup, you can force carbonate your sparkling wine with your carbon dioxide cylinder. Rack the wine into a 5-gallon (19-L) stainless steel keg, sweeten as desired, and chill with the carbon dioxide line connected. Various charts are available to help determine the right pressure for the chosen temperature, but it is generally higher than for beer carbonation, closer to seltzer water. After several days of chilling and mixing under pressure, you may either serve as “draft” sparkling wine directly from the tap or bottle with a device called a counter-pressure filler. Once again, crown cap or use Champagne corks. If you want bottle-sweetened wine to be stable at room temperature, add sorbate before carbonating.
Gum arabic
While not common in home winemaking, I mention it here because if it is utilized by a winemaker, it will be the very last additive (along with sulfites) before bottling. Most producers recommend adding it after filtration, as it may clog filter media. Gum arabic is a natural product derived from Acacia trees and has been used in foods and beverages for hundreds of years. In white wines, it improves mouthfeel and may help prevent later precipitation of tartrates. In rosés, it can balance any perception of tannic bitterness and may impart a slight sweetness without causing instability.
Sulfite
And finally, our old friend sulfite. Bottling day inherently means exposure to air for your wine. Some of the oxygen may contribute to chain reactions with phenolic compounds that use up some sulfite you have previously added. Since oxygen from air dissolves in water at about 8 mg/L (ppm), I use a rough guide of adding about 10 mg/L (ppm) of sulfite in the bottling tank to counter the oxidizing effects. Rack the wine one last time, add your sulfite dose, and get those springtime wines safely into bottles!