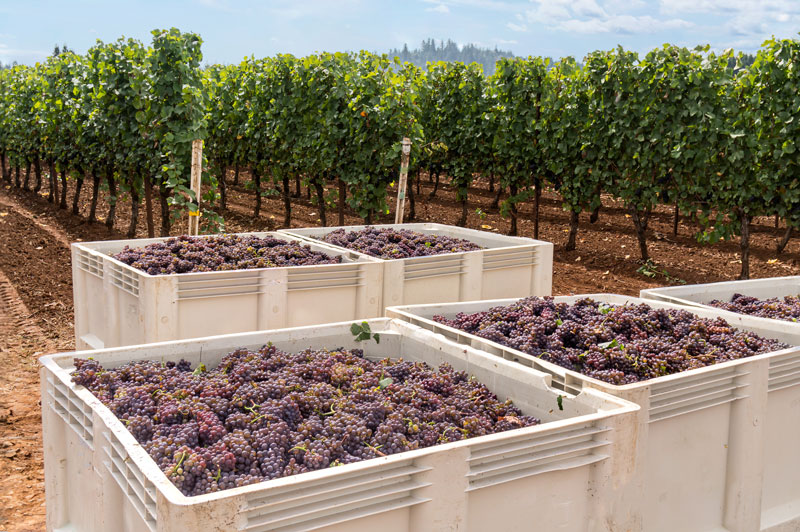
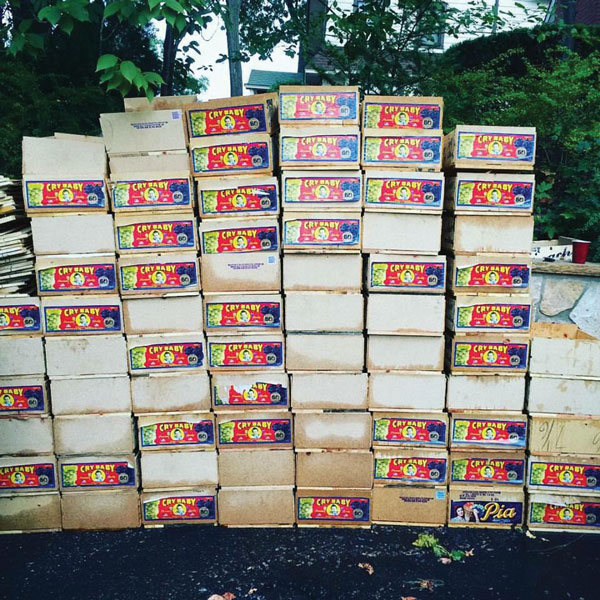
Most home winemakers start out small, making five or ten gallons (19 or 38 L) or even as little as one gallon (3.8 L). If you stick with the hobby and make wine from fresh fruit, there is a good chance you will move up in volume from these levels. Some hobbyists will level off at, say, 30 to 50 gallons (114 to 189 L) every year while others will run right up to the legal household limit (for two or more adults) of 200 gallons (760 L). Beyond that, it is the dream of many home winemakers to continue growing their practice and turn pro.
Photo courtesy of Shutterstock.com
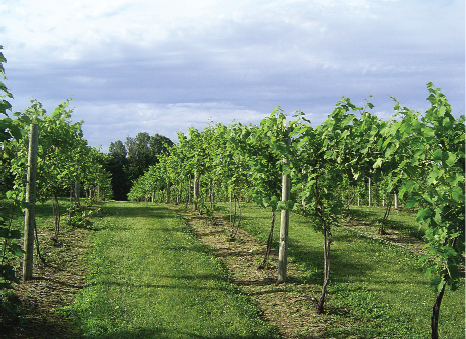
In this column my goal is to go further into the volume of must and wine that a larger, scaled-up crush entails. In my own home winemaking, I started small after I planted a 1⁄3 acre (0.13 ha) hobby vineyard some 20 years ago. When my dormant bench-graft plantings had grown out for the third year, they set enough fruit for carboy-sized winemaking. Knowing my volume would grow, I built a small “wine barn” in my back yard — 13 ft. x 17 ft. (4 m x 5 m) divided into three rooms. I bought a manual crusher/destemmer and a ratcheting basket press. These served me well until, near retirement, I decided to upgrade to an electric crusher/destemmer. I now make about 60 gallons (227 L) of wine a year and have made more in some vintages. So where do you put more wine and how do you get it there?
We are going to start this column’s journey with the must — either red or white grapes — dropping out the bottom of your crusher. From there, we have fermenting, pressing, racking, malolactic fermentation, and transfer to bulk storage. Just as for grape handling, bulk wine handling at the 5-gallon (19-L) level is very easy on equipment requirements. You can place a small manual grape crusher right on top of a 20-gallon (76-L) food-grade trash can-type fermenter and let the must fall in as you turn the crank. Since it only takes about 100 lbs. (45 kg) of grapes, moving the fermenter afterwards will be easy. You can crush in the garage, in the kitchen, or on the patio. If you are making white wine, you can press the must without removing the stems. With a helper or using a two-wheel dolly, you can take the must to your pressing area or press right there on the patio. You can ferment in a closet, spare bathroom, or part of the garage.
If you go above about 100 gallons (379 L), you will need room for half-ton bins or the equivalent volume in trash can sized fermenters.
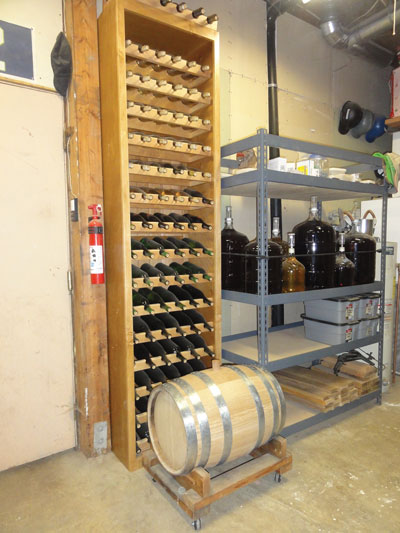
When you get up to the mid-range size, say up to about 50 gallons (189 L), you will need a larger space and more permanent facilities. Part of the garage will still work, and you can crush in the driveway, but you will need to set aside that garage space for several months for finishing fermentation, racking, and tank or barrel storage. Using space in your kitchen or a spare bathroom will become very awkward as you would need to leave three or more trash can sized fermenters in place for weeks to ferment and then get the must to your press. If you go above about 100 gallons (379 L), you will need room for half-ton bins or the equivalent volume in trash can sized fermenters. It becomes time to consider walling off that garage space or constructing some kind of home winery. Depending on the climate you are in, you may need to provide heat to complete primary and malolactic fermentations, cooling for white wine fermentation, or additional cooling for aging. Bulk storage of your wine will likely occupy your space until the next harvest. Consider provision of water supply and drainage.
Equipment needs change as production grows. The first stage in must handling is getting must from the crusher/destemmer into the fermenting bin. Below about 20 gallons (76 L), you may be able to lift and pour the bin that receives the must or, at worst, scoop it out manually. From there, you can carry it to your fermentation space. At any volume, you may want to destem and crush directly into your fermenting bins. To avoid moving the must again, you can move the crusher/destemmer to the fermentation area and rest it on boards across the bin. If you prefer to ferment in smaller bins — like the square 32-gallon (121-L) bins I use — you can put the crusher/destemmer on sawhorses with the bin underneath. After I crush about 200 lbs. (91 kg) into the bin, I stop, slide it out, and slide in another one for the next batch. With one helper, I can easily drag the full bin across a concrete floor and place it where I want to ferment. If you use the larger 44-gallon (167-L) round trash-can fermenters, you may wind up with more like 300 lbs. (136 kg) in each bin after crushing — awfully heavy to lift or drag. You can, however, use a two-wheel dolly or wheeled platform dolly to move such a bin. For half-ton (450-kg) bins, it’s best to have a pallet jack, a forklift, or a fork attachment for your tractor.
After fermentation of red wine or right away with white, you need to transfer the must to the press. If you have used a temporary crush pad in the driveway or on the patio, that same space may serve as a press pad — but you have to get the grapes there. If your dolly or pallet jack system works well, you can just run them right back. In my case, I set up the press on the same plywood sheets on my gravel driveway that I use as a crush pad and drag the fermenters one-at-a-time over to it. Once one bin is empty, it can serve to receive the pressed pomace for later transfer to a compost pile or green waste recycling bin. At the press, you will need something like a pitcher or small bucket to scoop out the fermented red or crushed white must and pour it into the press.
For the press itself, a very small batch can just be poured into a bucket lined with a nylon mesh bag. Lift the bag, twist and squeeze to press the juice into the bucket, and discard the pomace left in the bag. At mid-range production, a simple ratchet-style basket press works well. Most have wooden baskets and are designated by the centimeter diameter of the basket, #25 is 25 centimeters across (9.8 in.) and so forth. To help buyers match their needs, manufacturers and vendors translate these dimensions into volume capacities. In these figures, the volume is as though the basket were a solid bucket, rather than slotted or perforated. That means you can press considerably more volume on each batch than the rating, as about half or so by weight will run through as juice or wine. That #25 press, for instance, has a 5-gallon (19-L) basket. I use a #35 press with a 12-gallon (45 L) basket and I can usually press about 200 lbs. (91 kg) of white must or up to 300 lbs. (136 kg) or so of the softer fermented red must. Those amounts mean I sometimes need to handle multiple press loads on a single day, but they don’t take very long and the press easily comes apart and goes back together. I have resisted going to a larger press because I can move this one around by myself. You may be able to do the same up to a #45 press with its 25-gallon (95-L) basket, but when I worked in the retail store I found it nearly impossible to move a #50 (34-gallon, 129-L) press by myself. Because of those challenges with a large basket press, many larger volume home winemakers — and small scale commercial winemakers — go with a water bladder press. Common sizes for these (again rated as static basket capacity) are usually something like 40, 80, and 160 L (10.5, 21, and 42 gallons). The larger sizes are equipped with wheels and they tilt to dump pomace, simplifying large batches.
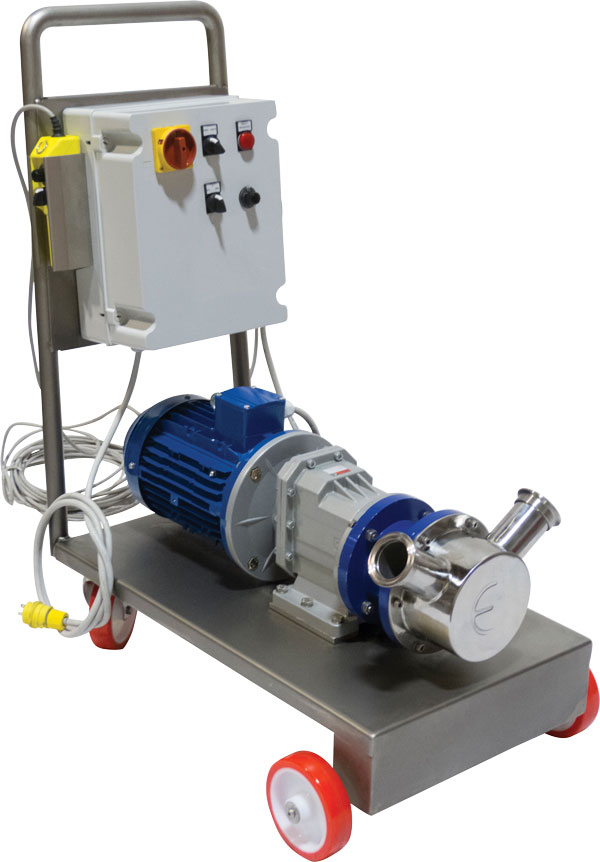
After pressing, you need to transfer the juice or wine into a fermenter for whites or a storage tank, carboy, or barrel for reds. Presses generally drain into a bucket — have at least two on hand for rapid switching to avoid spills! Most commonly, you carry the press bucket to the receiving vessel and pour it in, using a funnel if necessary. While commercial wineries commonly pump pressed wine to tank or barrel, such a pump must be able to handle the heavy load of solids present at this stage. Small diaphragm and impeller pumps usually come with a wire mesh pre-filter, which will quickly clog if you try to pump fresh pressings. If you have a must pump that can move crushed fruit, it will also work for freshly pressed juice or wine.
As a winemaker grows in their per-batch wine production, the equipment demands also rise. An impeller pump like the one pictured here, can move large volumes of must around in a small winery. Photo courtesy of MoreWine.com
Usually I wait for a red fermentation to drop to zero °Brix before pressing. After that, I introduce malolactic (ML) bacteria for the ML fermentation. Many home winemakers like to commence ML while the wine is still fermenting on the must, but I think volatile acidity (VA) flaws are better avoided by waiting until the wine is dry. By that time of the season, many wine growing regions have turned quite cool. That leads to the next equipment demand: A heat source with a thermostat to keep your wine above 65 °F (18 °C) for a few weeks while ML fermentation completes. While barrels can be directly warmed with immersion aquarium heaters or electric blankets, the best long-term solution is to be able to keep the ML room heated to the desired temperature. If you are also cellaring wine at 55 °F (13 °C), that means you will need a separate space with insulation in between.
For small-scale batches, all of these tasks can be done by the winemaker alone. Once you move into mid-range sizes, I recommend one or two helpers on a few days, including crush itself and then again on press day (which may be the same day for whites, but two occasions for reds). If you approach the 200-gallon (760-L) level, two or three helpers will prove useful on those critical days. Help is especially welcome when you are pressing a large batch of red wine, quickly sliding an empty bucket under the press while pulling the full one out to go pour into a tank or barrel in another room. It is nerve racking to do yourself as you turn your back on the rapidly filling bucket you just placed — and it slows down the process because no one is cranking the ratchet!