Winemaking by the Numbers
There are lots of ways to help winemakers learn or refine their craft. Most of those involve lists of equipment and supplies, along with step-by-step or time-based instructions for what to do with all those things. If problems arise, other chapters or articles on troubleshooting may need to be consulted. Here each stage of wine production will be addressed from four aspects: inputs, numbers, problems, and solutions.
If you follow this guide, you should finish up with about two cases of sound, well-made wine that you can be proud of and enjoy drinking. The “Inputs” discussion will include equipment, supplies, and consumable products applied at that time to the wine. “Numbers” will include recommended and optional analytical tests and quantitative observations. “Problems” will cover possible pitfalls or setbacks that may occur in that stage, and “Solutions” will recommend ways to address them.
I am fond of saying that there are 100 ways to make wine and 85 of them work. This article presents one approach, with some options, that I am confident is among the 85 in the “will work” category — but it is by no means the only way. For an article like this, the explanations are necessarily brief. For more rigorous technical explanations and to deepen your understanding of winemaking, I recommend reading a good book or two on the subject.
Stage 1: Grapes
The inputs here begin with fresh grapes, harvested or purchased. You will also need a potassium metabisulfite solution or Campden tablets. Equipment includes a crusher/destemmer and a 10-gallon (38 L) food-grade bucket. For testing, you will need a hydrometer and test jar for °Brix, a pH meter or strips for pH, and a titratable acidity (TA) test kit for TA. Assemble, clean, and sanitize the equipment and we will move on to critical numbers.

About 70 pounds of grapes should assure you of five gallons of finished wine. I usually calculate yield as about six gallons per hundred pounds, but that usually turns out to be a conservative estimate. Run your grapes through the stemmer/crusher and into the bucket.
Add about 50 mg/L (ppm) of sulfite to inhibit spoilage organisms and help protect against oxidation. For pH and TA, collect a sample of the juice before it gets deeply colored from skin exposure. For Brix, it is better to let it soak until just before you intend to add yeast. That way, any raisins in the clusters will have released some sugar to the juice.
Following the manufacturer’s instructions, test for Brix, pH, and TA. You may want to have a wine laboratory test for nutrient levels in the grapes as well, but there is no home test for that measurement. There is generally no need to test for sulfite at this stage, as the initial addition of sulfite at the crusher tends to dissipate rapidly. Typical Brix levels will be between 22 and 26 for most red wines. pH will be in the range of 3.2 to 3.8, and TA will be about 0.5 to 0.7 g/100 mL (5 to 7 g/L).
If there are problems, they will likely show up in your test results. If Brix is too low, the wine will not have enough alcohol to be balanced and stable. If pH is too high, the wine will also tend to be unstable. A low pH is rarely a problem. If the TA is too low, the wine will taste flabby and soft. If the TA is too high, the wine will be sharp and acidic.
To correct a low Brix, add corn sugar or cane sugar directly to the must in the bucket and mix it in. Since we are estimating about five gallons of juice (which weighs about 10 pounds per gallon), you can add sugar based on 50 pounds. Since Brix is percent sugar by weight, every half-pound of sugar represents a 1 °Brix increase in your 50 pounds of juice. For instance, to raise a 20 °Brix must to 23 °Brix, add a pound and a half of sugar to the bucket. If Brix is too high, add water. You can calculate the addition as: (Actual Brix/Desired Brix) x 5 gallons (19 L) = needed total gallons. Then subtract your five gallons (19 L) from needed total gallons to find gallons/liters of water to add.

For instance, if your Brix measurement is 28 and you want 24:
(28/24) x 5 = 5.8 gallons
5.8 gallons – 5 gallons = 0.8 gallons to add
So, in this case, add 0.8 gallons (102 ounces or 3 L) of water to the bucket and mix it in. Distilled water is best, but make sure it is unchlorinated, whatever the source. Keep in mind that with the addition of water you will be diluting the TA as well. To maintain a TA level of about 6 g/L, simply add 6 grams of tartaric acid for every liter of water; in this case, 18 grams of tartaric acid would have to be added.
If TA is too low, add TA at the rate of 1 g/L (or 20 grams for the roughly 20 liters of juice in your bucket) for every g/L increase desired. So, for example, if you have a TA of 0.45 (4.5 g/L) and want to raise it to, say, 0.6 (6 g/L), add 1.5 x 20 = 30 grams of TA. Sprinkle it on the must and mix it in. If TA is too high, you can use a calculation similar to the sugar dilution described above. Here, use (Actual TA/Desired TA) x 5 gallons (19 L) = needed total gallons or liters.
If, for example, you have a TA of 0.8 and want to lower it to 0.65:
(0.8/0.65) x 5 = 6.2 gallons
So, add 1.2 gallons (4.5 L) of water. That will, of course, lower your Brix and you will probably need to add sugar as described earlier. Now that we have crushed grapes (must) in the bucket and have made initial adjustments, we can move on to the next stage of the process.
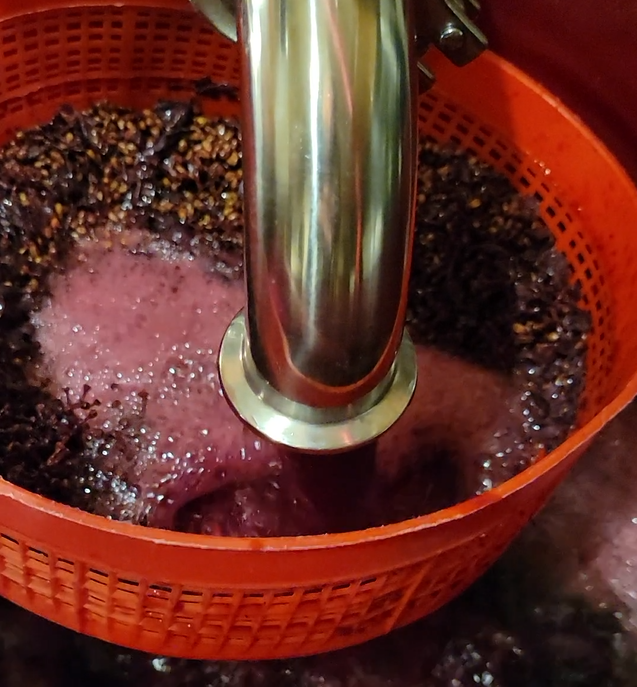
Stage 2: Primary Fermentation
Inputs for this stage include a punchdown tool, a wine thief, and a thermometer, plus nutrients and yeast. As the fermentation begins, the skins inflate with carbon dioxide and rise to form a “cap.” The cap needs to be mixed in with the fermenting wine (or punched down) two or three times a day. For this mixing, use a large potato masher, a large stainless steel spoon, or your carefully washed bare hands. Use about 1 gram of yeast per gallon of must. Your 70 pounds of grapes will have produced around 9 gallons of must, so just round off to a 10-gallon vial or two 5-gram packets. Rehydrate according to the package instructions and add to the must. After about 1⁄3 drop in Brix, add one gram per gallon of a complex yeast nutrient (so about nine grams). Keep punching down, and at about 2⁄3 drop in Brix, add another gram per gallon of nutrient. When the cap collapses and Brix is near zero, it is time to press off and go to the next stage – malolactic fermentation.
While still in primary, let’s look at the numbers. We already verified and adjusted the starting Brix and TA. During fermentation, thief out a sample every day or two and measure the Brix with your hydrometer to determine the time of nutrient additions. If you start at, say, 24 °Brix, then a 1⁄3 drop will be at 16 °Brix and a 2⁄3 drop will be at 8 °Brix. If you had a laboratory run a nutrient analysis, you may also need to add a simple nitrogen nutrient like diammonium phosphate (DAP).
The principal problems that can occur in this stage are a failure to start fermenting or a premature halt to fermentation. In the case the inoculation does not take, the most common problem is temperature shock to the yeast. When you rehydrate, make sure your water is not over 104 °F (40 °C) and make sure the difference between the must temperature and the yeast slurry temperature is no greater than 18 °F (10 °C).
If a cap does not rise within a day or so, reinoculate. If fermentation becomes stuck, it is often due to a drop in temperature. In that case, warm it up. You can put plastic bottles of warm water in the bucket of must, warm up the room with a space heater, or wrap the bucket in an electric blanket.
Just make sure you stay within the temperature range recommended for your chosen yeast strain. If warming it up does not do the trick, reinoculate.
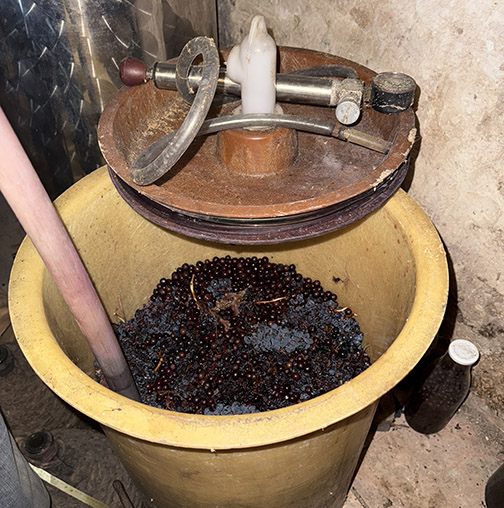
Stage 3: Malolactic Fermentation
To go from a primary fermenting must to a secondary fermenting wine, your inputs will include a wine press, a small bucket, a 6-gallon (23-L) carboy, a funnel, a fermentation lock and stopper, and some malolactic (ML) bacteria. To determine the completion of this stage, you will need a paper chromatography kit for malic acid.
You have already determined the most critical number: a Brix near zero. Press the must and collect the wine in the small bucket. Use the funnel to pour your new wine into the carboy. If your ML culture is ready-to-use liquid, allow it to come to room temperature and pour it into the carboy. If it is freeze-dried, dissolve in about ¼ cup of non-chlorinated water at room temperature. Let it stand 10 minutes and pour it into the carboy. Fit the fermentation lock and stopper and hold the wine at a temperature above 65 °F (18 °C). Above 70 °F (21 °C) is even better. Do not add sulfite at this time, as it would inhibit the ML bacteria. The final critical number is the end of ML fermentation. One commonly accepted figure to determine that no further ML activity will take place is a residual malic acid level less than 30 mg/L (ppm). Run your paper chromatography test according to kit instructions. An “absence” of malic acid is usually a good enough indication that your fermentation is done.
The most common problem during this stage is a stuck ML fermentation. If your testing shows the same result for several weeks, you may be stuck. Check your temperature and warm as needed. Consider an addition of a specific ML nutrient. If all else fails, you may decide to go to the next stage without ML completion. In that case, treat with lysozyme to kill residual ML bacteria.
Stage 4: Élevage
Élevage is the French term for the “bringing up” of the wine. It refers to the period between fermentation and bottling. Inputs for this stage include a racking cane and tubing, a 5-gallon (19-L) carboy, and an aeration-oxidation sulfite test apparatus (or other means of measuring free SO2). Optional inputs may include oak chips, beans, cubes, or sticks as well as a sugar test kit, fining agents and, maybe, filtration equipment.
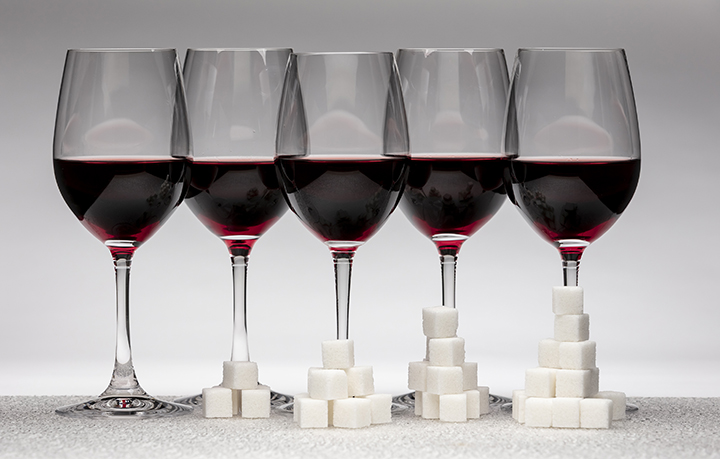
The numbers at this stage are those of completed wine. Combining from the previous stages, you should now see a Brix level below zero. If you use a sugar test kit, a stable “dry” wine should give a reading of less than 0.4% residual sugar. Once again, your malic acid level should be less than 30 ppm (or “absent” by paper chromatography).
Siphon (rack) your wine from the 6-gallon (23-L) carboy into the 5-gallon (19-L) carboy. If necessary, top up with a compatible commercial wine to reach the bottom of the carboy neck. Add sulfites until you achieve a free sulfur dioxide (SO2) level of 30 mg/L (ppm) or higher. (For more detailed information on sulfite additions, check out the sulfite calculator tool on this website). Reattach the fermentation lock and place the carboy in a cool cellar for aging. This period lasts about nine to 11 months for most wines, so you can empty your carboys in time for the next harvest.
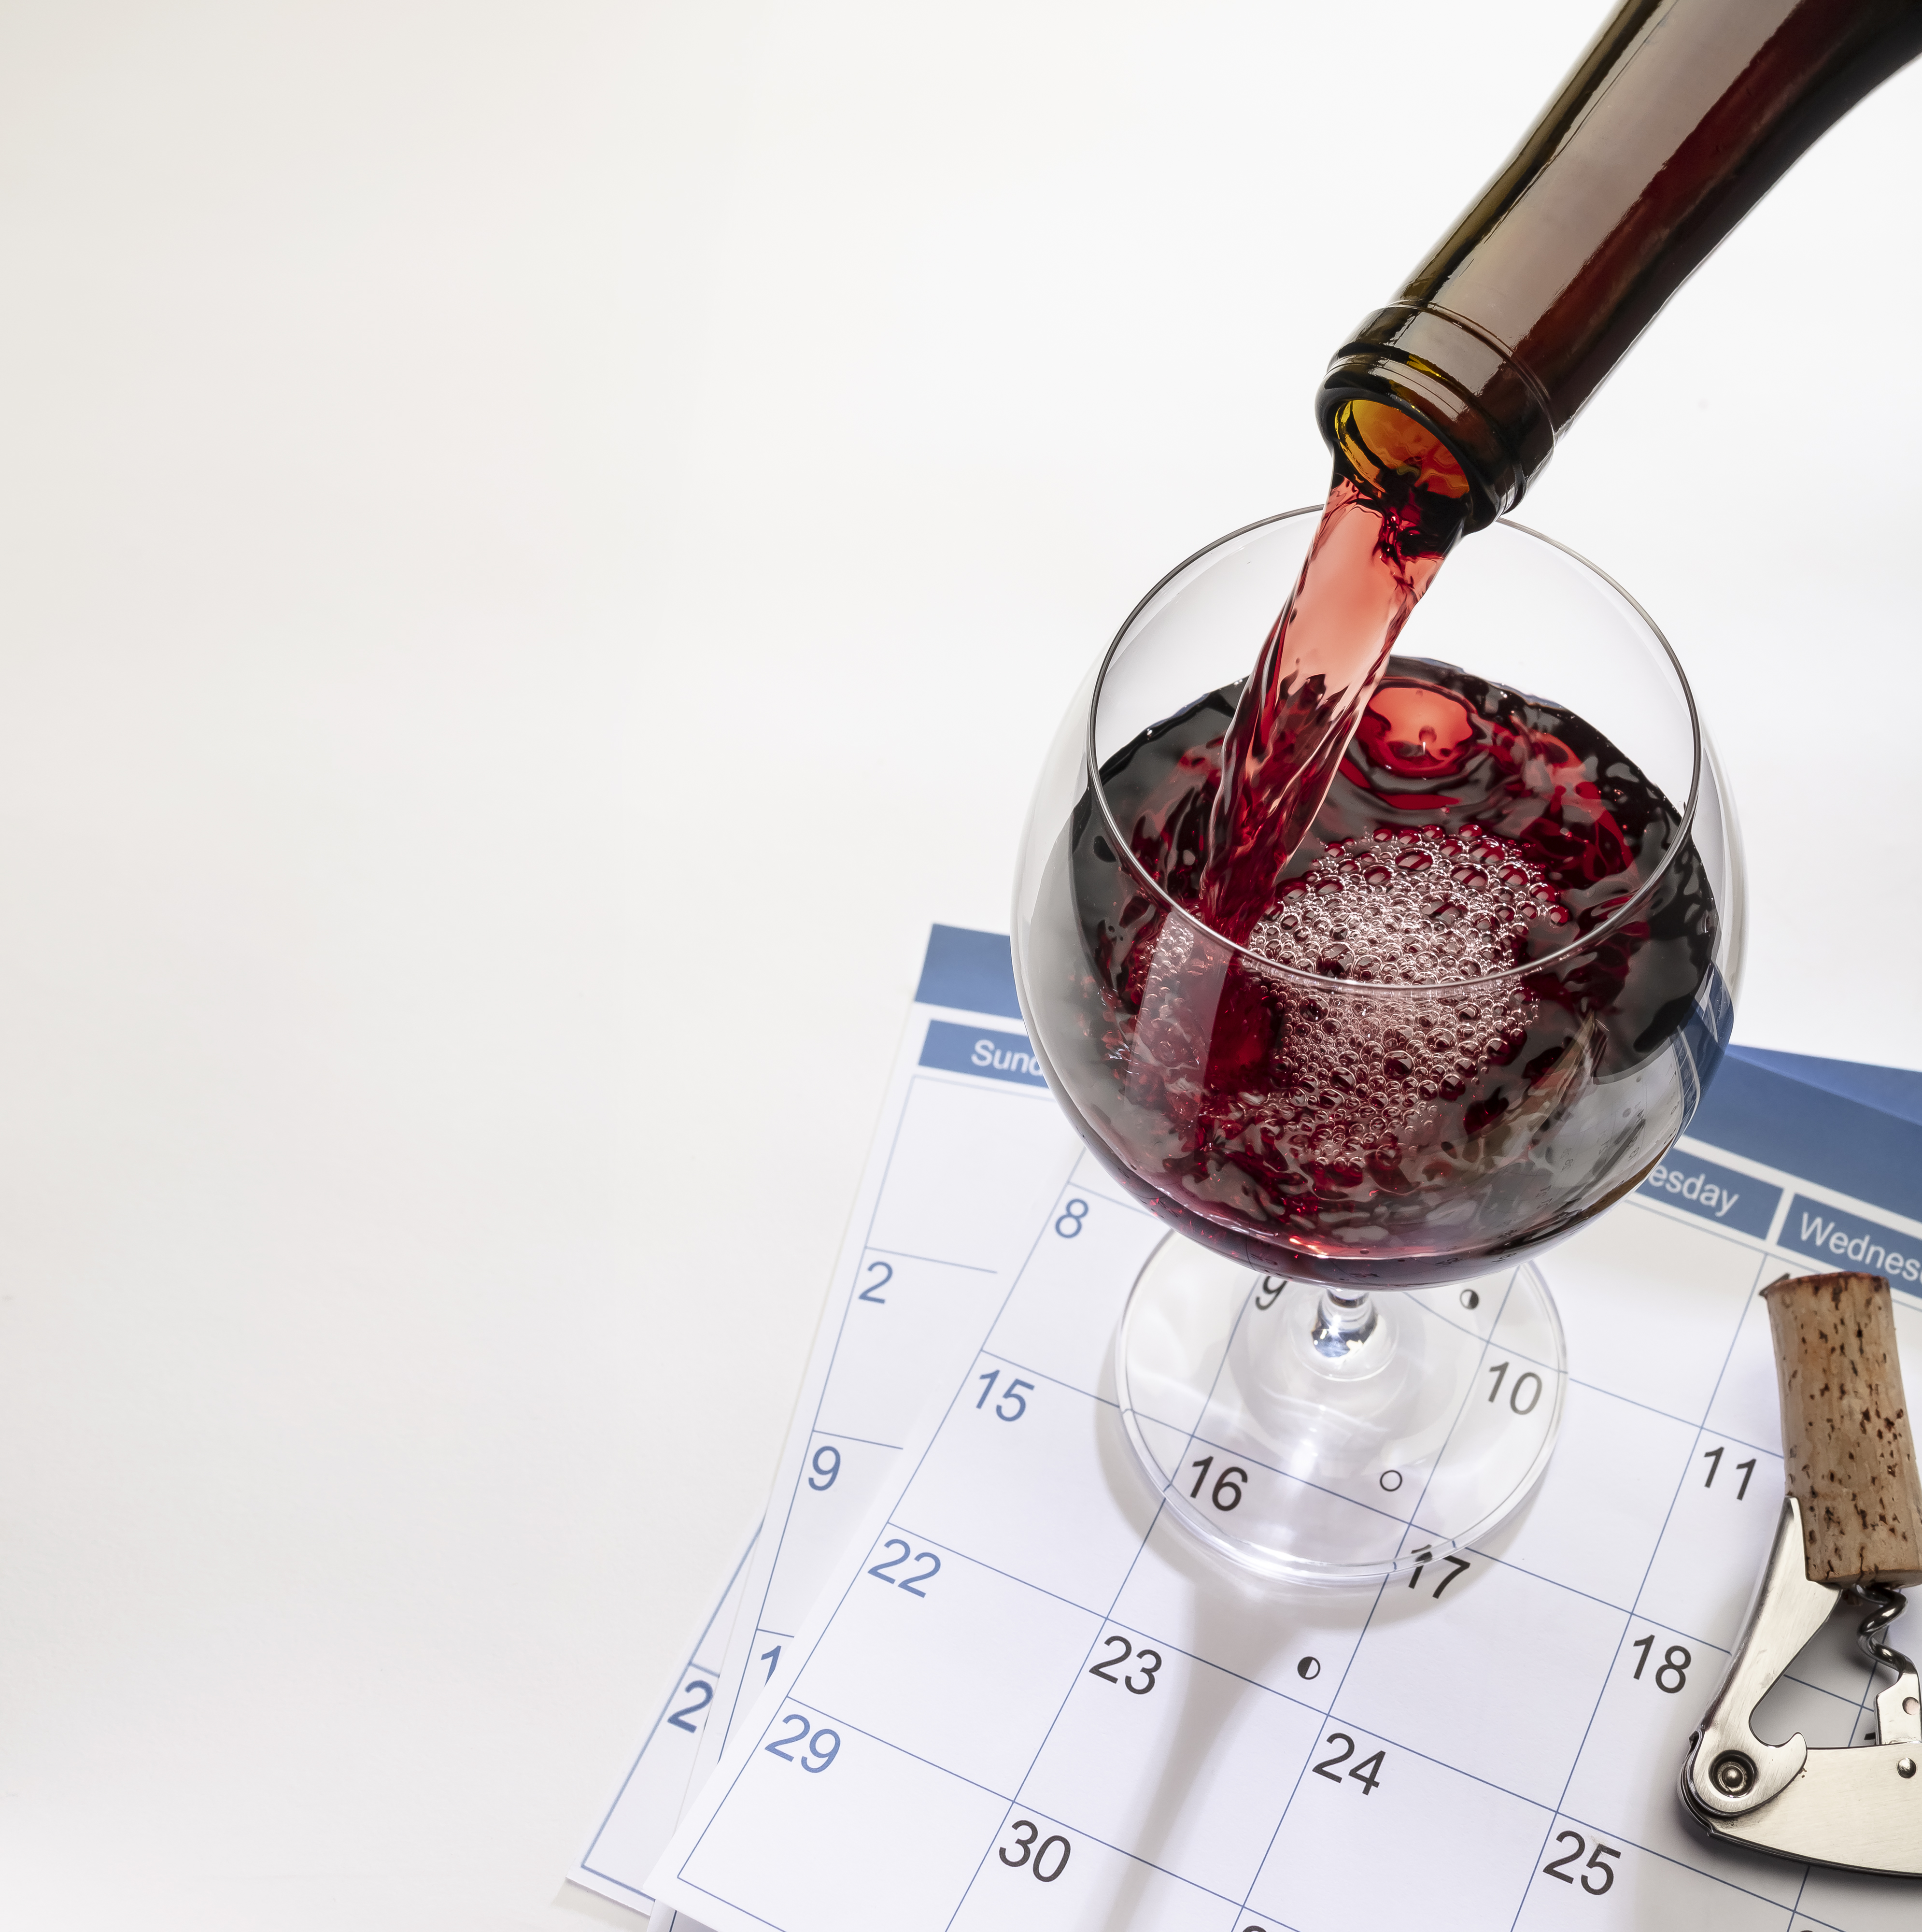
Problems that can develop during élevage include low SO2, cloudy wine, sulfide (rotten egg) aromas, or browning and oxidation. To correct low sulfite levels, add and measure at least once a month. I find it helpful to pick a day, like the first day of every month, to remind me to do these additions and tests. Keeping the sulfite level steady and at the right level will do a great deal to avoid other problems. If your wine is cloudy, you may fine or filter. Sparkolloid® and bentonite are good general purpose fining agents for clarifying a wine. If fining does not clear up the wine, you may need to rent or buy a filter. For a small batch like five gallons, it may be best to leave filtration until just before bottling. Otherwise, the wine loss in filtration will need to be made up with some other topping wine for further aging.
If a sulfide stink has developed, treat with copper sulfate or similar product. If browning occurs or the wine begins to smell like Madeira or Marsala wine, oxidation has begun. That means the wine has been exposed to too much air or the sulfite level dropped too low (or both). Make sure your fermentation lock did not go dry; if it did, fill it with clean water or a sulfite solution. If the carboy is not topped up, add commercial wine (or another sound homemade wine) to reach the bottom of the neck. If oxidation has already occurred, it cannot be completely reversed. A large addition of sulfite (50 to 75 ppm) may improve the condition and restore some freshness to the wine. In general, if an oxidized wine is drinkable at all, bottle it soon and drink it young.
Stage 5: Bottling
After élevage, it is time to package your wine for consumption. Inputs include bottles (about 25, or round off to two cases of 12 for five gallons/19 L), corks, and one more sulfite addition. Equipment includes a bottle filler. This can be either a single manual filler that attaches to your siphon hose or a three- to five-spout semi-automatic bottle filler. The single manual filler is completely adequate for a five-gallon (19 L) batch. You will also need a corker.
The numbers here are the same as before, but you may want to recheck. Residual sugar should be less than 0.4%, malic acid less than 30 ppm, and free SO2 greater than 30 ppm (or whatever level the sulfite calculator has advised for your wine).
There are generally few problems with bottling. To avoid excessive sediment, first rack the wine from the carboy back into your primary bucket. This will leave any final sediment in the carboy and allow you to stir your last sulfite addition into the bottling bucket. Lift the bucket onto a table or countertop, and attach the filler to your siphon hose. Fill the bottles and cork them. Use fresh corks; if the corks are dried out it may be difficult to compress them properly for insertion into the bottles. Place the bottles right-side-up in the cases for a few days to allow the corks to expand and conform to the bottle neck. You may then lay them on their sides or turn them up-side down. Allow four to six weeks of bottle aging to get through any possible bottle shock. After that, the only remaining stage is to enjoy drinking your wine, but you already know how to do that!