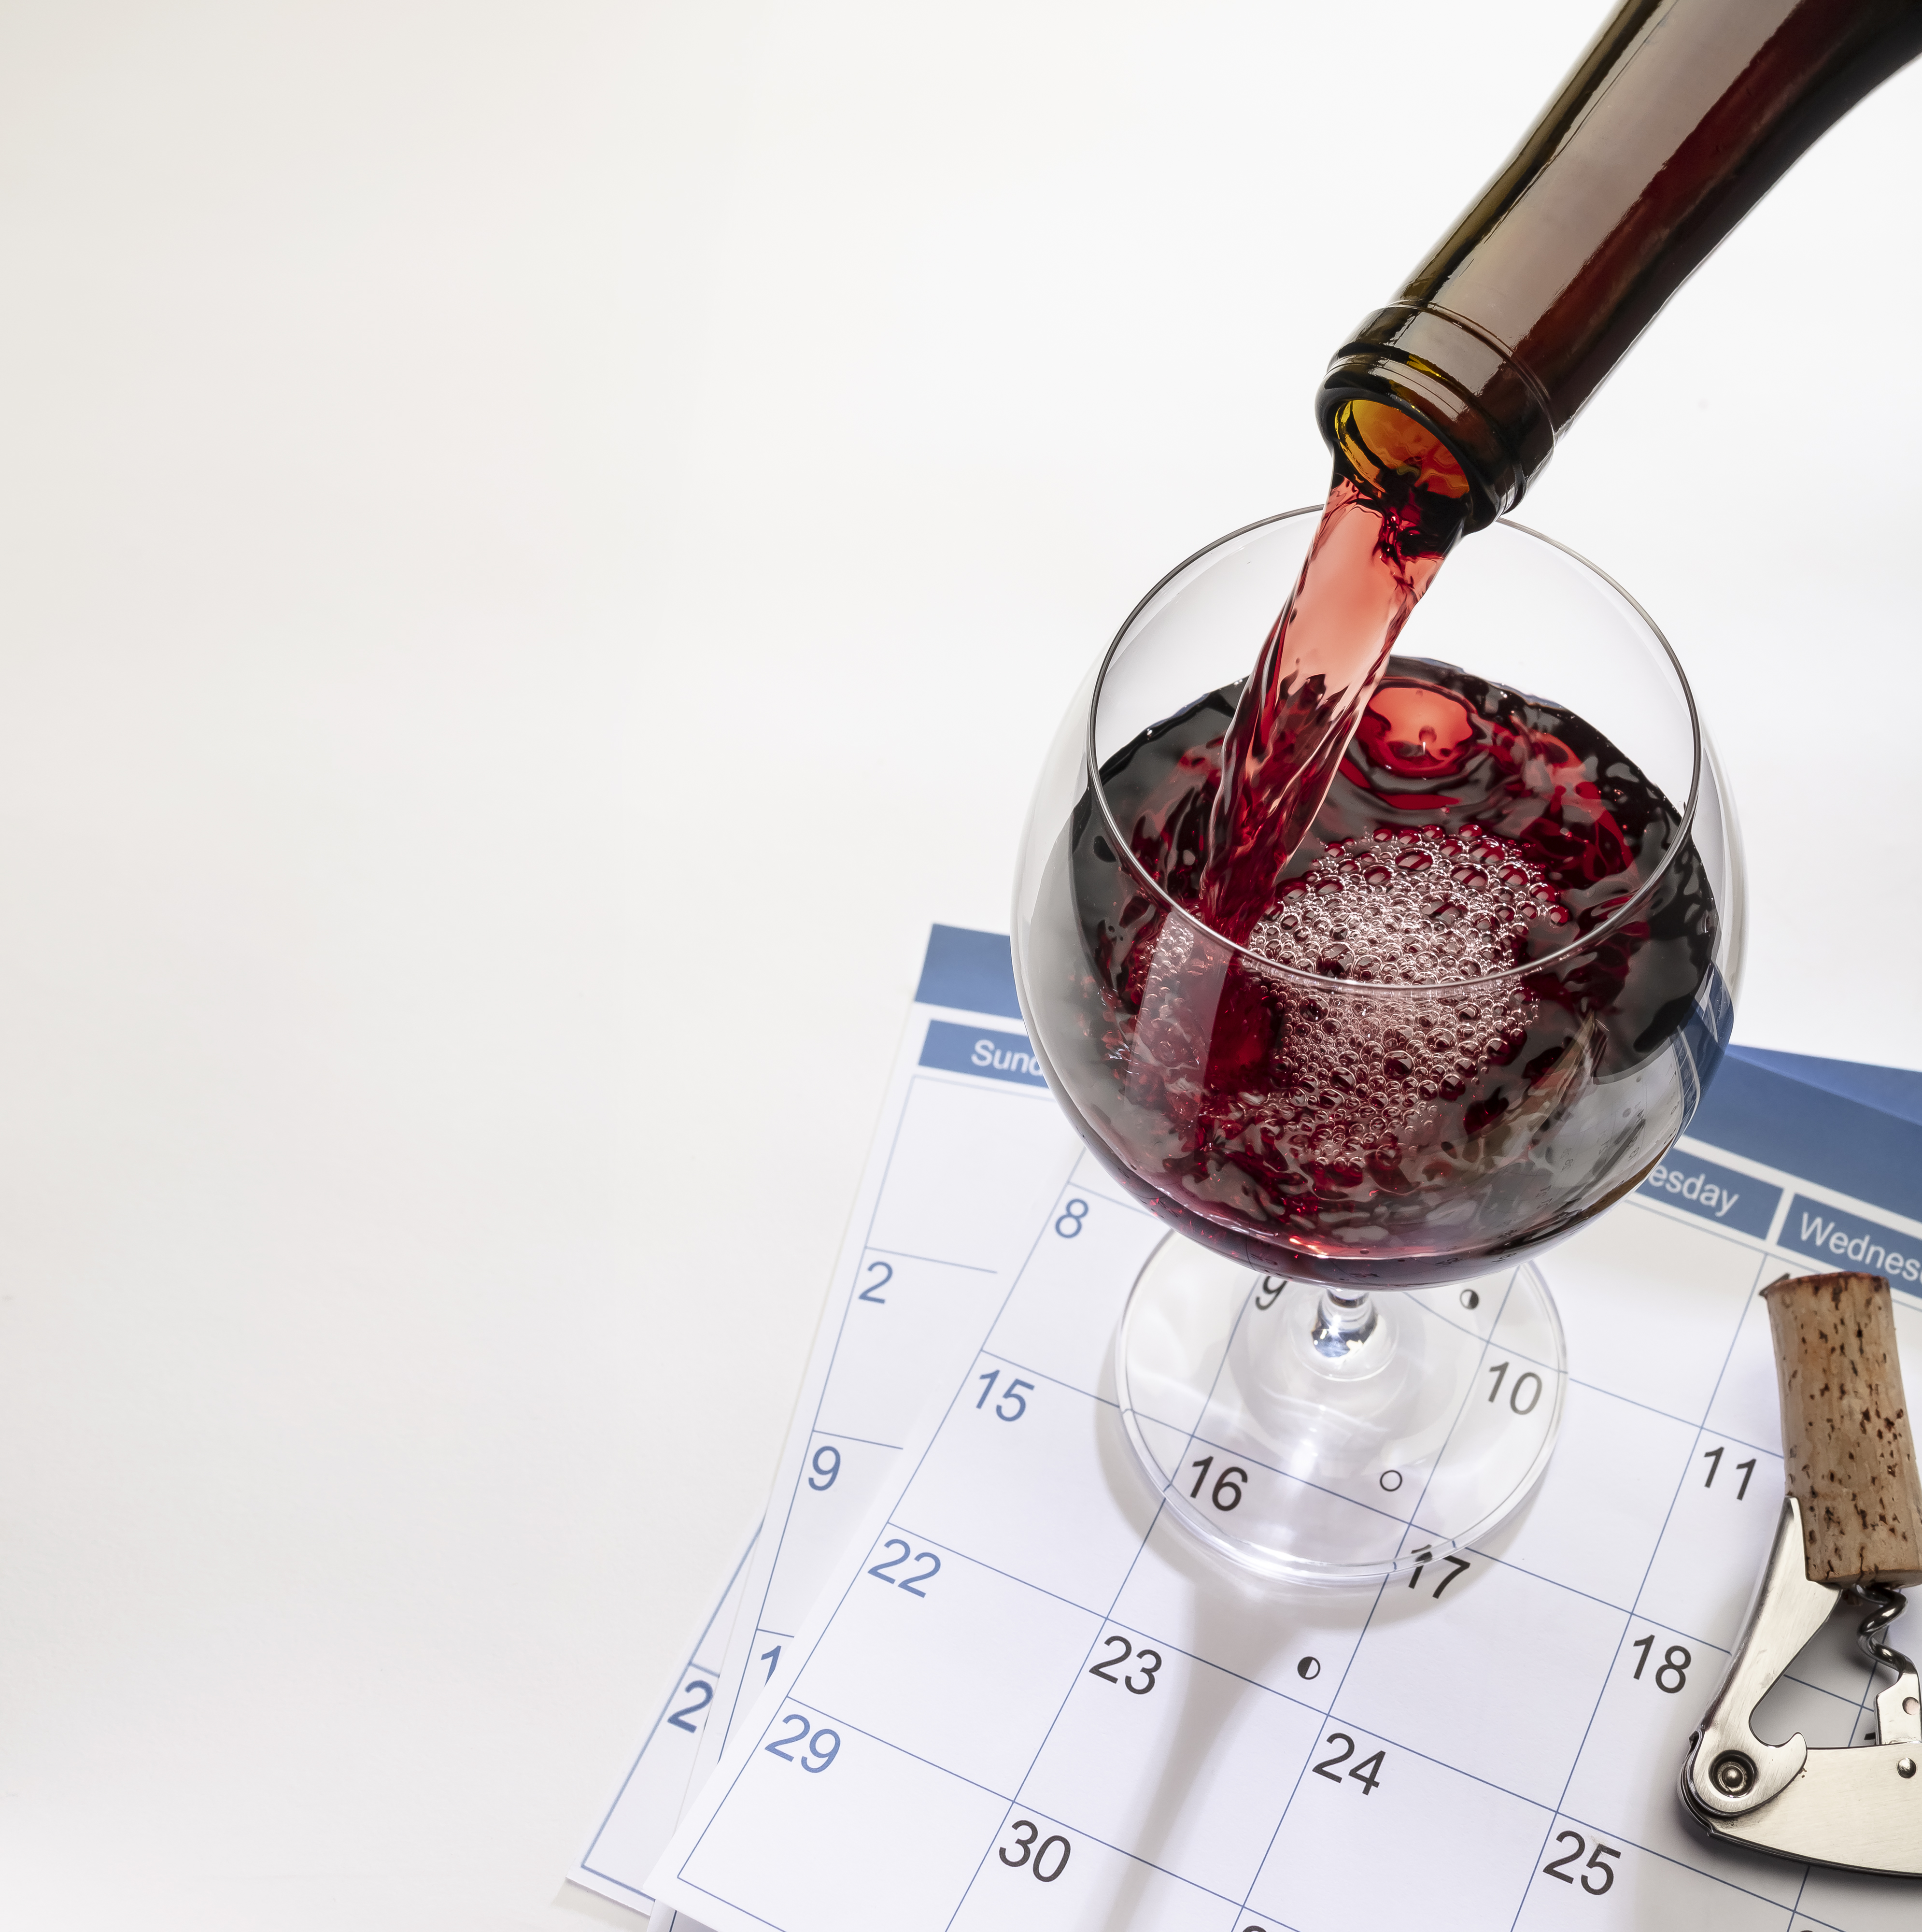
Fine Wine in Less Time
Let’s be honest: Winemaking can be a patience game, but sometimes you don’t have 18 months to wait. Whether you want to reduce overhead time in the cellar, need tank space as soon as possible, or simply have a scheduled event to attend and you want to bring your wine, there are ways to bottle earlier while still producing a polished, stable, deliciously drinkable wine.
This isn’t about cutting corners, it’s about working smarter. In this article, I’m breaking down six pillars of “fast-tracking” your wines:
• Wine stability (cold, heat, and microbial)
• Color stability and managing mouthfeel

• Products and processes that accelerate perceived aging and complexity
• Adjusting acidity
• Blending for complexity
• Sensory testing for confidence at bottling
Before we dive into the fast-tracking techniques, it’s worth noting that some wine varieties and styles are naturally quicker to bottle than others. For example, white wines and rosés often require less aging time than big, bold reds, and winemaking kits or pre-balanced juice buckets are designed for streamlined production. Usually kits and juices are ready to bottle anywhere from within a few weeks to a few months from purchase. While this article focuses on grapes-to-bottle strategies, these options are excellent for those who need wine on a tighter timeline. Fast-tracking a white wine is sometimes the surest way to short-circuit potential spoilage, especially when the grapes are harvested in less than ideal conditions.

1. Wine Stability
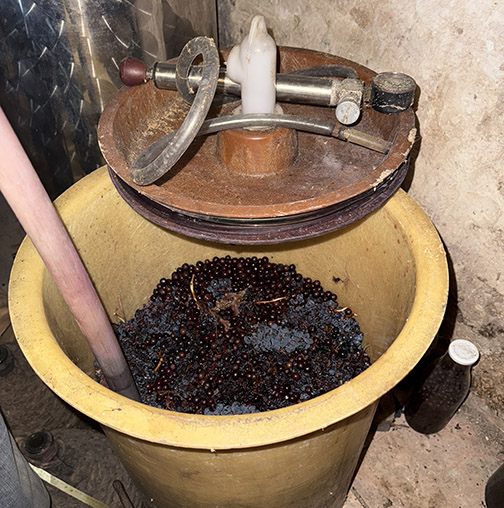
Cold Stability – Skip the Long Chill
Traditionally, you may do a 4- to 6-week chilling period in the tank to remove tartrate crystals, but today’s tools like CMC (carboxymethylcellulose) cut that time down in white wines dramatically. With excellent results, you can directly add products like Celstab after fermentation or aging. A quick freeze test is your best friend — if you see no crystal formation after three days at 25 °F (-4 °C), you’re good to go. Note that these products are not recommended for red wines as they will
strip color.
You can check if your wine is prone to forming tartrate crystals — aka wine diamonds — after bottling, a step-by-step freeze process looks like this:
Pull a wine sample of ~200 mL into a glass or plastic bottle, leaving at least an inch (2.5 cm) of headspace.
Place the sample in a freezer at around 25 °F (-4 °C) for 3 days. Upright or sideways is fine, but upright makes it easier to observe.
After 72 hours, check for crystal formation on the bottom or walls of the bottle. If crystals form, the wine is not cold-stable. No crystals = cold-stable, ready to bottle without further chilling or additives.
If the wine drops clear but throws crystals later, use CMC products like Celstab or mannoproteins to stabilize without extended chilling. Please note that this test is not a lab-certified analysis, but it’s very useful as a practical check for small wineries or home winemakers. A great option to consider is adding gum arabic, which will reduce the perception of acidity and enhance mouthfeel.
Heat Stability – Avoid Bottle Haze
Bentonite remains the gold standard for protein stability, but don’t guess on dosing. Run a bench trial to see what is needed. Bentonite is challenging to begin with. You don’t want to have to go back and add more. There are some bentonite products that work faster. They are more expensive, but if cutting time is the goal, they are worth the expense. Ask your local winemaking retailer for details on these products.
Whites and rosés benefit from early bentonite fining to avoid costly post-bottle complaints (reds do not require heat stabilization and adding bentonite to a red wine may unnecessarily strip texture). Many wineries add bentonite during fermentation or immediately after. Fermenting on bentonite is a great way to achieve heat stability quickly, and it tends to be more respectful of flavor, texture, and aroma than fining post-fermentation. For difficult-to-stabilize varieties like white hybrids, this can shave weeks off of the production schedule.
A quick heat test — holding a wine sample at 176 °F (80 °C) for 6 hours — will tell you if proteins will be an issue, but we don’t all have those capabilities in our wine labs. Below is a heat stability test you can do at home, adapted from Daniel Pambianchi’s Techniques in Home Winemaking. Note that in the heat stability/protein stability test, you want to see if the freeze causes a haze or drop out. Sometimes you will see a slight color change due to the freezing process, but that is not something to be concerned about for this test.
- Gather a sample of ~200 mL.
- 2. Heat sample in slow cooker, sous vide, or pan up to 176 °F (80 °C) and maintain this temperature for 10 minutes.
- Remove from heat and let cool for 15 minutes.
- Transfer into clear closure and place in fridge overnight.
- Take sample out of the fridge and allow to come to room temperature.
- If there is haze or drop out, your wine is NOT heat-stable yet.
A couple more things related to heat stability that are worth keeping in mind: Any protein or PVPP (polyvinylpolypyrrolidone) fining should be completed prior to heat stabilization, as adjustments to phenolic structure can have an impact on stability. Second, any acid adjustments (up or down) should be completed prior to heat stabilization; shifts in either direction can impact stability.
Microbial Stability – Get Ahead of Brett & VA
Fast bottling doesn’t mean you can skip sulfite management. Wines bottled too soon are more prone to volatile acidity spikes and Brettanomyces blooms. A simple combination of low free SO2 (30–35 ppm) and potentially a light filtration can stabilize wines for early bottling. I know many people avoid filtration, but it can be one of the reasons your wine shines at such a young age. Consider this when bottling wines young.
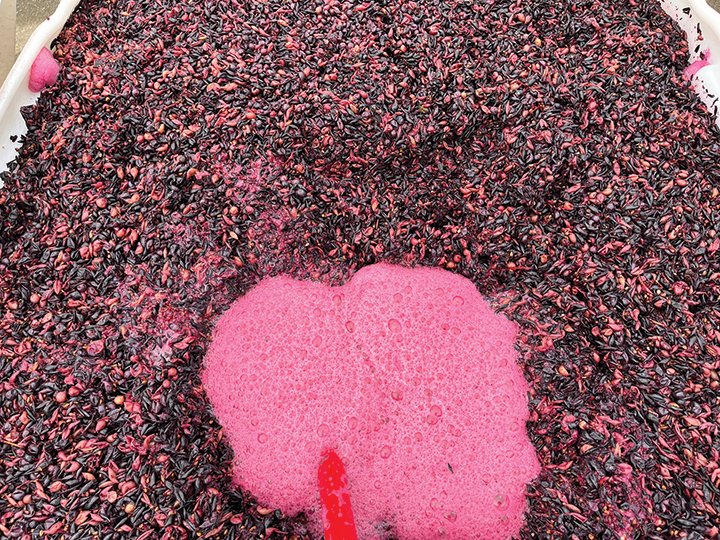
2. Color Stability
For reds, color stability refers to anthocyanin management. Your red wine’s color isn’t just aesthetic — it changes the perception of flavor. Wines with stable color are judged higher in quality. So how do you ensure your red wine is color-stable?
Keep pH lower (3.2–3.6) to lock in the flavylium cation form of anthocyanins, which shows more vibrant red hues.
Use products like gum arabic or Opti-RedTM to help prevent anthocyanin breakdown.
Incorporate early oak tannin additions. These bind with anthocyanins, forming polymeric pigments that are more color-stable.
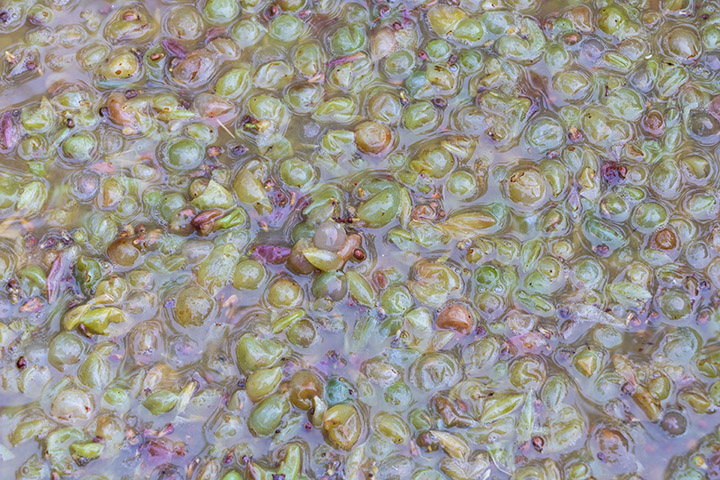
For white wines, color stability primarily refers to minimizing browning or pinking caused by oxidation of non-flavonoid phenolic compounds. When fast-tracking your white wines to bottling:
When working with juice, fine while it’s settling. You’re basically knocking out two steps at once, which is especially useful in years with high rot pressure when you need every tool to clean things up early.
Hit wines with bentonite early to reduce fallout issues and keep the wine stable.
Use PVPP fining if testing shows pinking risk, especially in Sauvignon Blanc. Tip: Is your wine at risk of pinking? There’s a quick bench test you can run at home. Grab a small, clear sample of your white wine and add a few drops of hydrogen peroxide, which simulates oxidation. If the wine develops a pink tint after a few minutes, it’s showing signs of pinking susceptibility. That’s your cue for considering a PVPP fining trial. It’s especially worth doing with Sauvignon Blanc, which tends to be more prone to pinking than other whites. Avoid excessive skin contact on quick-turnaround white wines unless targeting orange
wine styles.
Try Opti-WhiteTM or other white wine color stability products prior to bottling.
3. Boost Perceived Complexity in Young Wines
To this point, we’ve focused on shortcuts to make sure nothing goes wrong once the wine is in the bottle. But bottling young wine also means we need to treat the wine with some special measures prior to bottling so it doesn’t come off tasting like a young wine. Oak integration without the cost and time in a barrel is one of the most time-saving techniques out there. Barrel aging is time-intensive and laborious. If you want roundness and oak complexity faster, try these options:
Liquid Oak
Its impact is instant. Run a bench trial so that you do not over-oak it. Even once you bench trial and find a desired addition for your wine, add half, taste it the next day, and then add more if needed. You always want to walk in additions like this because you can’t take it out once you add it. Note that there are many liquid oak options out there. One of my favorites for the home winemaker is Super-Smoother. It comes in home winemaking sizes and is part liquid oak and part glycerin. These two combined help smooth out most wines in terms of complexity and flavor.
Oak Powders
These can rapidly soften mouthfeel in less than a week. I suggest using this up front in fermentation as a sacrificial tannin as well.
Oak Chips
It’s generally suggested to leave oak chips in contact with the wine for 3–6 weeks to develop spice, toast, and vanilla notes. The exact timing depends on the chip size, toast level, and your flavor goals. Taste weekly once you hit the two-week mark — chips extract quickly, so it’s easy to overdo it if you’re not checking in regularly.
Other Barrel Alternatives
In addition to chips, there are also cubes, spirals, staves, and many other shapes and sizes. Generally, the less exposed area, the longer contact time is required, but allow taste to be
your guide.
Micro-Oxygenation
This one can be tricky. If you’re not careful, you can over-oxidize fast. But done right, micro-oxygenation can help speed up tannin polymerization, soften mouthfeel, and smooth out young reds quickly. For home winemakers looking to mimic micro-oxygenation from a barrel, the easiest way is to rack your wine with a bit of splashing (aka splash racking). This naturally introduces small amounts of oxygen while moving the wine off the lees. You can swirl a carboy or stir the wine gently with a sanitized spoon if you’re working in small volumes. For more controlled micro-ox, some home winemakers use aquarium stones or diffusers with very low airflow for short periods, but that’s advanced territory. Start simple, watch your wine closely, and always taste along the way.
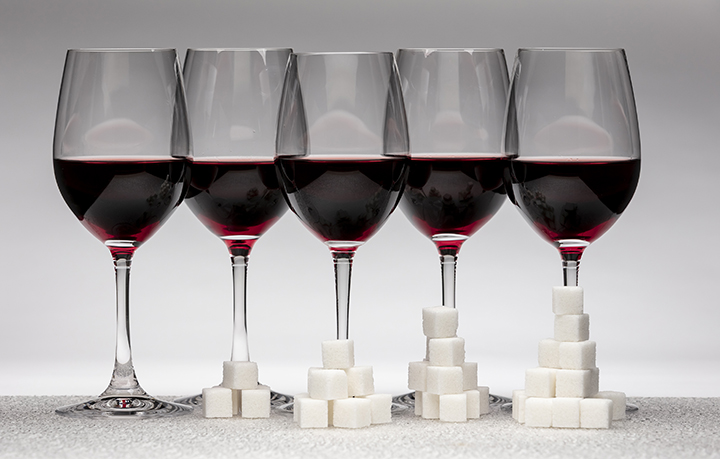
4. Deacidifying
Suppose your wine tastes too sharp or overly acidic and you prefer not to rely on mouthfeel additives like gum arabic or glycerin. In that case, deacidification can be a great option to bring your wine into balance. Managing acidity is especially important if you’re trying to get to the bottle quicker, as high acid can make a young wine feel harsh or underripe on the palate. Deacidifying helps smooth out that bite and can make the wine feel more approachable without masking it with sweetness or additives.
There are several ways to approach deacidification, including using potassium bicarbonate or even blending with a lower-acid wine. Each method has its pros and cons. Potassium bicarbonate is simple and quick but needs to be used carefully to avoid excess potassium levels.
As with any adjustment, I always recommend running a bench trial first. Tweak small, measured samples using different levels of your chosen deacidification method, let them settle, and taste after a couple of days. This will give you a clear sense of how the acid adjustment affects your wine’s flavor, mouthfeel, and overall balance before committing to a full-batch adjustment. The goal is to take the edge off without stripping the wine of freshness or structure.
Make sure your bench trial cup has a headspace when trialing potassium bicarbonate; it tends to fizz when added to wines.
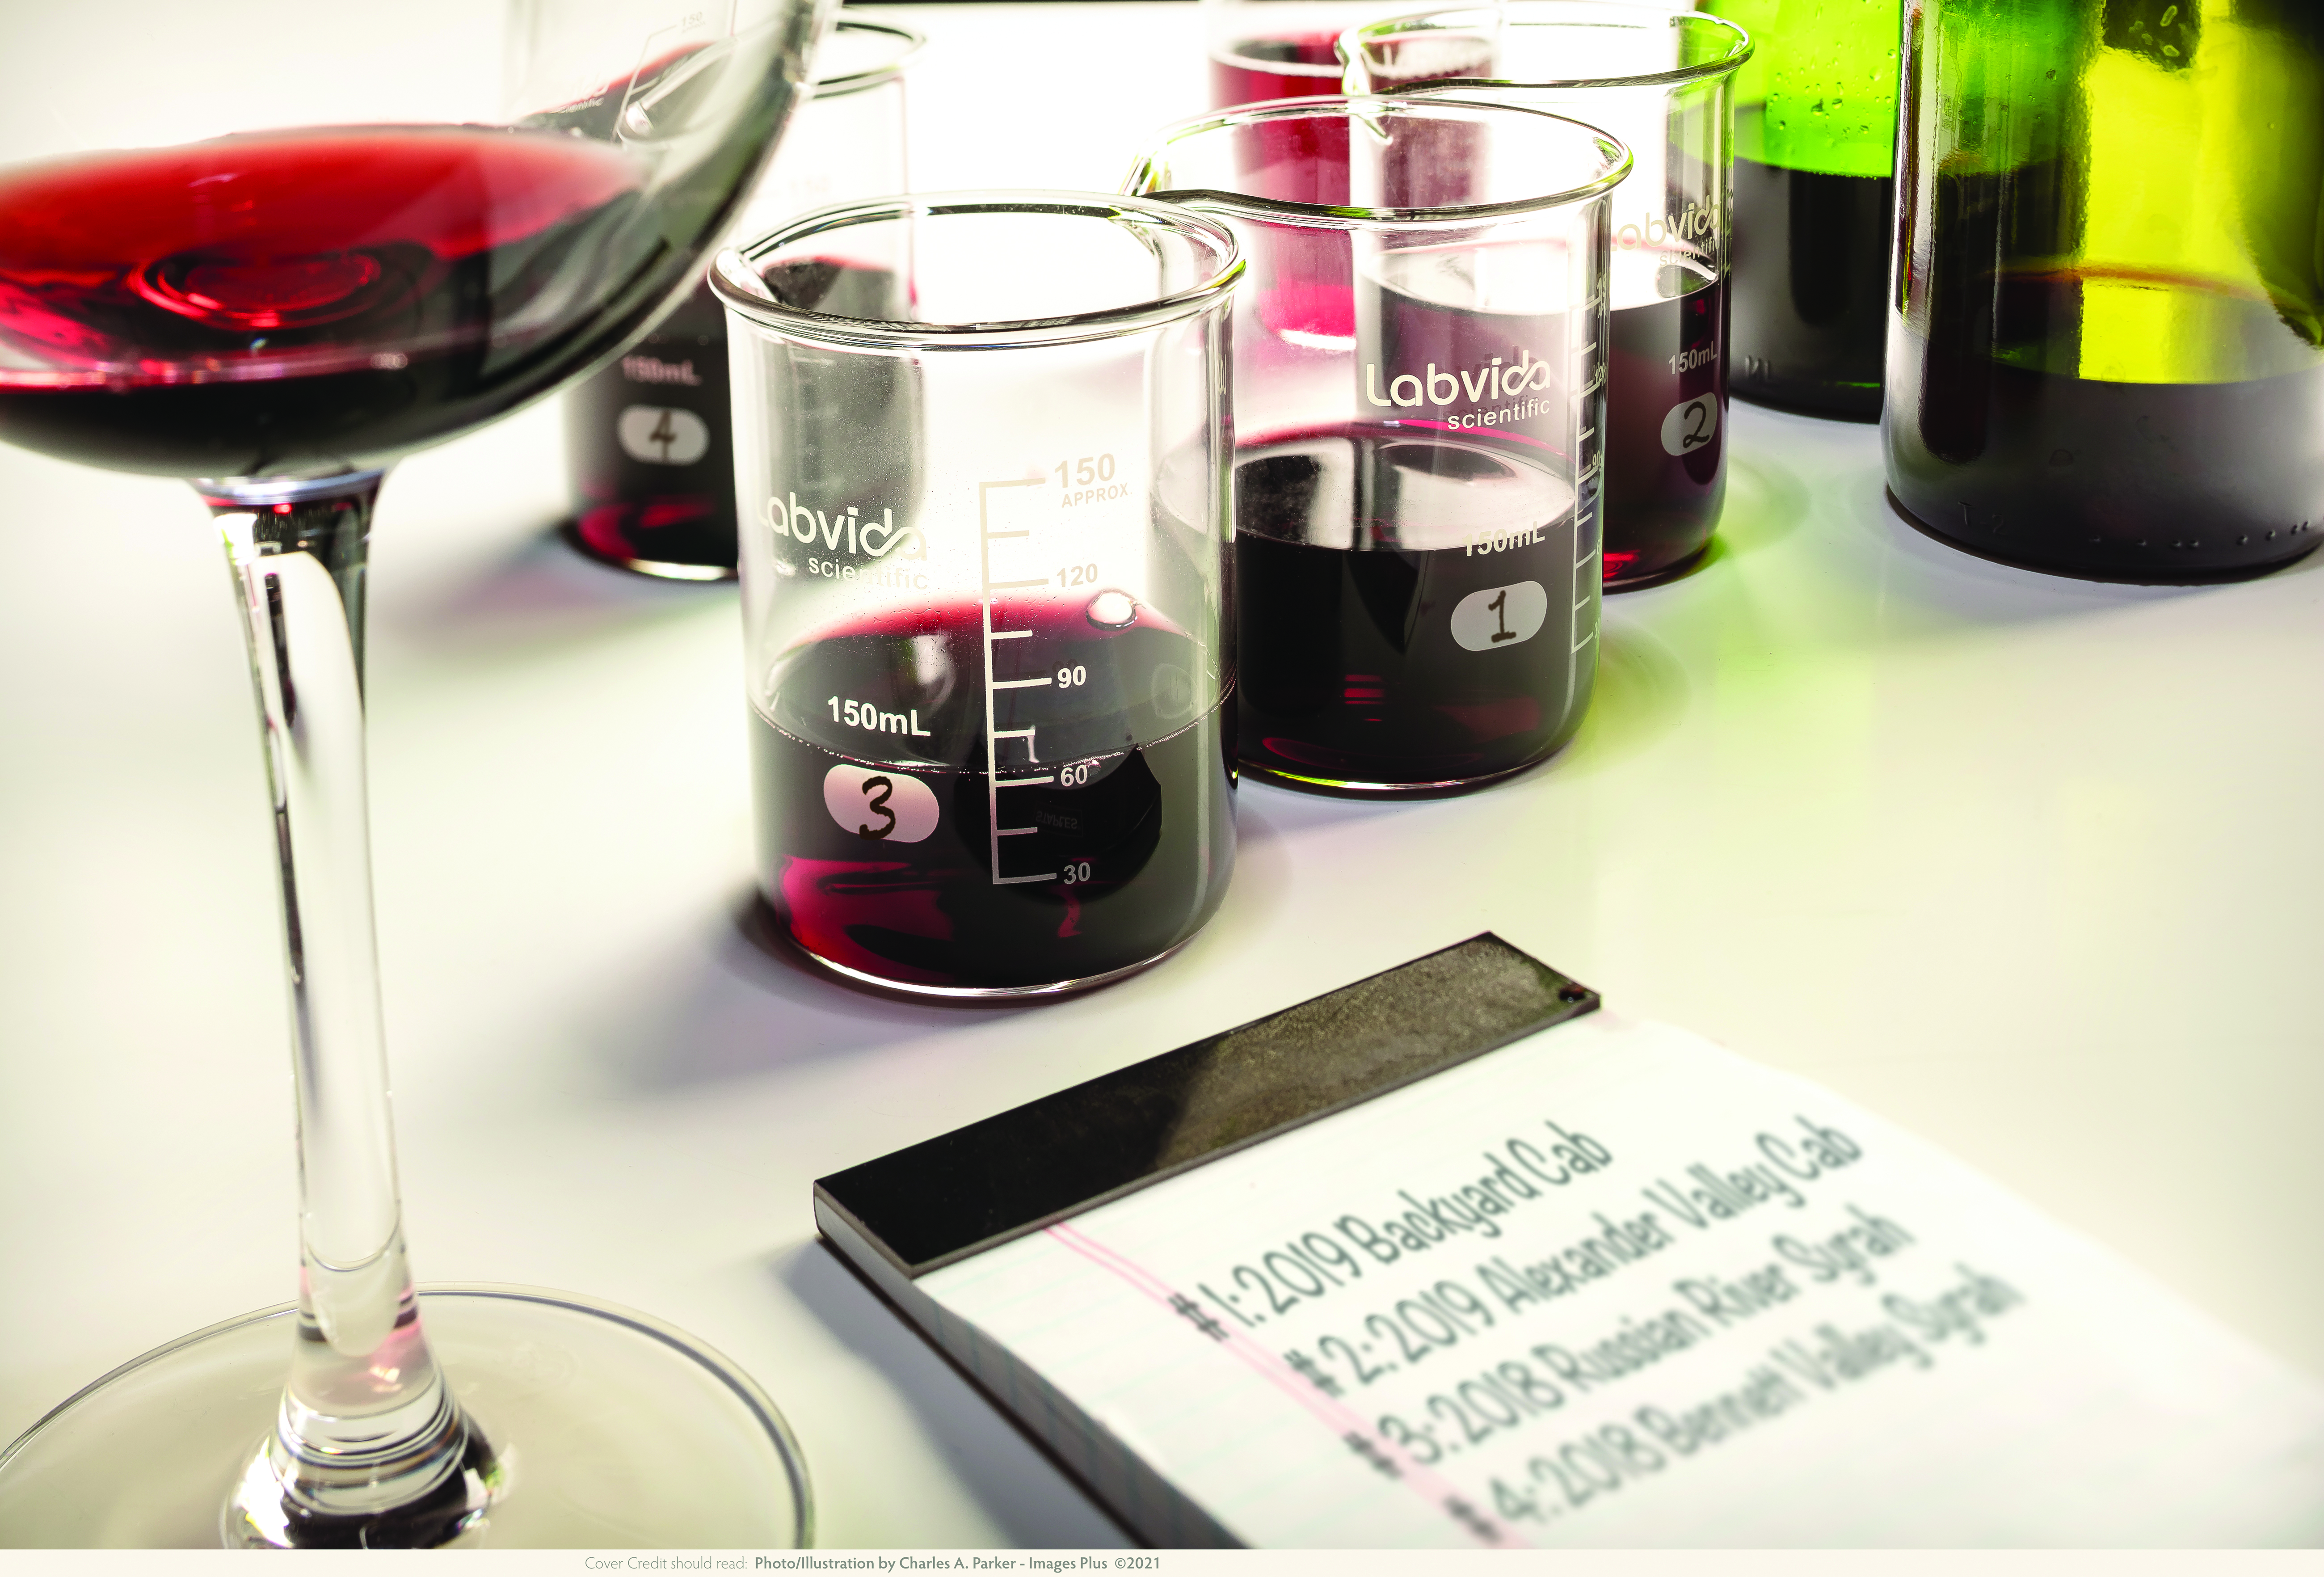
5. Blending
Blending is one of the most effective tools for getting your wines to bottle faster while delivering a balanced final product. Incorporating a portion of aged wine into your newer vintage can quickly add complexity, roundness, and perceived maturity. This is especially useful when your young wine is still too sharp or lacking in mouthfeel. Depending on your style goals, this technique works well for white and red wines. A small addition of an older, more rounded lot can soften acidity and build texture for whites. Blending in a more structured or oak-aged wine for reds can boost tannin integration, color stability, and overall balance.
However, it’s essential to proceed with intention and caution. Just because you have older wine available doesn’t mean it should be blended. Older wines can sometimes carry faults (oxidation, microbial spoilage, tired flavors, etc.) that could degrade your younger wine instead of enhancing it. Even if both wines are heat- and cold-stable on their own, blending can shift the chemistry just enough to cause instability, so don’t assume stability carries over. Always run bench trials first, testing different blend percentages and evaluating for aroma, flavor, color, mouthfeel, and stability. Taste side-by-side and ideally blind to ensure the blend improves the wine. This is a good time to invite wine-loving friends to help and compare notes.
When done right, blending can drastically reduce your aging time, improve balance, and help you produce a wine that tastes more complete and polished in a fraction of the time.
6. Using Sensory Analysis to Nail Timing
Knowing the numbers on your wines is helpful, but your palate (or trained panel) is king when deciding if your wine is finished. Here are tips to make faster, better decisions.
Discrimination Tests
If the timing serves well, send your young wine to a competition like the WineMaker International Amateur Wine Competition, the American Wine Society Wine Competition, or a local competition. Or send it to a lab facility that does sensory testing. Musto Wine Grape Company, ETS Labs, and other wine labs do sensory testing for wineries and home winemakers. These places will give you great feedback from wine-tasting experts, giving you insight into what needs to happen to your wine before bottling.
Descriptive Panels for Small Teams
Don’t have the time to send out your wine? Start with the DIY version. Recruit 3 to 5 wine-loving people (having friends who make wine or are wine judges is a big help) to rank attributes on key factors like mouthfeel, finish, color vibrancy, oak integration, and acidity. You’ll get directional insights without needing to send out samples.
The Fast-Bottling Blueprint
Bottling quicker doesn’t have to mean sacrificing complexity, structure, or long-term stability — it simply means you’re managing your winemaking decisions with clarity and intention. With the right approach, you can produce a vibrant, drink-now red wine from fresh grapes or juice that boasts fresh fruit, soft tannins, and solid color in under six months. You can craft a crisp, clean white that’s stable, bright, and bottle-ready in as little as three months. It’s about understanding your inputs — oak, tannins, acid, lees, blending options — and making smart, timely adjustments based on chemistry and sensory data.
Your lab numbers are essential, but your palate is your most valuable tool. Taste your wine often, run those bench trials, and trust your judgment. No matter the challenge — acid, color, tannins, or mouthfeel — there’s almost always a tool or technique to steer your wine in the right direction when used in the right way.
The beauty of winemaking is the freedom it gives you. This is your wine, your style, and your creative expression. You don’t need to chase anyone else’s idea of perfection. You get to craft something unique and that you are proud to share. So don’t be afraid to experiment — try new techniques, play with small-batch trials, and see how different adjustments impact your final product.
And hey, not every bench trial will be a home run. Some of them will flop, and that’s perfectly fine. Those little missteps become part of your story, something you can learn from and laugh about over a bottle of your next great vintage. Winemaking should be fun. It should feel creative. It should taste like pride in a glass. Tinker, explore, and enjoy the process — and don’t forget to celebrate your successes, big or small, with family and friends around the table.