High Acids, Low Tannins: Barbera
When we think of the wines of Italy, the first that comes to mind for many of us is the Tuscan Sangiovese as Chianti Classico or Nebbiolo. But this harvest has gotten me thinking about one of my long-time favorites, Barbera, and a flashback to the mid-1980s and a backcountry ski trip. Barbera is the third most planted grape in Italy and is indigenous to the same region as Nebbiolo. During that hiking trip we stopped for the day at a hut and proceeded to “hydrate” ourselves in the cold damp room. It was a wine that to this day, I cannot recall the producer, but I can picture the label, and I thought to myself that it was pretty good and I should try to find it somewhere. Much to my fledgling wine appreciation, it was nowhere to be found. The mystery of Barbera not being on the store shelves is as intriguing as the mystery of its origins. Granted, it is an Old World wine, but the Old World for Barbera apparently is not that old!
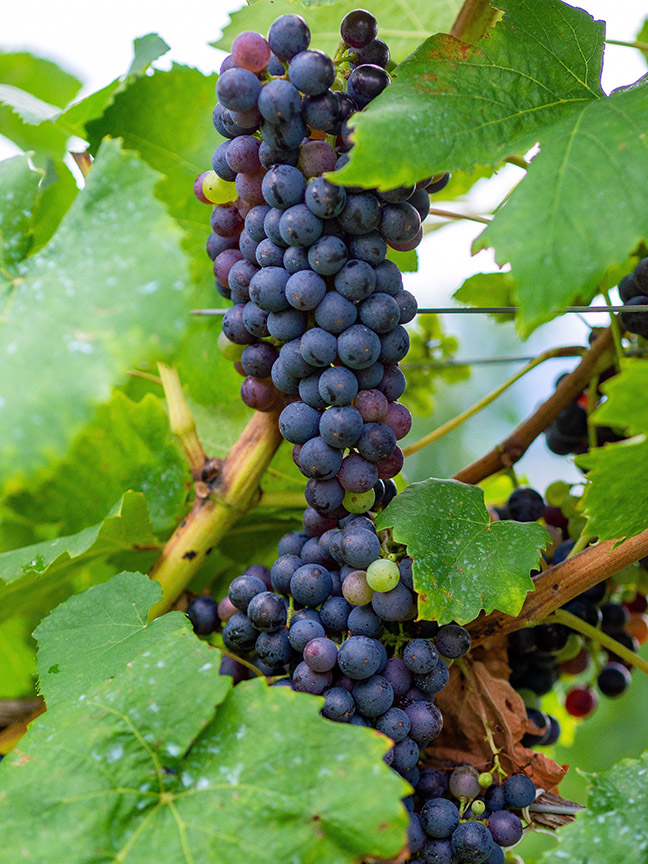
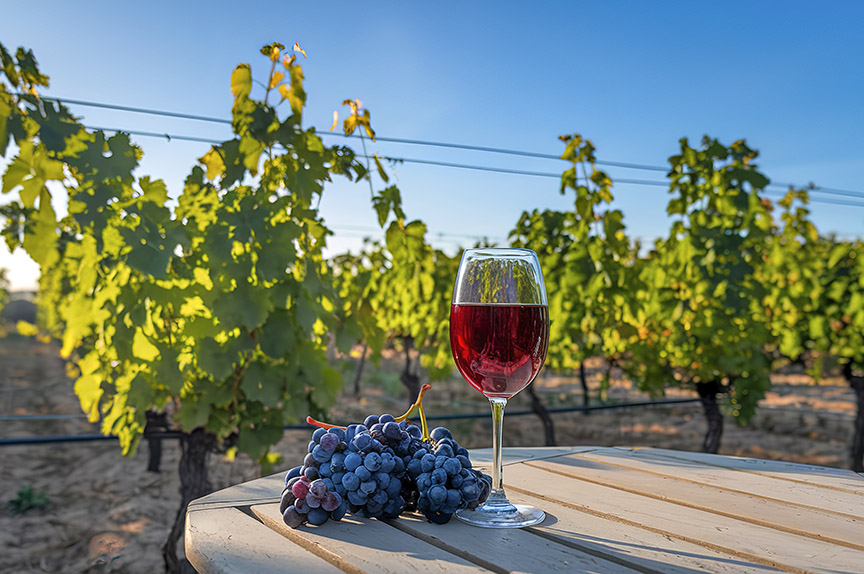
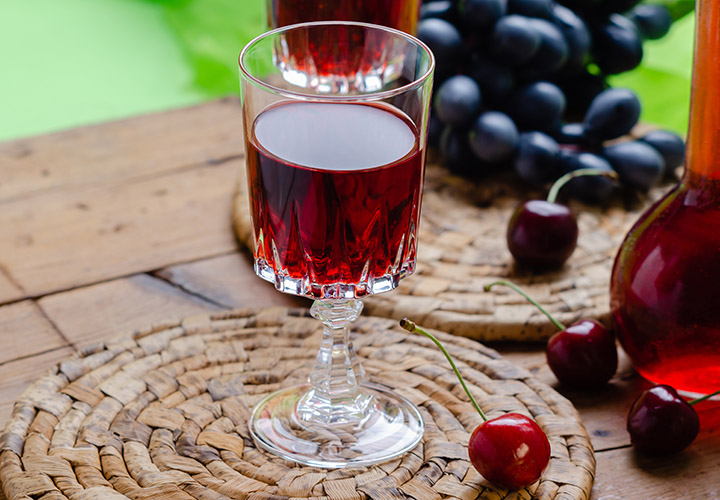
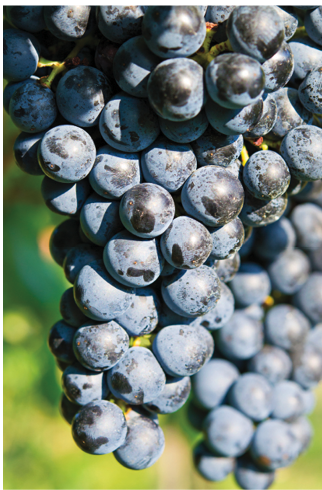
Barbera is a red grape, almost black in color. The typical varietal flavors are red and black cherries. What sets Barbera aside, and one of the reasons I like it as a consumer and a winemaker, is its ability to retain its acidity and its low tannins. As you read on, you will also come to appreciate this grape for these qualities as they only enhance its versatility as a varietal wine and one that can be used for blending. The range in styles for Barbera run from inexpensive, young, simple, tart, and fruity wines to full-bodied styles that are aged in oak and perfect for cellaring over several years.
Barbera in the vineyard is a fairly vigorous producer of fruit, and in some areas yields up to 5 tons per acre are recorded. In California, Barbera acre-age has declined in the last ten years from around 7,500 acres to about 5,200 acres for reasons unknown. In the Piemonte region of northwestern Italy where the variety has its origins, there is over ten times the area planted in Barbera than in California. But even in Italy, the variety has seen a decline in area. Some of the decline is due to a tragic event in which more than 30 people died after drinking methanol-enhanced Barbera. It was a stigmatism that never wore off, and in the north, they started favoring the other major grape variety of the region, Nebbiolo.
When sourcing Barbera, it is important to pay attention to cropping levels. Higher cropped vineyards, which Barbera will do if you give it enough water and do not manage it, lead to thinner wines that do not age. Cropping at 3–4 tons per acre tends to suit me quite well. I also caution about another challenge I have had with Barbera over the years, which is hanging the fruit too long to try to lower the acidity as some of my colleagues have suggested. At UC-Davis we worked with this several vintages ago, and found that the fruit collapsed almost overnight when we tried to extend the hang time. So now all of those learning moments are paying off as 2016 will be my first time making commercial Barbera wine.

Why do I like Barbera? There are many reasons from both a winemaker and consumer standpoint. From a consumer side, I have always liked light fresh wines with good acidity that pair well with food. Barbera is well known for its natural acidity. From a winemaker’s standpoint, we have a grape with natural acidity in the arsenal to build up other wines that lack sufficient acidity.
Natural acidity is a blessing in winemaking. Natural acidity also equates to favorable pH levels that help with sulfur dioxide equilibrium and microbial stability. I am eternally jealous of my colleagues who routinely work with naturally acidic grapes. This is either because of the grape variety, the climate for which they were grown, or a combination of the two. To understand “natural acidity,” one needs to understand what acids are contributory. The main acids present in wine are tartaric acid, malic acid, lactic acid, and to some extent succinic. In my winemaking, I tend to focus primarily on tartaric and malic.
In California, we are blessed with a long, dry growing season in most vintages. These warmer climatic conditions result in a lower acidity in most grape varieties grown here. This is not the case in all of the growing regions of California, but it is a requirement here to at the very least consider the wine’s final acidity balance and whether to add acid or not, regardless of region. Barbera is one of those “go to” grapes having natural acidity. The wines from Barbera can be carefully blended back to other lower acid wines to help define the mouthfeel or structure of the final wines. Of course, that is a topic for another issue.
That said, it is not a given though that you can get away with not having to add acid to Barbera to balance its taste, and the winemaker must take a careful look at the juice chemistry parameters when the fruit is crushed.
Chemistry! Ugh! Why can’t I just assume? The obvious reasons prevail; the pH seems low enough when the fruit comes in. The juice has some zip to it! To understand the concept, let’s go back to the main acids that we mentioned earlier — tartaric and malic. Acid chemistry is complex, but one thing I know for sure is if I am going to initiate a malolactic fermentation in my Barbera, then all the malic acid is going to transform into lactic acid. In the case of an early season Barbera, (yes, a true story from this year’s harvest) the titratable acidity was 8.3 g/L, but the malic acid was over half, at 4.5 g/L. Doing some simple math, this Barbera may lack mouthfeel and overall structure in the finished wine. When do I add the acid? Considering the pH came in at 3.23, I am opting to wait until the completion of the malolactic fermentation and subsequent tasting to see how the wine balances. Typically the acid additions in California are done at the time of crushing to better integrate to the juice during fermentation. But any acid addition following that logic would drive the pH too low in this wine, so a more cautious approach is needed. In this case I am waiting to see how the pH and mouthfeel come out and then I’ll address this immediately post malolactic fermentation.

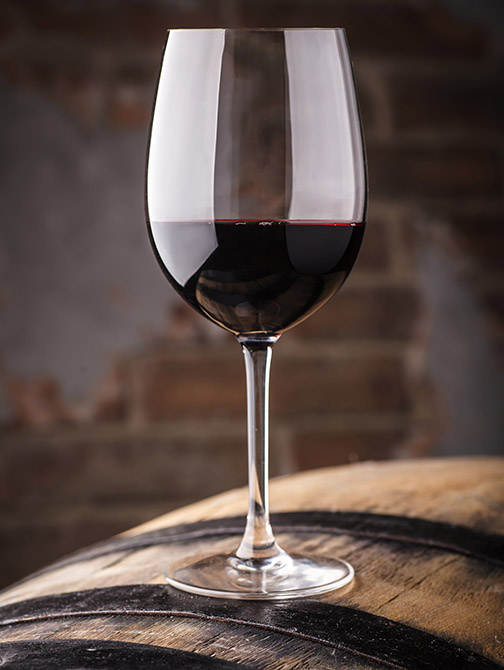
Barbera on its own is incorporated into very simple wines that can be consumed young with no oak treatments. In Italy, these are the wines that are on the table every night for dinner. But getting used to the acidic nature of Barbera can take some adjustment. Pairing dry Barberas with tomato-based sauces is one way to do it, but another technique to work with this grape is to potentially leave some residual sugar to help balance the acid. This can be a real crowd-pleaser, as I have found in the past. Springing the big bucks for a new French oak barrel is another way to work this wine. The sweet and spicy characters of the wood can soften the wines leaving a nice creamy mouth-feel, but leave the toasting regimen of the barrel on the light side. At least that’s what I prefer in my personal winemaking styles.
Circling the wagons here on the origins of this noble grape of Italy is somewhat of a mystery, and possibly warrants a full investigation by the grape CSI people. There are suggestions that the name is derived from a medieval fermented drink called “Vinum Berberis,” which suggests the grape has been in Italy for a long time. But it wasn’t until the late 1700s that Barbera regularly started coming up in the records around Piemonte. What is notable is that recent DNA studies also indicate Barbera has little relation to the other grapes grown in the region, something that if it was in the region for several hundred years, the DNA profiling would suggest some similarities just based on accidental pollination. Without further genetic research on a broader scale we can only speculate that Barbera is a natural cross in a vineyard, just not in Piemonte, and there are insufficient records to pinpoint where it might have come from.
Barbera is a fun grape, but it may not be for everyone. It seems the general consumer palate is driving toward lower acid and higher pH wines. While these wines are pleasant when they are young, it takes good acid structure, balanced tannins, and bright fruit flavors to make a wine that can be cellared for years and allowed to develop in the bottle. Try Barbera if you will. I did and I think I finally got it right!
Barbera Recipe (5 gallons/19 L)
Ingredients
125 pounds (57 kg) fresh Barbera fruit
Distilled water
10% potassium metabisulfite (KMBS) solution. Weigh 10 grams of
KMBS, dissolve into about 50 milliliters (mL) of distilled water. When completely dissolved, make up to 100 mL total with distilled water.
5 grams Lallemand EC1118 yeast
5 grams Di-ammonium Phosphate (DAP)
5 grams Fermaid K (or equivalent yeast nutrient)
Malolactic fermentation starter culture (CHR Hansen or equivalent)
Other equipment or needs
15-gallon (57-L) food-grade plastic bucket for fermentation.
5-gallon (19-L) carboy
(1–2) 1-gallon (4-L) jugs
Racking hoses
Destemmer/crusher
Wine press
Inert gas (nitrogen, argon) or carbon dioxide
Ability to maintain a fermentation temperature of 81–86 °F (27–30 °C). TIP: Prior to harvest fill several 1-liter bottles with distilled water and freeze. This will be your refrigeration system for peak fermentation. If you have other means to keep things cool, use them. If you need to keep it warm, wrap the fermenter in an electric blanket or other heat source.
Thermometer capable of measuring between 40–110 °F (4–43 °C) in one degree increments
Pipettes with the ability to add in increments of 1 mL
Step by step
1. Clean and sanitize all your winemaking tools, supplies and equipment.
2. Crush and de-stem the grapes. Transfer the must to your fermenter. During the transfer, add 15 milliliters of 10% KMBS solution (This addition is the equivalent of 50 ppm SO2). Mix well.
3. Take a sample to test for Brix, acidity, and pH. Keep the results handy. We’ll take this up later.
4. Layer the headspace with inert gas and keep covered. Keep in a cool place overnight.
5. The next day sprinkle the Fermaid K directly to the must and mix well.
6. Prepare yeast. Heat about 50 mL distilled water to 108 °F (42 °C). Measure the temperature. Pitch the yeast when the suspension is 104 °F (40 °C). Sprinkle the yeast on the surface and gently mix so that no clumps exist. Let sit for 15 minutes undisturbed. Measure the temperature of the yeast suspension and of the juice. You do not want to add the yeast to your cool juice if the temperature of the yeast and the must temperature difference exceeds 15 °F (8 °C). To avoid temperature shock, acclimate your yeast by taking about 10 mL of the juice and adding it to the yeast suspension. Wait 15 minutes and measure the temperature again. Do this until you are within the specified temperature range. Do not let the yeast sit in the original water suspension for longer than 20 minutes. When the yeast is ready, add it to the fermenter and mix.
7. You should see signs of fermentation within one to two days. This will appear as some foaming on the must surface and it will appear that the berries are rising out of the medium. This is referred to as the “cap rise” due to the carbon dioxide being trapped underneath.
8. You need to have on hand the ability to push the grapes back into the juice to promote color and tannin extraction. This is called “punching down” and should be done three times per day. Use a clean utensil to mix. Beware of the carbon dioxide hazard. Conduct the fermentation in a well-ventilated area and do not directly inhale the headspace of the fermentation.
9. At about 19 °Brix, sprinkle in the DAP and punch down.
10. Monitor the Brix and temperature twice daily during peak fermentation (10–21 °Brix). Check it more often if the temperature shows any indication of exceeding 86 °F (30 °C). If needed, cool the must by adding frozen bottles of water. Then mix, wait 15 minutes, mix, and check the temperature again. Do this as often as it takes to keep the temperature between 81–86 °F (27–30 °C).
11. When the Brix reaches 0 (about 5–7 days), transfer the must to your press, and press the cake dry. Keep the free run wine separate from the press portion for now. Be sure to label your vessels.
12. Transfer the wine to your carboys or 1-gallon (4-L) jugs. Your press fraction may only be a gallon or two (4–8 L). Make sure you do not have any headspace. Place an airlock on the vessel(s).
13. Inoculate with your malolactic (ML) bacteria. Check the manufacturer’s instruction on how to prepare and inoculate. Cover the tops with a breather to allow CO2 to escape.
14. Monitor the ML fermentation using a paper chromatography assay available from most home winemaking supply stores. Follow the instructions included in the kit.
15. When the ML is complete, add 2 mL of fresh KMBS (10%) solution per gallon (4-L) of wine. This is the equivalent to ~40 ppm addition.
16. Place the wine in a cool place to settle. After two weeks, test for SO2 and adjust as necessary to attain 0.8 ppm molecular SO2. (There is a simple SO2 calculator at www.winemakermag.com/sulfitecalculator). Check the SO2 in another two weeks and adjust. Once the free SO2 is adjusted, maintain at this level. You’ll just need to check every two months or so, and before racking.
17. Rack the wine clean twice over 6–8 months to clarify.
18. Once the wine is cleared, it is time to move it to the bottle. This would be about eight months after the completion of fermentation.
19. Integrate the press fraction back into the free run. You may not need it all, use your judgment and make what you like.
20. Maintain sanitary conditions while bottling. Once bottled, periodically check your work by opening a bottle to enjoy with friends.