Zinfandel: ‘America’s’ grape

Zinfandel, America’s grape! At one time that was the prevailing thought for this red grape with a long-storied history in the United States. This robust red grape is the third most planted grape in California with 51,649 acres planted. In 2007, over 400,000 tons were crushed. It is grown in other states as well and made into a variety of styles. We all are familiar with White Zinfandel, the rosé style that enjoyed immense popularity in recent years and led to the emergence of a rosé boom with other varieties. The grape is also popular as a dry red, often being designated by specific vineyard labeling or made into a sweeter dessert style and labeled as “late harvest” or “Port.”
Evidence suggests that this variety came to the East Coast of the United States in the early 19th century. There were various interpretations on the name and eventually the grape showed up with the Zinfandel name in California in the 1850s, presumably carried west by the gold seekers looking for fame and fortune in California’s gold rush. In recent years, after extensive research, it was found that this grape is linked by DNA evidence to Croatia, where it is known locally as Crljenak Kaštelanski. We have also been bombarded by the notion of some similarity with the Italian variety Primitivo. Those notions are true as well, as Primitivo is morphologically the same as Zinfandel, and DNA analysis, while not a 100% match, links the two of them as clones. Alas, it now seems that “America’s Grape” is a world traveler. In the end, Zinfandel appears to have come to California from Croatia by way of Italy and the only thing truly American about it is its name and storied history.
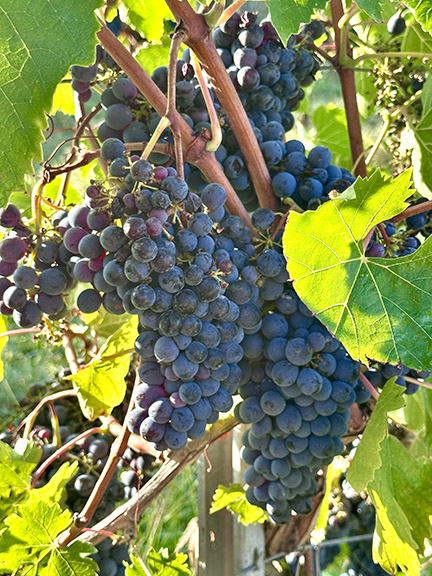
Zinfandel is a grape often associated with “old vines.” We are all familiar with the pictures of gnarly, old, head-trained vines — the ones that conjure up a romantic image of our ancestors trudging through the field with baskets on their back picking fruit for what would become the family stash for the next year or years to come. It turns out those old vineyards in the US weren’t Zinfandel, but actually field blends of Petite Sirah, Carignane, Alicante Bouchet, Mission and others. Today, most of these varieties are separated and very few of these original vineyards are still in production. One of the oldest Zinfandel vineyards in California, however, is in Amador County. Coincidently, my father-in-law, who grew up on a ranch in eastern Sacramento County, remembered riding the buckboard up to Amador County with his father to buy grapes from the old D’Agostini winery. I wonder if there’s any possible connection, since they were of Croatian heritage. You know, I think I’ve stumbled upon something here.
In California, a number of different flavor profiles exist depending on where it is grown. My favorite region for Zinfandel is the Sierra Foothills, and not surprisingly, Amador County, where I have consistently produced wines rich in flavors of cherry, berry, pepper and spice. Just one county away, El Dorado, which has similar soils but a little higher in elevation, more dark red fruit and jammy characters prevail. To the west, grapes grown in Napa, Sonoma and Russian River areas produce wines with bright red fruit characters like strawberry and raspberry. But don’t let me fool you in saying these are true to style for each of these regions. They are only generalities, as I was fooled at a large local tasting. A friend brought me a taste and asked me to identify the region, which I promptly and incorrectly identified as Amador County. I was about a 150 miles off. Technically, on the label it was Napa and it was an area with similar conditions to what I was comparing it to, but wrong nonetheless. So is it “terroir?” That would be a good debate but I’m not going there. I’m trying to tell you about the grape, not sell wine.

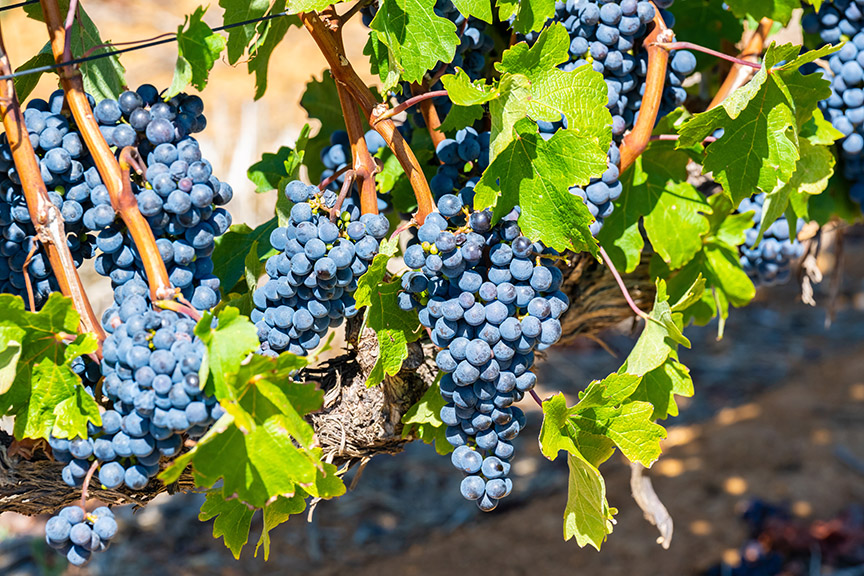
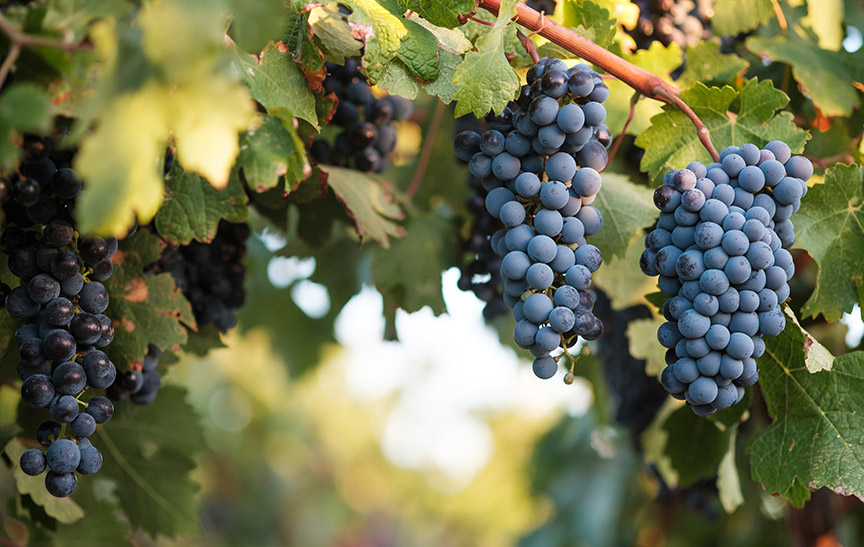
Zinfandel clusters are very dense, which can lead to rot problems as the cluster hangs. Another challenge to the Zinfandel wine program is the problem of uneven ripening on the cluster. On a single cluster that has been deemed ripe and ready for picking by the winemaker, one will see or taste unripe berries, plump mature sweet berries, and then raisins. So because we are trying to get the fruit to mature, we must let the fruit hang, but risk rot. A good spray program will help, but not 100%, as the dense clusters prevent the spray from penetrating the interior of the cluster. That’s just Zin! As it comes into the winery, you must be prepared to sort out the severely rotten clusters, or conversely the clusters that are greener in nature.
After crushing, evaluate your acid levels, target for an initial pH of about 3.5 and titratable acidity of 6.0 g/L. The next challenge is managing your must sugar levels. The fruit is typically harvested at 24 to 26 °Brix. Overnight soaks tend to leach the sugars out of the raisins, and the next day it is possible for the sugars to rise to 28 °Brix or above. I was involved with a notable eight-ton lot some years back. We brought it in, sorted, crushed; and because the fruit was a little warm, and we couldn’t chill it effectively, we decided to inoculate and get the fermentation going. Relatively inexperienced, we saw nothing apparently abnormal about the fermentation kinetics but we were quite surprised when we ran the alcohol post fermentation and it was 17%. We never saw a Brix above 24! The lesson here is when making Zinfandel, if you have a preference for high alcohol wines; manage the fermentation with the notion that you may encounter a stuck fermentation. Luckily we did not get stuck, but I now know to increase nutrient levels slightly to give the yeast everything they need to be happy in that alcohol-rich medium.
My general practice is to take a Brix reading after 24 hours of soaking, and water back to my original target harvest Brix. I will then carefully watch fermentation kinetics for a few days. If it appears that the yeast lag phase is prolonged (i.e. no appreciable decrease in Brix) but I see active fermentation, I will water back a little more. The rationale is that the yeasts are consuming sugar at a rate that is similar to that being leached from the raisins. As with any fermentation, keep your fermentation temperatures in check, not exceeding 90 °F (32 °C).
Pressing at 7-10 days is typical for my style of Zinfandel. Longer skin contact time can lead to bitterness and excess astringency. After pressing, begin to control for headspace as the decreasing CO2 production the protective blanket above the wine is disappearing, which can result in oxidized characters such as acetaldehyde, or surface yeasts may develop, yielding ethyl acetate.
If the fermentation sticks, do not alter your press regimen. Continue to carry on as if the wine is dry and proceed with yeast jump start or restart procedures. It is interesting to note here that some of the “late harvest” or “port” styles in the commercial world come about because of problems in the primary fermentation. This is not always the case but I have seen it to be a quick fix to a problem. If you are trying to make a dry red wine, adjusting your sugar levels pre-fermentation is preferable. The added water integrates into the wine and is not noticeable in the final wine. One of the keys to getting a fermentation re-started is to reduce the alcohol levels to where the yeast can re-acclimate and be slowly reintroduced back into the original lot of wine. I have found this addition of water after fermentation to affect mouthfeel, and of course, in the commercial world, is not permitted. If you do find it necessary to add water to a high-Brix Zinfandel lot, be sure to add tartaric acid as well to maintain the targeted 6.0 g/L TA.

If you are working in barrel quantities, barrel aging should be done with a combination of neutral and relatively new barrels. I don’t really have a preference for French or American oak. The high-quality barrels of either type will impart their own positive characters, and I have tasted and made many good wines from both. Home winemakers often get their used barrels from wineries. Make sure the barrels you choose smell clean — that means no oxidized or acetic characters — and treat the barrels with Proxyclean®. If you use a new barrel, monitor the extraction carefully and rack to neutral barrels before too much oak is extracted. Of course, this style suggestion is a personal preference and you are free to do as you please, but the key here is to monitor the extraction. Showcase the fruit, but balance the wood characters. If you are using oak products, work with a small lot of wine and blend back into the original to taste.
Once the wine is dry, then clarify by natural settling, following sound winemaking practices. One or two rackings should do. When you feel the wine is ready for the bottle, assuming you have no microbial issues, bottle and enjoy with a variety of dishes. I find that Zinfandel is very versatile and does not necessarily follow the “red with red,” “white with white” rule. Zinfandel pairs very well with spicy foods, as well as poultry, beef and egg-based dishes.
I wish you the very best success on your next batch of Zinfandel, our “Croatian-American” grape that matches well with our own personal heritages. After all, don’t we describe ourselves as a nation of immigrants?
Zinfandel Recipe
yield: 5 gal/19 L
Ingredients
• 125 pounds (57 kg) Zinfandel fruit or 6 gallons (23 L) fresh juice
• Distilled water
• 10% potassium metabisulfite (KMBS) solution: Weigh 10 grams of KMBS, dissolve into about 50 milliliters (mL) of distilled water. When completely dissolved, make up to 100 mL total with distilled water.
• 5 grams Syrah yeast.
• 5 grams Di-ammonium Phosphate (DAP)
• 5 grams Go-Ferm
• 5 grams Fermaid K (or equivalent yeast nutrient)
Other equipment or needs
• 15-gallon (57-L) food-grade plastic bucket for fermentation.
• 5-gallon (19-L) carboy
• (1-2) 1-gallon (3.8-L) jugs
• Racking hoses
• Destemmer/crusher
• Wine press
• Inert Gas (nitrogen, argon or carbon dioxide)
• Ability to maintain a fermentation temperature of 85-90 °F (30-32 °C).
• Thermometer capable of measuring between 40-110 °F (4-43 °C) in one degree increments.
• Pipettes with the ability to add in increments of 1 milliliter
• Clinitest® tablets
• Tartaric acid
Step by step
1. Clean and sanitize all your wine-making tools, supplies and equipment.
2. If you are using fresh fruit, crush and destem the grapes. Transfer the must or juice to your fermenter.
3. Test for sulfite levels as sulfur spraying in the vineyard may be high (for fresh grapes) or SO2 may be added (to fresh juice). During the transfer, add 5 mL of 15% KMBS solution (This addition is the equivalent to just under 25 ppm SO2). Mix well. Please note that if you are purchasing fresh juice, you should check to see what the SO2 level is prior to adding any more.
4. Layer the headspace with inert gas and keep covered. Keep in a cool place overnight.
5. Take a sample to test for Brix, acidity and pH.
6. Dissolve the DAP in as little distilled water required to completely go into solution (usually ~ 20 mL). Add to must or juice and mix well.
7. If you need to adjust for acid or Brix, this is the time to mix in your acid or sugar. If you are adjusting your Brix levels, use the water in this step to dissolve your acid.
8. Prepare yeast. Heat about 50 mL distilled water to 108 °F (42 °C). Mix the Go-Ferm into the water to make a suspension. Take the temperature. Pitch the yeast when the suspension is 104 °F (40 °C). Sprinkle the yeast on the surface and gently mix so that no clumps exist. Let sit for 15 minutes undisturbed. Measure the temperature of the yeast suspension. Measure the temperature of the juice. You do not want to add the yeast to your cool juice if the temperature difference exceeds 15 °F (8 °C). To avoid temperature shock, you should acclimate your yeast by taking about 10 mL of the must juice and adding it to the yeast suspension. Wait 15 minutes and measure the temperature again. Do this until you are within the specified temperature range. Do not let the yeast sit in the original water suspension for longer than 20 minutes. When the yeast is ready, add it to the fermenter and mix.
9. You should see signs of fermentation within one to two days. This will appear as some foaming on the must surface and it will appear that the berries are rising out of the medium. This is referred to as the “cap rise.”
10. If you are using grapes, have on hand the ability to push the grapes back into the juice to promote color, and tannin extraction. This is called “punching down.” This should be done about three times per day.
11. Rehydrate the Fermaid K according to the manufacturer’s instructions. At about 19 °Brix, sprinkle in the Fermaid K and mix. If you are using grapes, put it directly on the cap and mix it in as part of your punchdown.
12. Monitor the Brix and temperature twice daily during peak fermentation (10-21 °Brix). IYou want to keep the temperature between 85 °F (29 °C) and 90 °F (32 °C).
13. When the Brix reaches zero (about 5–7 days), it is time to press. If you are using just fresh juice, rack the wine to the secondary fermenter (carboy) and skip steps 15 and 16.
14. If you are using grapes, transfer the must to your press, and press the cake dry. Keep the wine separate from the press portion for now. Be sure to label your vessels to keep the press portion separate.
15. Transfer the wine to your carboys, keeping the labels straight. Your press fraction may only be a gallon or two. Make sure you do not have any head space. Place an airlock on the vessel(s).
16. Inoculate with your malolactic bacteria. Check the manufacturer’s instructions on how to prepare and inoculate. MLF should be conducted at a temperature above 64 °F (18 °C).
17. Monitor the ML fermentation using a paper chromatography assay available from most home winemaking supply stores. Follow the instructions included in the kit.
18. When the ML is complete, measure the residual sugar using the Clinitest®. Follow the instructions included in the kit.
19. Add 2 mL of fresh KMBS (15%) solution per gallon of wine. This is the equivalent to ~50 ppm addition.
20. Place the wine in a cool place to settle.
21. Consider adding oak chips to your press fractions. Do not treat the entire lot of wine. Make the project fun by having a blending party to integrate the oak fraction back into the free run.
22. While aging, test for SO2 and keep maintained at 30-35 ppm.
23. Rack the wine once or twice over 8-12 months to clarify. If your wine is still cloudy after that time, you may choose to fine and/or filter.
24. Once the wine is cleared, it is time to move it to the bottle. This would be about twelve months after the completion of fermentation. Check the SO2 level and adjust to 35 ppm. If all has gone well to this point, given the quantity made, it can probably be bottled without filtration. That said, maintain sanitary conditions while bottling. Once bottled, you’ll need to periodically check your work by opening a bottle to enjoy with friends. Have fun!