Vegetative Growth Cycle in the Vineyard
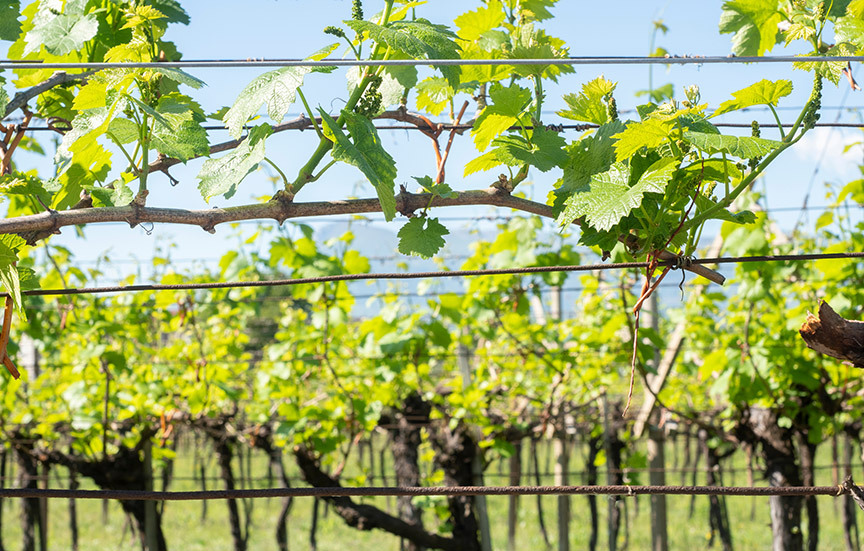
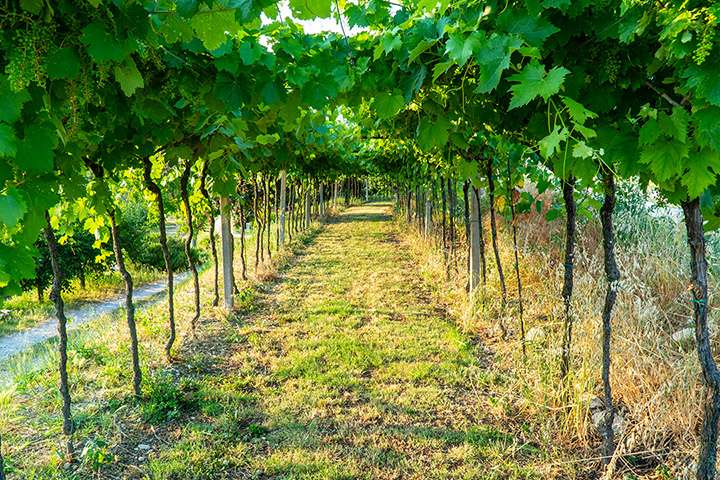
The vineyard made it through the winter, the buds have broken, the leaves and tiny clusters are out, and those shoots are climbing up towards the sunshine. A new vintage means new hope for improved vineyard practices that will lead to better wine. That’s the idea, anyway!
My intention in writing this article is to give you a framework to understand a vineyard’s needs in a specific timeframe. The cycle I want to address today is “vegetative growth cycle,” which represents the period between late spring and bunch closure (summer in most areas). This period is critical to fruit quality, and even though it might not seem as nerve-racking as the late ripening stages of winegrapes, scheduling and executing your vineyard practices in this period will set you up for success in fall harvest.
Our main areas of focus for this period are:
• Canopy balance

• Vineyard floor maintenance (weed control)
• Testing for nutritional and water status
• Sunlight exposure
• Fungicide
• Crop management

Home winegrowers and small commercial operations have a strong advantage over large commercial growers — scale. While it’s a challenge for a hundred-acre vineyard to give attention and detail to every vine, this should be the focus in the home vineyard. Every vine matters, which may be a sad affair when a gopher or disease attacks, but in the end it gives us the chance to dial in our vineyard with consistency and quality that commercial vineyards can only dream of.
Now let’s get down to the brass tacks necessary to shape the vintage into delicious wine.
It’s warming up and the vineyard is growing quickly. If you live in an arid climate zone, the soil is drying out from winter and spring rains and will require supplemental irrigation. A vine reaches its maximum growth potential at 87 °F (31 °C), and tends to shut down (stops photosynthesis) if temperatures rise into the high 90s (mid-30s °C). Vines in nature are climbers: They want to grow up trees and bushes until they reach the top and can soak in the precious sunshine up there — so a trellis is a fake tree without shade that vines want to climb.
Weed Control and Vineyard Floor Management
Timing: Before budbreak and through the season as necessary.
By the time the vines wake up (budbreak), it’s best practice to have the vineyard floor bare and the weeds under the vine row knocked down by a hoe or careful application of herbicide. Never apply herbicide to a vineyard with growing shoots, or even within a week or two of budbreak. In the small home vineyard, using mechanical weed removal (by hoe, weedwacker, or burning) is preferred, and I believe hoeing is the best for the soil and the environment. Competition for water and nutrients is a bigger issue early in the season and in young vineyards, but in general small weeds and grasses don’t compete at the same soil level as a mature vineyard.
A bare vineyard floor is important in regions that may have spring frosts, as bare soil allows cold air movement and drainage. Keeping tightly mowed cover crop is fine as well — it’s long grasses and weeds that will allow frost to ‘stick’ and will be more likely to reach the tender, nascent buds/shoots. Timing spring cultivation/hoeing/mowing is key. Always remove the grasses and weeds before they go to seed, and your work will get easier every year. In small vineyards, I have seen mulch and/or weed matting used under the vine row with good success. It’s expensive to install, but does reduce future labor, and can even make water application more efficient.
Spring is also the time to consider gopher populations, or other pests that might impact the vines, the fruit, or the roots. Traps, gas, flooding, and poison are the normal methods for control, but consider the first two if you have pets in the vineyard, or you are concerned about secondary kill (an animal eating a poisoned gopher). Birds won’t mess with the vineyard until the fruit softens, so we won’t have to break out nets until the vintage is late and exciting.
Watering the Vineyard
Timing: Once the water has dried out of the top 3 feet (0.9 m) of your soil profile.
At this point, the vines will likely need supplemental irrigation. Learning the water needs of a vineyard can become intuitive after farming for a long time, but tougher for a young vineyard or for those with limited experience. For the neophyte, I recommend tools in the vineyard to determine soil moisture in real time at 18, 24, and 36-inch depths (0.3, 0.6, and 0.9 m). Irrometers or electronic soil moisture probes are the normal route, but logging rainfall dates and watching the vine’s growth patterns can help as well.
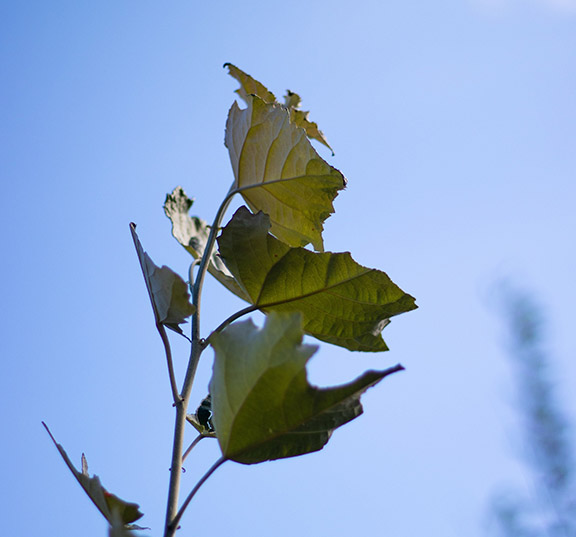
If the vine’s tendrils shrink or pull back to the growing tip, that’s one sign of water stress. Another sign will be “flagging” or drooping of the leaf. Proper water status is easy to see in a vine’s leaves: A right angle (90 degrees) between the stem of the leaf and the leaf blade is perfect water status. And even though this is usually accurate, I would not rely on this observation for all of my irrigation scheduling.
After the soil dries out, I like to apply between 2–7 gallons (8–26 L) of water per vine, per week. Heavy clay soils require the least amount of water per week, as they hold the water longer. Sandy soils require the most water application, as the water drains past the roots very quickly. I also apply a few more gallons (~10 L) per vine before a heat event, which I would describe as in excess of 90 °F (32 °C).
Allowing vineyard soils to dry out between irrigations can be beneficial to fruit quality, especially between flowering and bunch closure, when careful deficit irrigation can reduce berry size and increase skin-to-juice ratio — which is known to improve wine’s color and concentration.
Suckering Vines
Timing: Just after full budbreak, 2–4 inches (5–10 cm) average shoot growth.
A “sucker” is a green shoot growing from somewhere you don’t want growth. This is an easy one, and is usually the first pass in the vineyard. Early in the vineyard’s growth cycle, knock off any shoots that are growing from the vine’s base, or from anywhere that was not pruned this year. Make sure to knock off suckers from the rootstock and from anywhere that was not kept at pruning for fruit production. Suckers will tax the vigor of the vines and will be harder to remove when they begin to harden later in the year. Knock the shoot off completely with a gloved thumb.
Vineyard Fungicide Application
Timing: Most vineyards start spraying at 4–6 inches (10–15 cm) of new growth after budbreak.
Depending on your climate and mildew/rot pressure (learned from experience and observation), some vineyards require sulfur or stylet oil applications weekly, others may only require it monthly. The key here is consistency and using knowledge learned from previous years and weather patterns to guide you. Cool, coastal vineyards tend to have much higher mildew pressure. You can use the UC-Davis Powdery Mildew Index, which uses temperature to accumulate “points,” then when you hit a certain total, you spray.
Most home vineyards will use sulfur and/or stylet oil application for mildew control, as the products are easily found and generally will not require a permit. Do your homework on mixing and application rates, and never go over recommended concentrations. Neither material should be applied when temperatures are 90 °F (21 °C) or warmer, or will be within a day or two after applying. At this warm of temperature mildew growth stalls, and at 95 °F (35 °C) for a few hours, active mildew is killed.
One of the biggest issues I see with fungicide application in the home vineyard is that the sprayer (often a backpack) lacks the pressure to penetrate the leaf layer between the sprayer and the fruit. You will have much better success if you can upgrade your spray rig to one with enough pressure to really saturate the fruit zone.
Vine Shoot Thinning
Timing: 6–8 inches (15–20 cm) average shoot length.
The second pass in the vineyard is usually shoot thinning, and this one requires more discernment than suckering. The idea is to keep consistent spacing between clusters, with ample room for each cluster to have enough area not to be touching another cluster (niche space). If one bud produced a double-shoot, keep the best shoot with the most fruit and the better position (vertical orientation) in the developing canopy. You may also see a part of the vine that is congested with too many shoots, or a spur retained at pruning that had four buds left instead of two.
Make the vineyard consistent — shoot for the same number of retained shoots and clusters per plant, or even per foot of canopy. The goal is to have a canopy and fruit zone that is uniform and consistent, with enough leaves to ripen the fruit, but open enough to allow sun and wind to blow and fleck through to the fruit zone, which will improve flavor and reduce disease pressure.
Early Vine Shoot Positioning and Vigor Mitigation
Timing: 3+ feet (0.9+ m) average shoot length.
This requires vertical shoot positioned (VSP) trellising or at least catch wires for the shoots to be tucked up into.
Once a full canopy has been achieved, we want to position the shoots in the catch wires to make flat, vertical solar panels of both sides of the vineyard row. Manipulating shoots can and will break a few — I find that doing this work in warm weather makes the shoots a little more pliable. Once the shoots are positioned, wind and growth might require another pass to tidy up the system, and at this time excess vigor can be mitigated by hedging the vineyard back to 4–5 feet (1.2–1.5 m) (maximum) average shoot length, or better yet a 15:1 leaf-to-cluster ratio.
If the vineyard is stunted, spring fertilization of a balanced product like 10-10-10 or 15-15-15 can be applied under the drip emitters to get the minimum 3 feet (0.9 m) of shoot length and the 15:1 ratio. High vigor can also be addressed by reducing water, and of course no supplemental fertilizer is ever needed for a vineyard that has adequate growth and no foliar signs of deficiency.
Vineyard Petiole Sampling
Timing: 90% flowering on clusters.
Very simply, you should send in a petiole sample to a good agronomic laboratory every few years, if not every year if you have nutritional challenges in your vineyard. The petiole is the stem of the leaf that connects it to the vine, and by having a lab test it you can find what nutrients the plant is getting. Each lab has different protocols, but the absolute best time to see real-time status of a vineyard’s nutritional health is at full flowering, and from sample leaves taken across from the flowering clusters. Use Google to find a nearby lab and follow their instructions carefully. Most labs will also offer fertilization recommendations for a small fee, and I suggest you do this.
Vineyard Canopy Management (Leaf Plucking, Lateral Removal, Achieving Balance)
Timing: Initiate at full canopy in the vineyard.
The goal of canopy management is to allow a minimum of 10% sun flecking on the fruit at any time, and to achieve 40–60% canopy gaps in the fruit zone. Careful though, especially in hot climates! Even though if you squat and look through the canopy at fruit height, yes, you should see through 40–60% of the vine to the next row. But make sure to keep “sombrero leaves” that protect the clusters from the hottest part of the day. You may want to pluck all the interior leaves that are not exposed to direct sunlight. This is called “scooping” and helps open up the interior to sun and wind, and is key to good canopy management. Then remove the leaves around the fruit so there is never more than one leaf between the sunlight and the clusters. This is called leaf layer, and your leaf layer should never be higher than 1.5, and I prefer 1 in all but the hottest and arid climates. Removing at least 90% of lateral shoots (shoots that grow out of existing shoots that have no primary grape cluster) is also important for achieving an open canopy that improves fruit quality.
Sunlight on fruit reduces pyrazines (vegetal/green bell pepper aromas) and enhances terpenes (floral character in whites, and high-toned berry fruit character in reds). There is nothing in the way we manage our vineyards that can improve wine flavor as profoundly as safely bathing our precious clusters in sun or sun flecks. A shaded, rank canopy not only produces vegetal/herbaceous wine, but it also becomes a humid environment perfect for mold and mildew to develop, and will also be hard to penetrate with the fungicide sprays required to slow down the fungus.
Here’s the real key: You want the fruit zone to be open to sun and wind to the greatest extent possible without putting your crop into sunburn potential. This is one of the most nuanced vineyard tasks there is. In a cool year you might think you can pull more leaves and open up the canopy, but then you have a heat spike and get burned. Then you pull back your leafing and the hot weather never comes. Experimentation and taking notes every year is key, so you can fine-tune your canopy management to be conservative but effective.
Consistent fruit yield per linear foot of vine is used in commercial vineyards as a quality measurement. Getting a certain amount of harvested fruit from each vine where the fruit is clean, sun-kissed, with an even ratio of leaves to clusters at 12–15:1, is the key.
You may need to do a few passes through the vineyard as the year progresses, maybe once a month to tuck and hedge the shoots and pluck a few extra leaves and lateral shoots to keep the canopy at an appropriate openness to sun and wind.
Keep spraying the vineyard on a tight schedule until 90% veraison, when mildew is no longer a threat in the vineyard.
Preparing for Veraison (fruit Softening)
Timing: Summer to late summer.
Veraison is that magical time when we realize (hopefully) that our fruit is clean and ripening, we need to protect the crop from birds, and harvest is coming quicker than we might have imagined. As the fruit turns from hard and green to soft and black (or soft and green/golden in white varieties), our vineyard management is going to shift a bit. At full veraison, mildew isn’t a threat anymore, so we can stop spraying. Usually the last fungicide spray can be applied at the first sign of fruit softening/coloring. Alas, the last pass of leaf pulling, canopy management and hedging (if needed) can occur at the initiation of veraison. Pulling newly grown leaves and laterals one last time may be a good use of your energy for final sun-flecking on the fruit and easier harvest.
The final suggestion is to consider dropping a bit of fruit to improve wine quality and to keep your crop consistent. I always suggest dropping the last 5% of the crop that stays green or less ripe than the rest. Doing this may seem like you are losing 5% of your wine, but I guarantee it will make the rest of your vintage at least 10% better. Having every cluster perfectly ripe and not having some 2–3 °Brix behind is a great investment in quality.
In Conclusion
This installment of “Backyard Vines” was packed with actionable best practices that you can use to fine-tune the management of the home vineyard. Much of what I propose comes from a single book all of you should own: Dr. Richard Smart’s Sunlight Into Wine. Dr. Smart would agree that the two greatest tools we have in vineyard management are observation and discernment. Observation means being in your vineyard every day (or at least week) to see and feel what the vineyard needs to make great wine. Discernment means taking notes on weather, rainfall, patterns, disease, and pest pressure, dates of budbreak/flowering/full canopy/veraison, and then comparing wine quality to better understand the dynamic patterns that emerge between these things.
It all comes down to this: A balanced vine with an (appropriately) open canopy will always lead to better wine.
Related Links:
• To grow the best fruit, vintners need to protect their crops from disease and pests. Doing so requires an active spray pro-gram. Get tips from home winemakers in terroirs across the U.S.
• Not all wine grape growers need to irrigate, but for those that do there are irrigation options available.